
Contents
A 3D product image is a photograph of something that was never photographed. The product is built as a 3D model, given real materials, lit in a virtual studio and shot with a virtual camera. What comes out is a JPEG, and on a product page nobody can tell the difference.
This page is about how that JPEG gets made, what it costs, and where AI genuinely helps and where it does not. If you are looking for the different formats of product visual instead, that is a separate subject and we cover it in product visuals and their formats.
What counts as a 3D product image
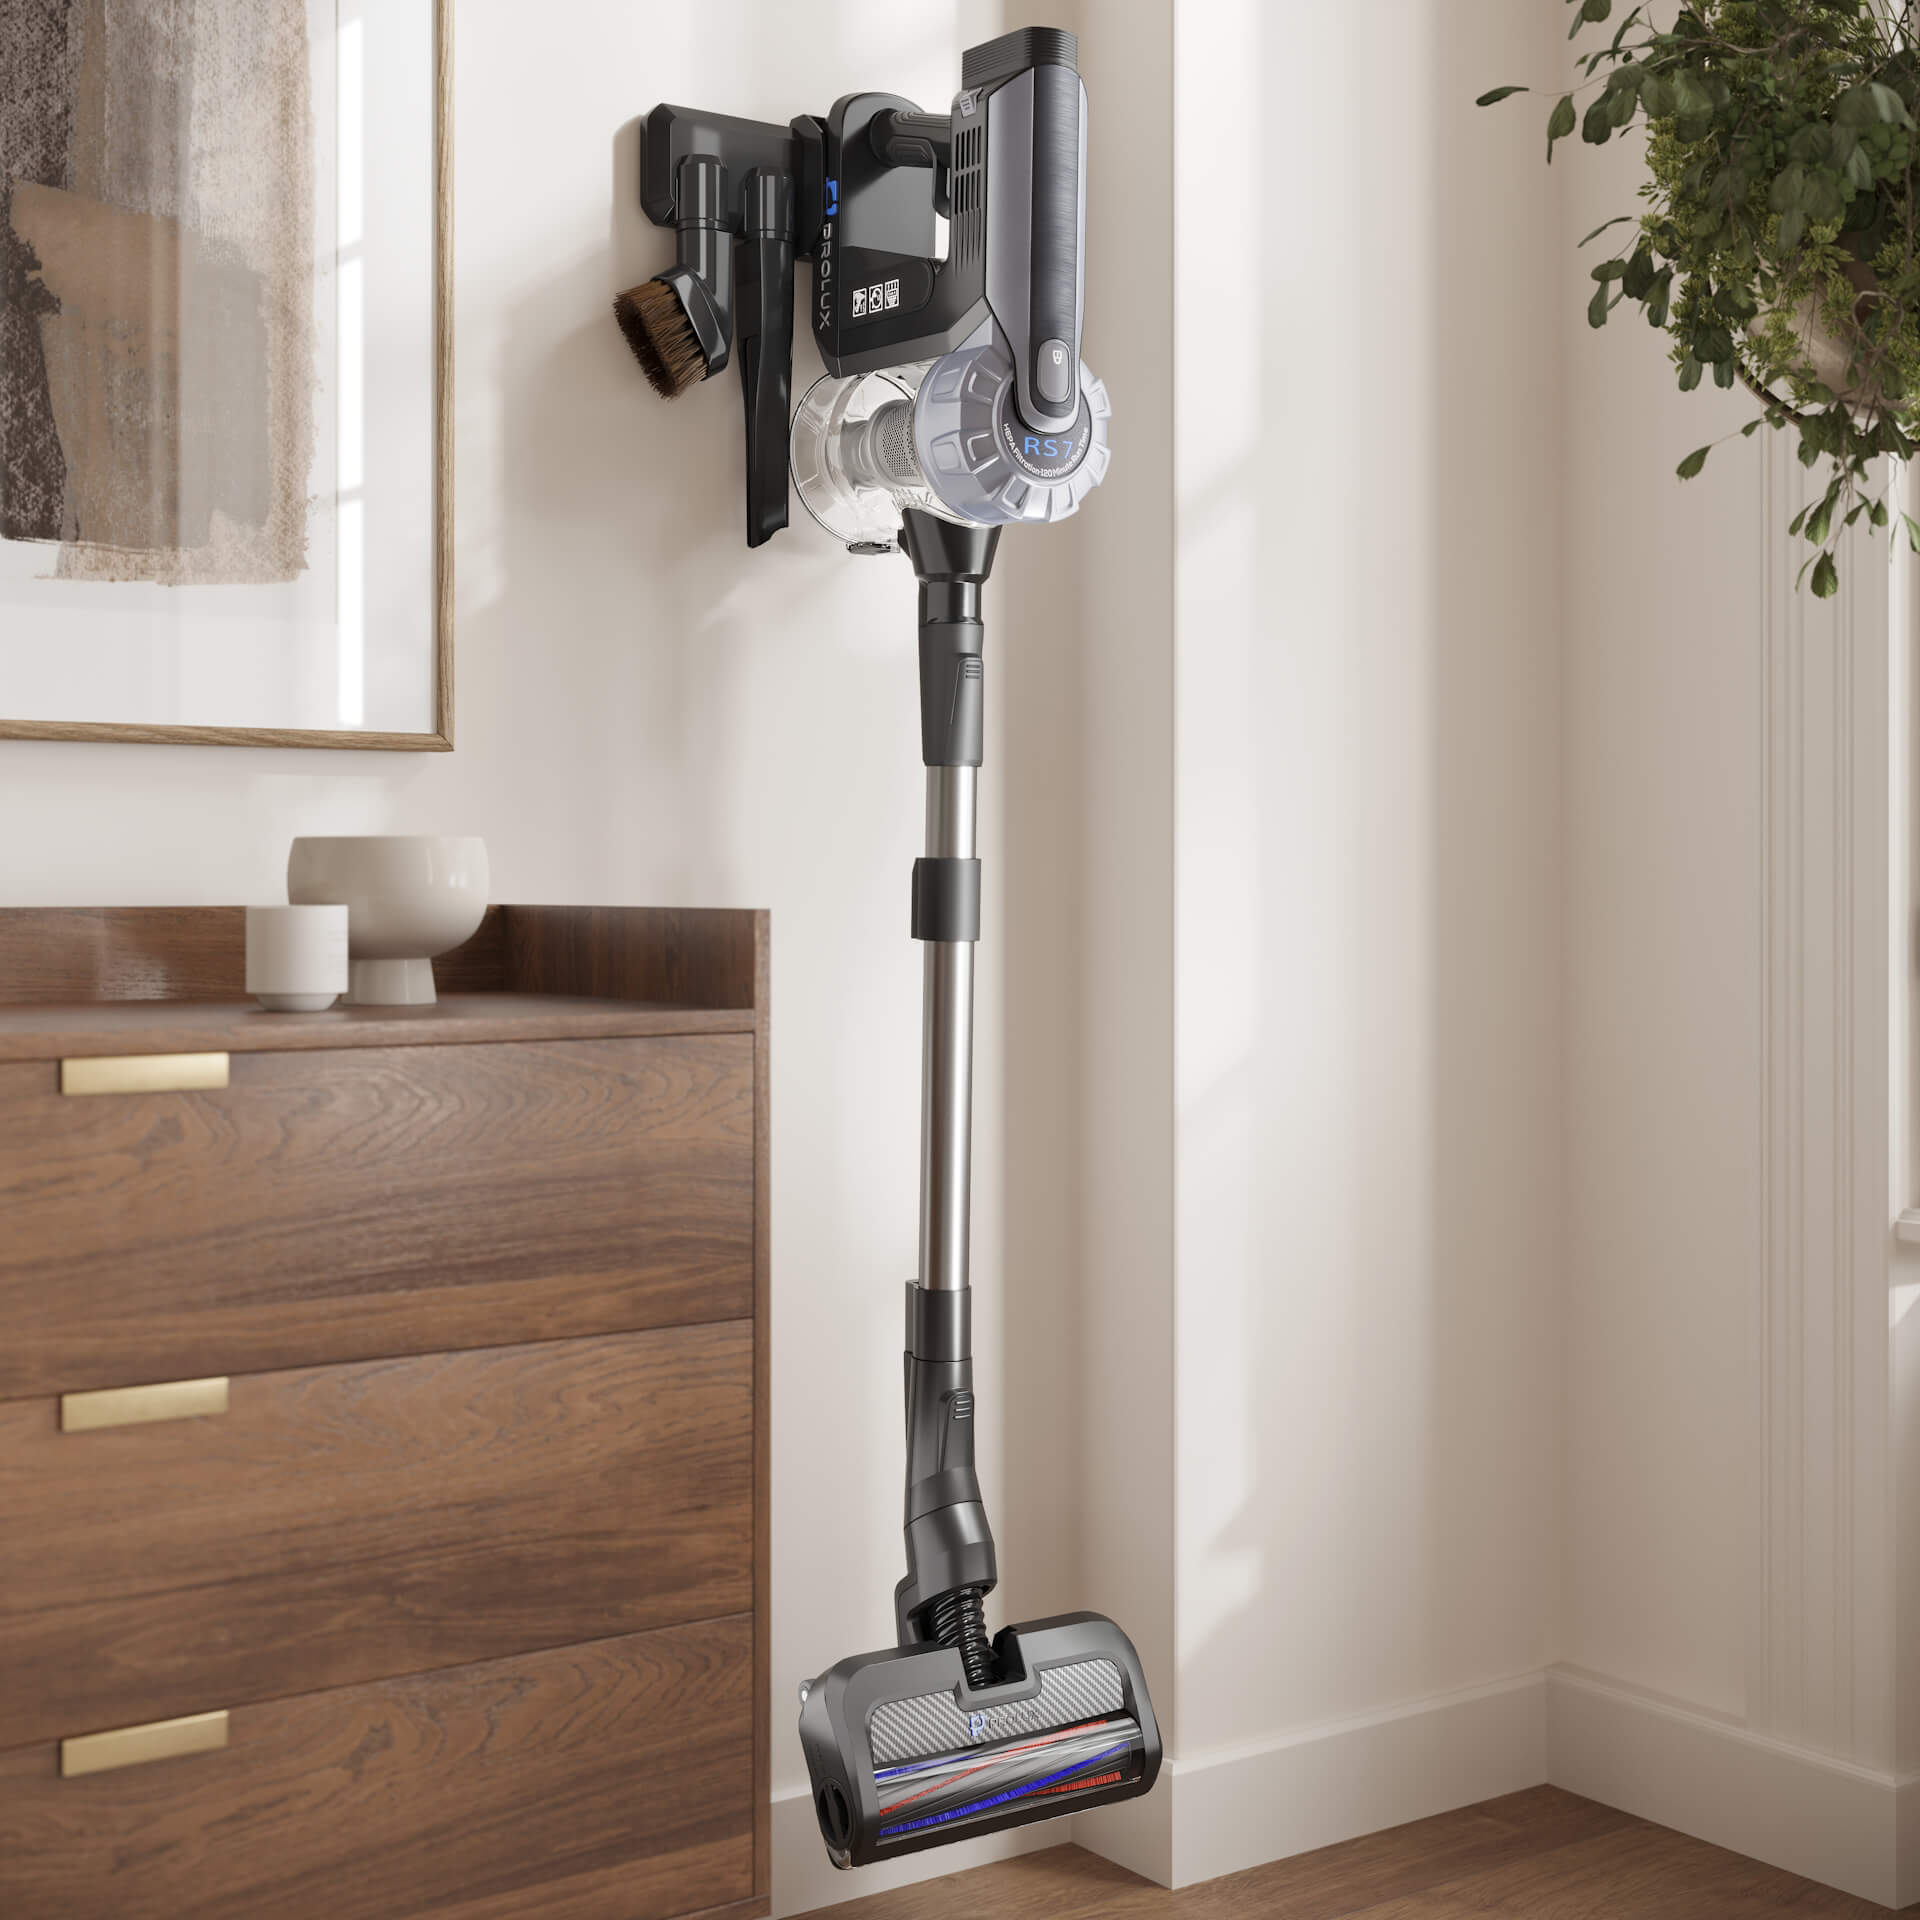
Anything rendered from a 3D model rather than captured with a camera. In practice that covers four things a store actually needs.
| Type | What it shows | Where it goes |
|---|---|---|
| Silo on white | The product alone, clean edges, no shadow drama | Marketplace main image, catalogue grid |
| Scene or lifestyle | The product in a room, on a desk, in use | Product page gallery, ads, social |
| Detail and macro | Stitching, ports, texture, the thing buyers zoom into | Further down the listing, spec sections |
| Exploded and cutaway | What is inside and how it assembles | Technical pages, manuals, B2B decks |
All four come from the same model. That is the part worth internalising: you are not buying images one at a time, you are buying an asset that produces images.
How the images actually get made
Five stages. The middle one is where the money and the quality both sit.
| Stage | What happens | Typical time |
|---|---|---|
| 1. References | Dimensions, drawings or CAD, photos of every side, material notes | Your side, an hour of gathering |
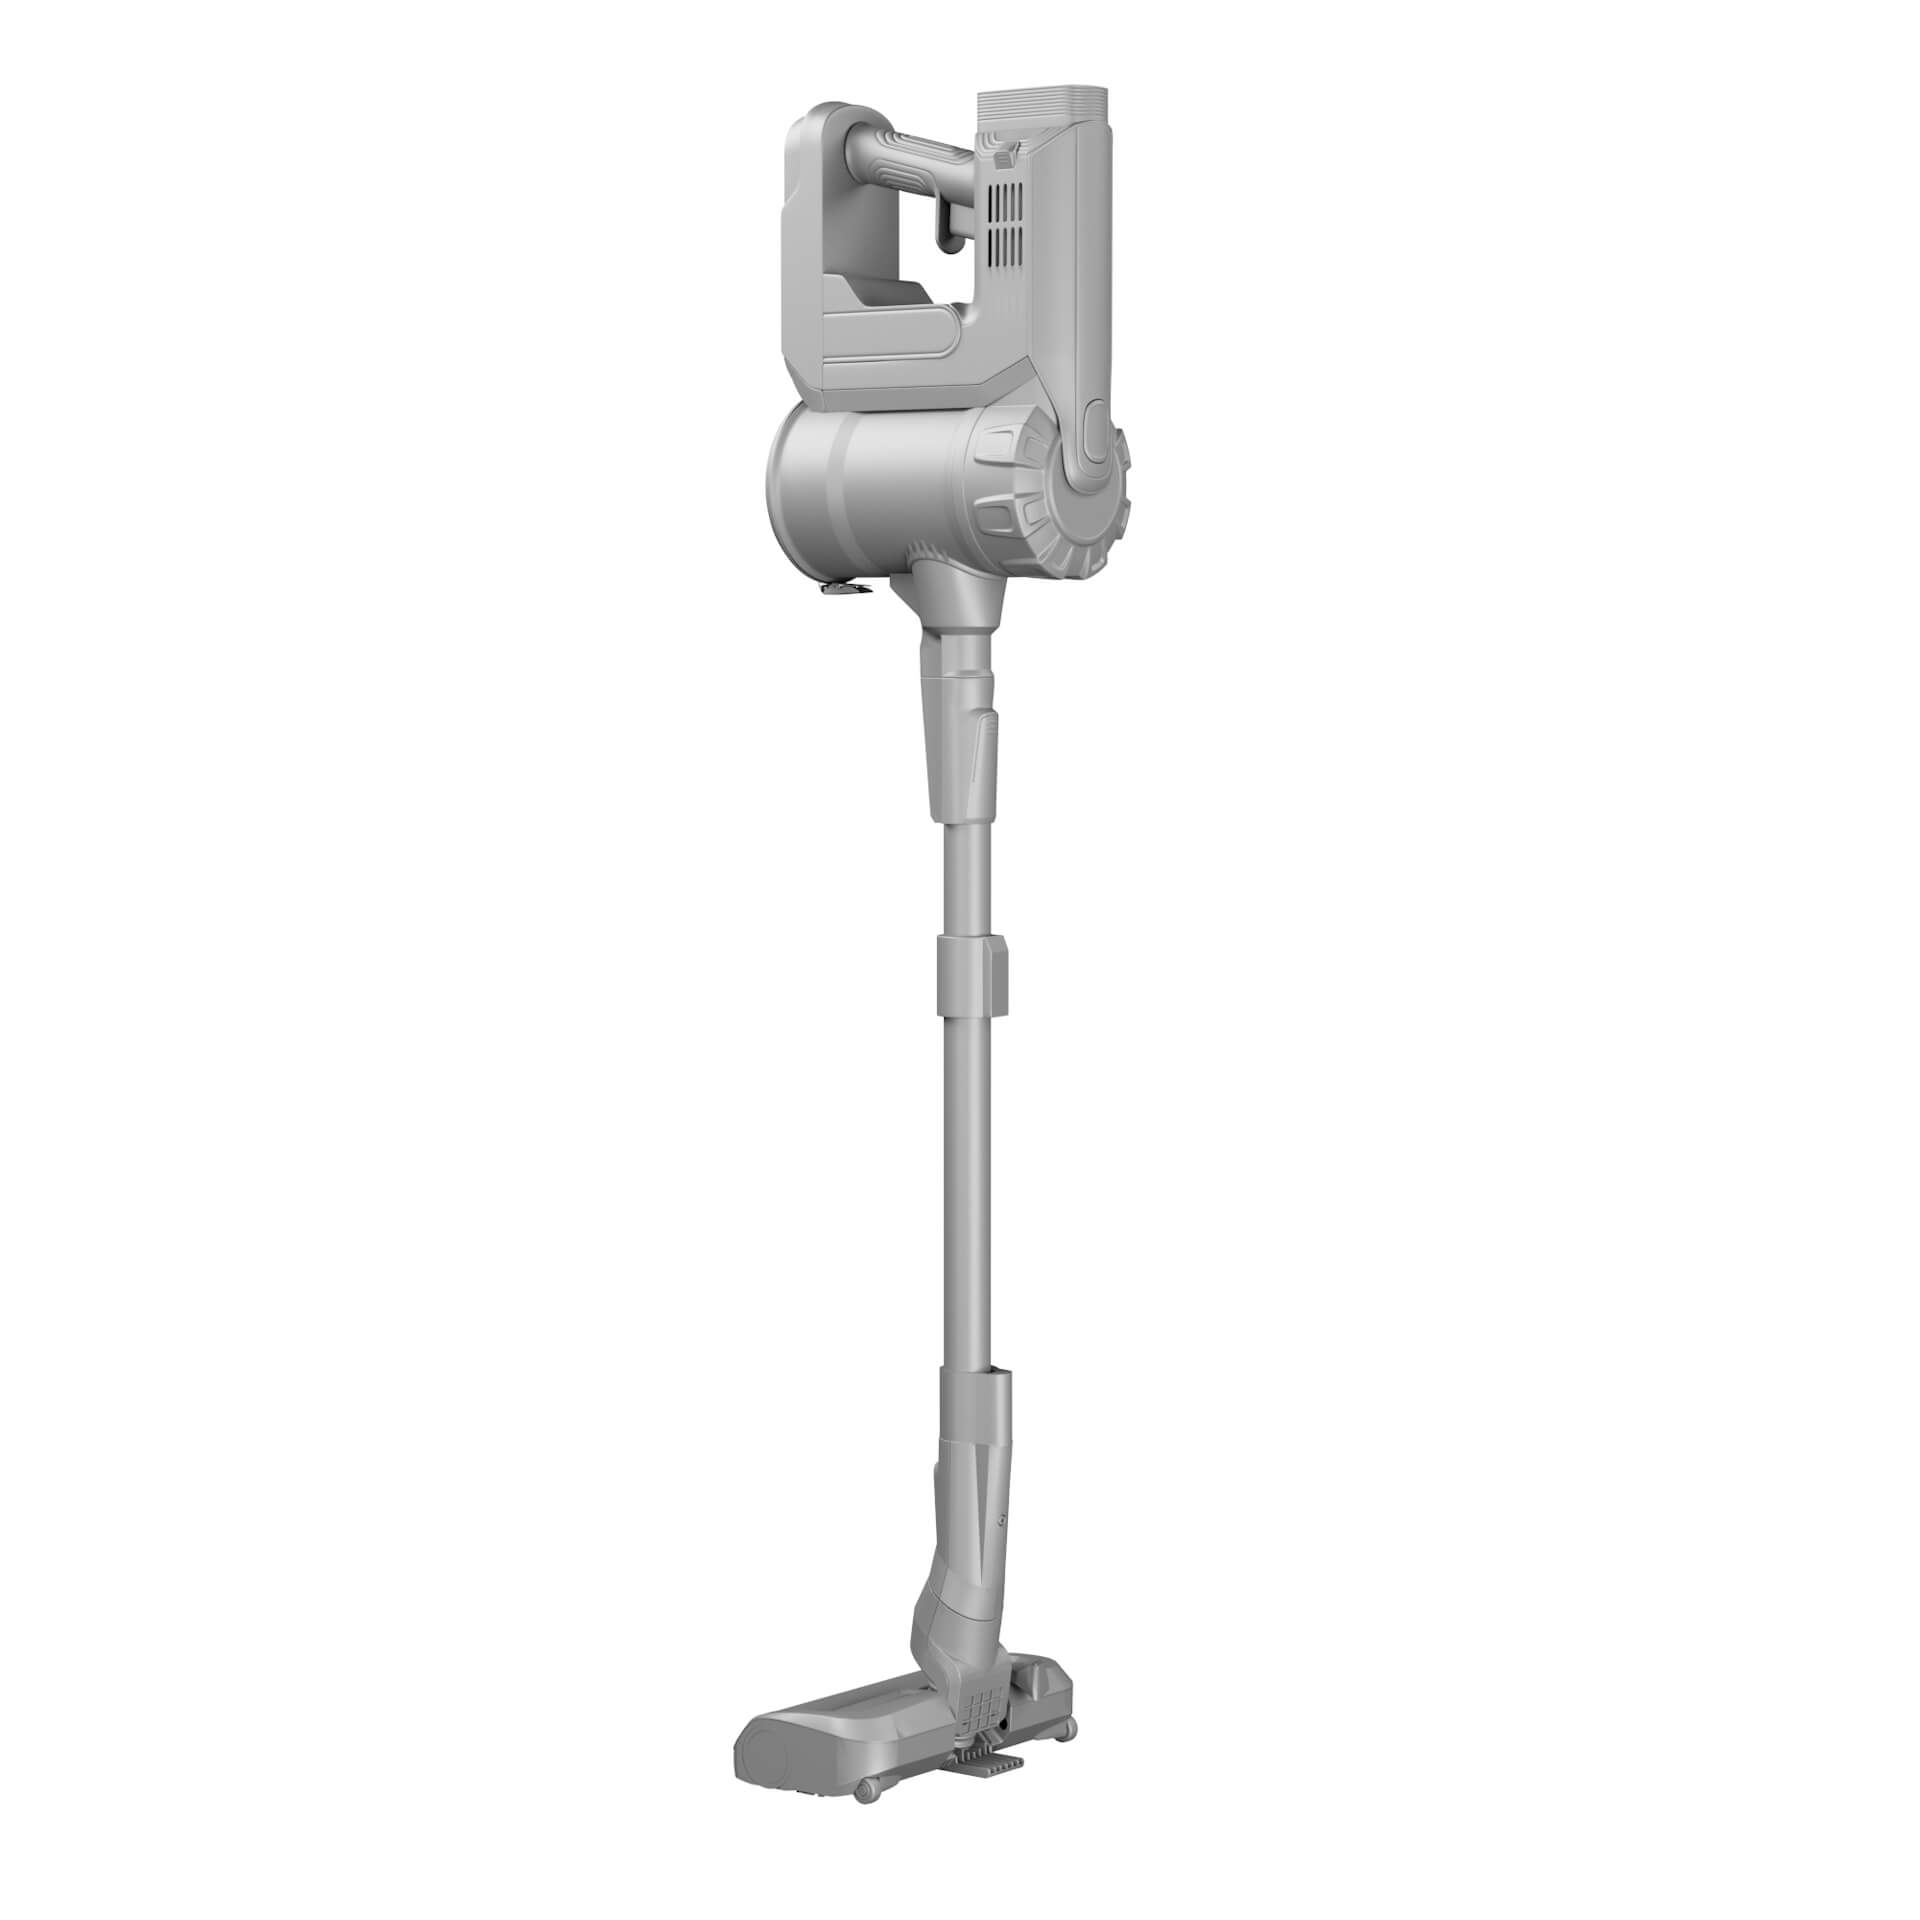
| 2. Modelling | The geometry is built to real dimensions and cleaned up for rendering | 1 to 2 days simple, 1 to 2 weeks complex |
| 3. Materials | Roughness, metalness, textures, labels, the wear that stops it looking computed | Half a day to two days |
| 4. Lighting and camera | Virtual studio built, angles set, the stage that decides whether it reads as a photo | Half a day per set |
| 5. Render and post | Frames computed, then graded, grain added, small fixes composited | Hours, overnight for heavy scenes |
Stage two is the one people underestimate and stage four is the one that separates studios. What actually makes an image pass as a photograph is covered in photorealistic rendering.
What you send to get started
Ranked by how much time each item saves us, which is also how much it saves you.
- CAD if it exists. STEP or IGES. Roughly halves the modelling stage because the geometry is already solved.
- Dimensions. Overall sizes plus the details that read: corner radius, thickness of a lip, height of a button.
- Photos of every side. Including the underside and how parts join. These two are the ones briefs forget.
- Materials named properly. Not brushed metal but which one, ideally with a sample photo in daylight or a Pantone code.
- Artwork. Labels, logos and packaging print as vector files, not as a photo of the label.
- Where the images will run. A marketplace listing and a print catalogue need different resolutions and crops.
Can AI just generate them
Partly, and the honest answer depends on what you mean by generate. Tools that turn a photo into a 3D model, or a prompt into a product shot, have got good quickly. They are also the reason this question shows up in search more than any other.
| Job | AI tools today | Studio pipeline |
|---|---|---|
| A pretty image of a generic object | Yes, in seconds | Overkill for this |
| Your product, dimensionally correct | Not reliably | Yes, that is the point |
| The same product across 40 angles, identical | Drifts between frames | Consistent, it is one model |
| Legible logo and label artwork | Usually mangled | Placed from vector files |
| Backgrounds, cleanup, upscaling | Genuinely useful | We use it too |
| A file you can also use for AR or a spin | No | Yes, same model |
Where this lands for a brand: AI is a real accelerator inside the pipeline and a bad substitute for it when the image has to show a specific product accurately. A marketplace listing with a mangled logo is not a saving.
Where the images end up
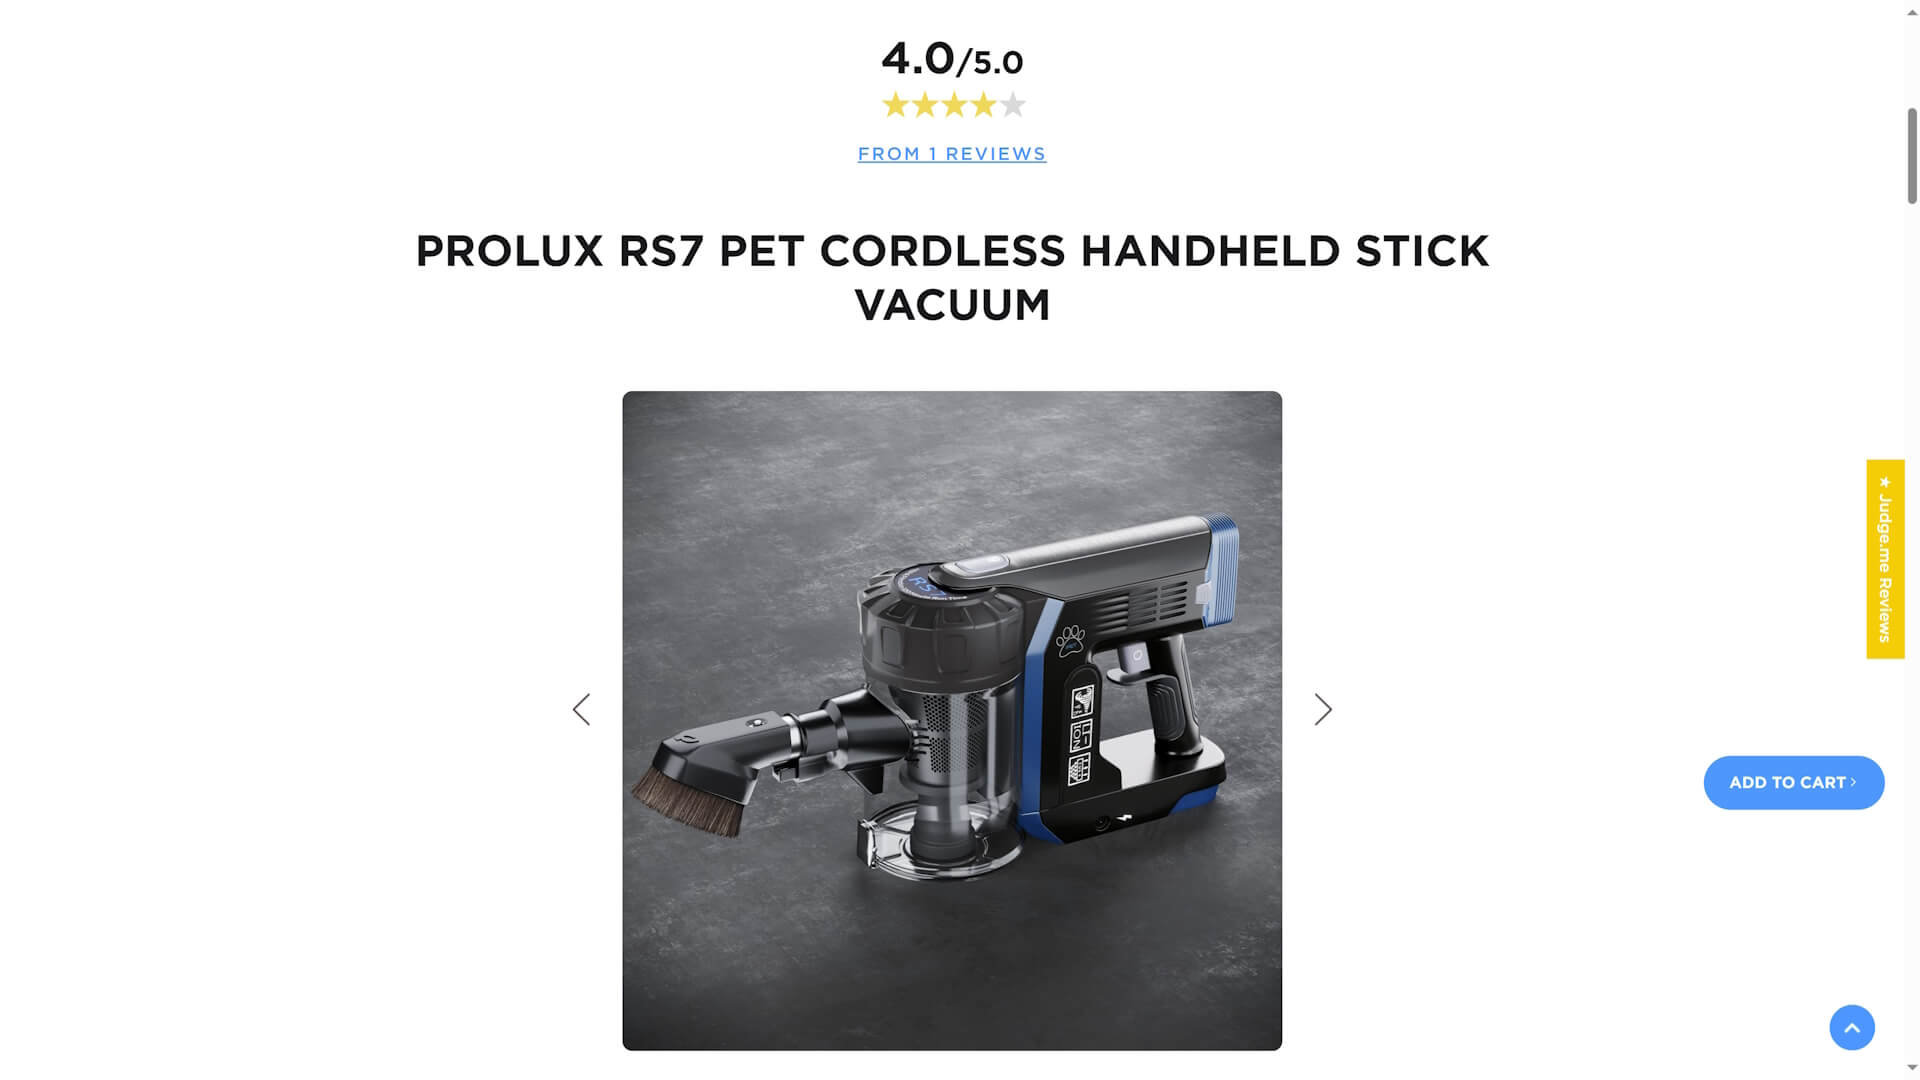
The point of one model and many images is that every channel gets the version it wants without another shoot. Marketplace listings take the silo set at the size each platform demands, and the requirements are strict enough that we wrote them down in Amazon image requirements. Your own store takes the scenes and the detail shots. Ads and social take crops in whatever ratio the channel eats this year. Print takes the same frames at print resolution.
Telling a good set from a cheap one
Useful when you are reviewing a supplier, and the checks take about a minute. To see the checks passed rather than described, five of our projects are broken down in product rendering examples.
- Look at the edges. A perfectly sharp edge with no highlight line means no bevel, and that is the fastest giveaway of rushed work.
- Look for variation in the surface. One flat roughness across a whole panel reads as plastic whatever the material is meant to be.
- Check the contact shadow. If the product looks like it is hovering, the shadow where it meets the surface is wrong or missing.
- Read the label. Artwork should be crisp and correctly wrapped, not smeared across a curve.
- Compare two angles. Proportions must not change between them. If they do, the images were not made from one model.
Cost and turnaround
| What you order | Price | Delivery |
|---|---|---|
| Silo image on white | from 1 dollar an image in a catalogue batch | 1 to 2 days |
| Image with a scene | from 120 dollars | 2 to 3 days |
| A new finish or colourway | from 60 dollars | Same set, model already exists |
| Full set for one product | from 360 dollars | 3 to 5 days |
The pattern behind those numbers: the model is the cost, images are cheap once it exists. That is also why the second product in a family is cheaper than the first and the tenth colourway costs almost nothing. The full craft behind these images, type by type, is in what is 3D rendering. How this compares with booking a photographer is worked through in product photography cost, and the service itself is on 3D product visualization.
Six ways to vary the set once the model exists
Because every image comes from one reusable file, varying the set costs render time rather than new shoots. The moves that earn their keep:
- Mix silo and lifestyle deliberately. Clean shots for the catalogue and the marketplace, scenes for ads and social, instead of one style stretched across every channel.
- Show every variant, not swatches. Each colour and material rendered in identical light, so the buyer sees the actual option instead of imagining it.
- Let the scene tell the story. The same product reads differently in a sunlit loft and a dim library; the set carries the mood a caption cannot.
- Go interactive where it matters. A spin or an AR view on the product page does what ten more stills cannot, and both come from the file you already own.
- Test designs before committing. Two variants rendered and run as ads let the audience vote before the factory tools up.
- Build visual manuals. Exploded views and assembly steps from the same model, instead of photographing a build in progress.
FAQ
If you have products that need images and are not sure what you can supply, send what you have. We will tell you what is buildable from it, what is missing and what the set will cost.

Ian Diev
Content Writer, Editor
Ian loves writing about innovative 3D technologies and their impact on architecture and design. In his spare time, he makes indie music, watches obscure movies, and cooks culinary masterpieces for friends.