Overall, it can be cheaper to go for a good freelance modeler if you’re looking for a single product model and have the time to manage the project. For multiple products by a deadline, or having someone to hold responsible for the quality and another artist available if your main artist is busy, then a studio is usually the safest bet.
Most online articles will give advice on hiring people for game studios. This is tailored for brands producing physical products. Below we’ve given some rough pricing for the two options, an example comparison between the two, and things to consider which won’t be mentioned in the quote. We’ve also shown a cheap way to test a modeler, an example of how a model would be made from our portfolio, and what to include in your brief and contract to avoid any arguments later.
Contents
- How much it costs to hire a 3D modeler
- Hiring a freelance 3D artist: risks the quote leaves out
- Who owns the model when you hire a 3D artist
- How to test a 3D modeler before you hire
- What to send when you hire a 3D modeler
- Contract checklist for hiring a 3D artist
- When to hire a freelance 3D modeler instead of a studio
- Frequently asked questions
How much it costs to hire a 3D modeler
Freelance pricing can really vary. According to Twine’s April 2026 rate guide, junior 3D designers charge between $25-$50 per hour. Mid level designers charge between $50-$100 per hour. Senior designers charge $100-$200+. Please note these are prices from Twine, who operate a freelance marketplace. As such, this is just an example of one platform. Marketplaces will also charge additional fees to the client. These will vary so please ensure you check the current pricing page of whichever platform you’re using.
The hourly rate is only part of the story. The other part will be how many hours your product takes. This will depend on how much experience the artist has of modelling your type of product. You may find a low price with a high estimate is actually more expensive.
Studios can charge an hourly rate, or a per model rate. UFO3D charges $20 per hour. However, hours for common product types can be predicted, so most models will have a set price:
| Product | Typical price | Build time |
|---|---|---|
| Simple part | around 80 USD | about one day |
| Typical product, such as a portable speaker | around 200 USD | two to three days |
| Product with a working mechanism | around 400 USD | three to five days |
| Watch with its movement | from 1,200 USD | one to two weeks |
This includes renders on white and 2 rounds of changes. This is more important to note when comparing quotes. A full list of what can make your model go up and down in price can be found in what determines the price of a 3D model.
A worked comparison for one speaker
Let’s take one example, a single portable speaker. With a $20 per hour rate, the studio price of around $200 would be about 10 hours modelling. Using a mid level freelancer at Twine ($50-$100), this would total between $500-$1000 (before any marketplace fees). A junior ($25-$50) would be between $250-$500. However, juniors will rarely finish in 10 hours on a product they haven’t modelled before.
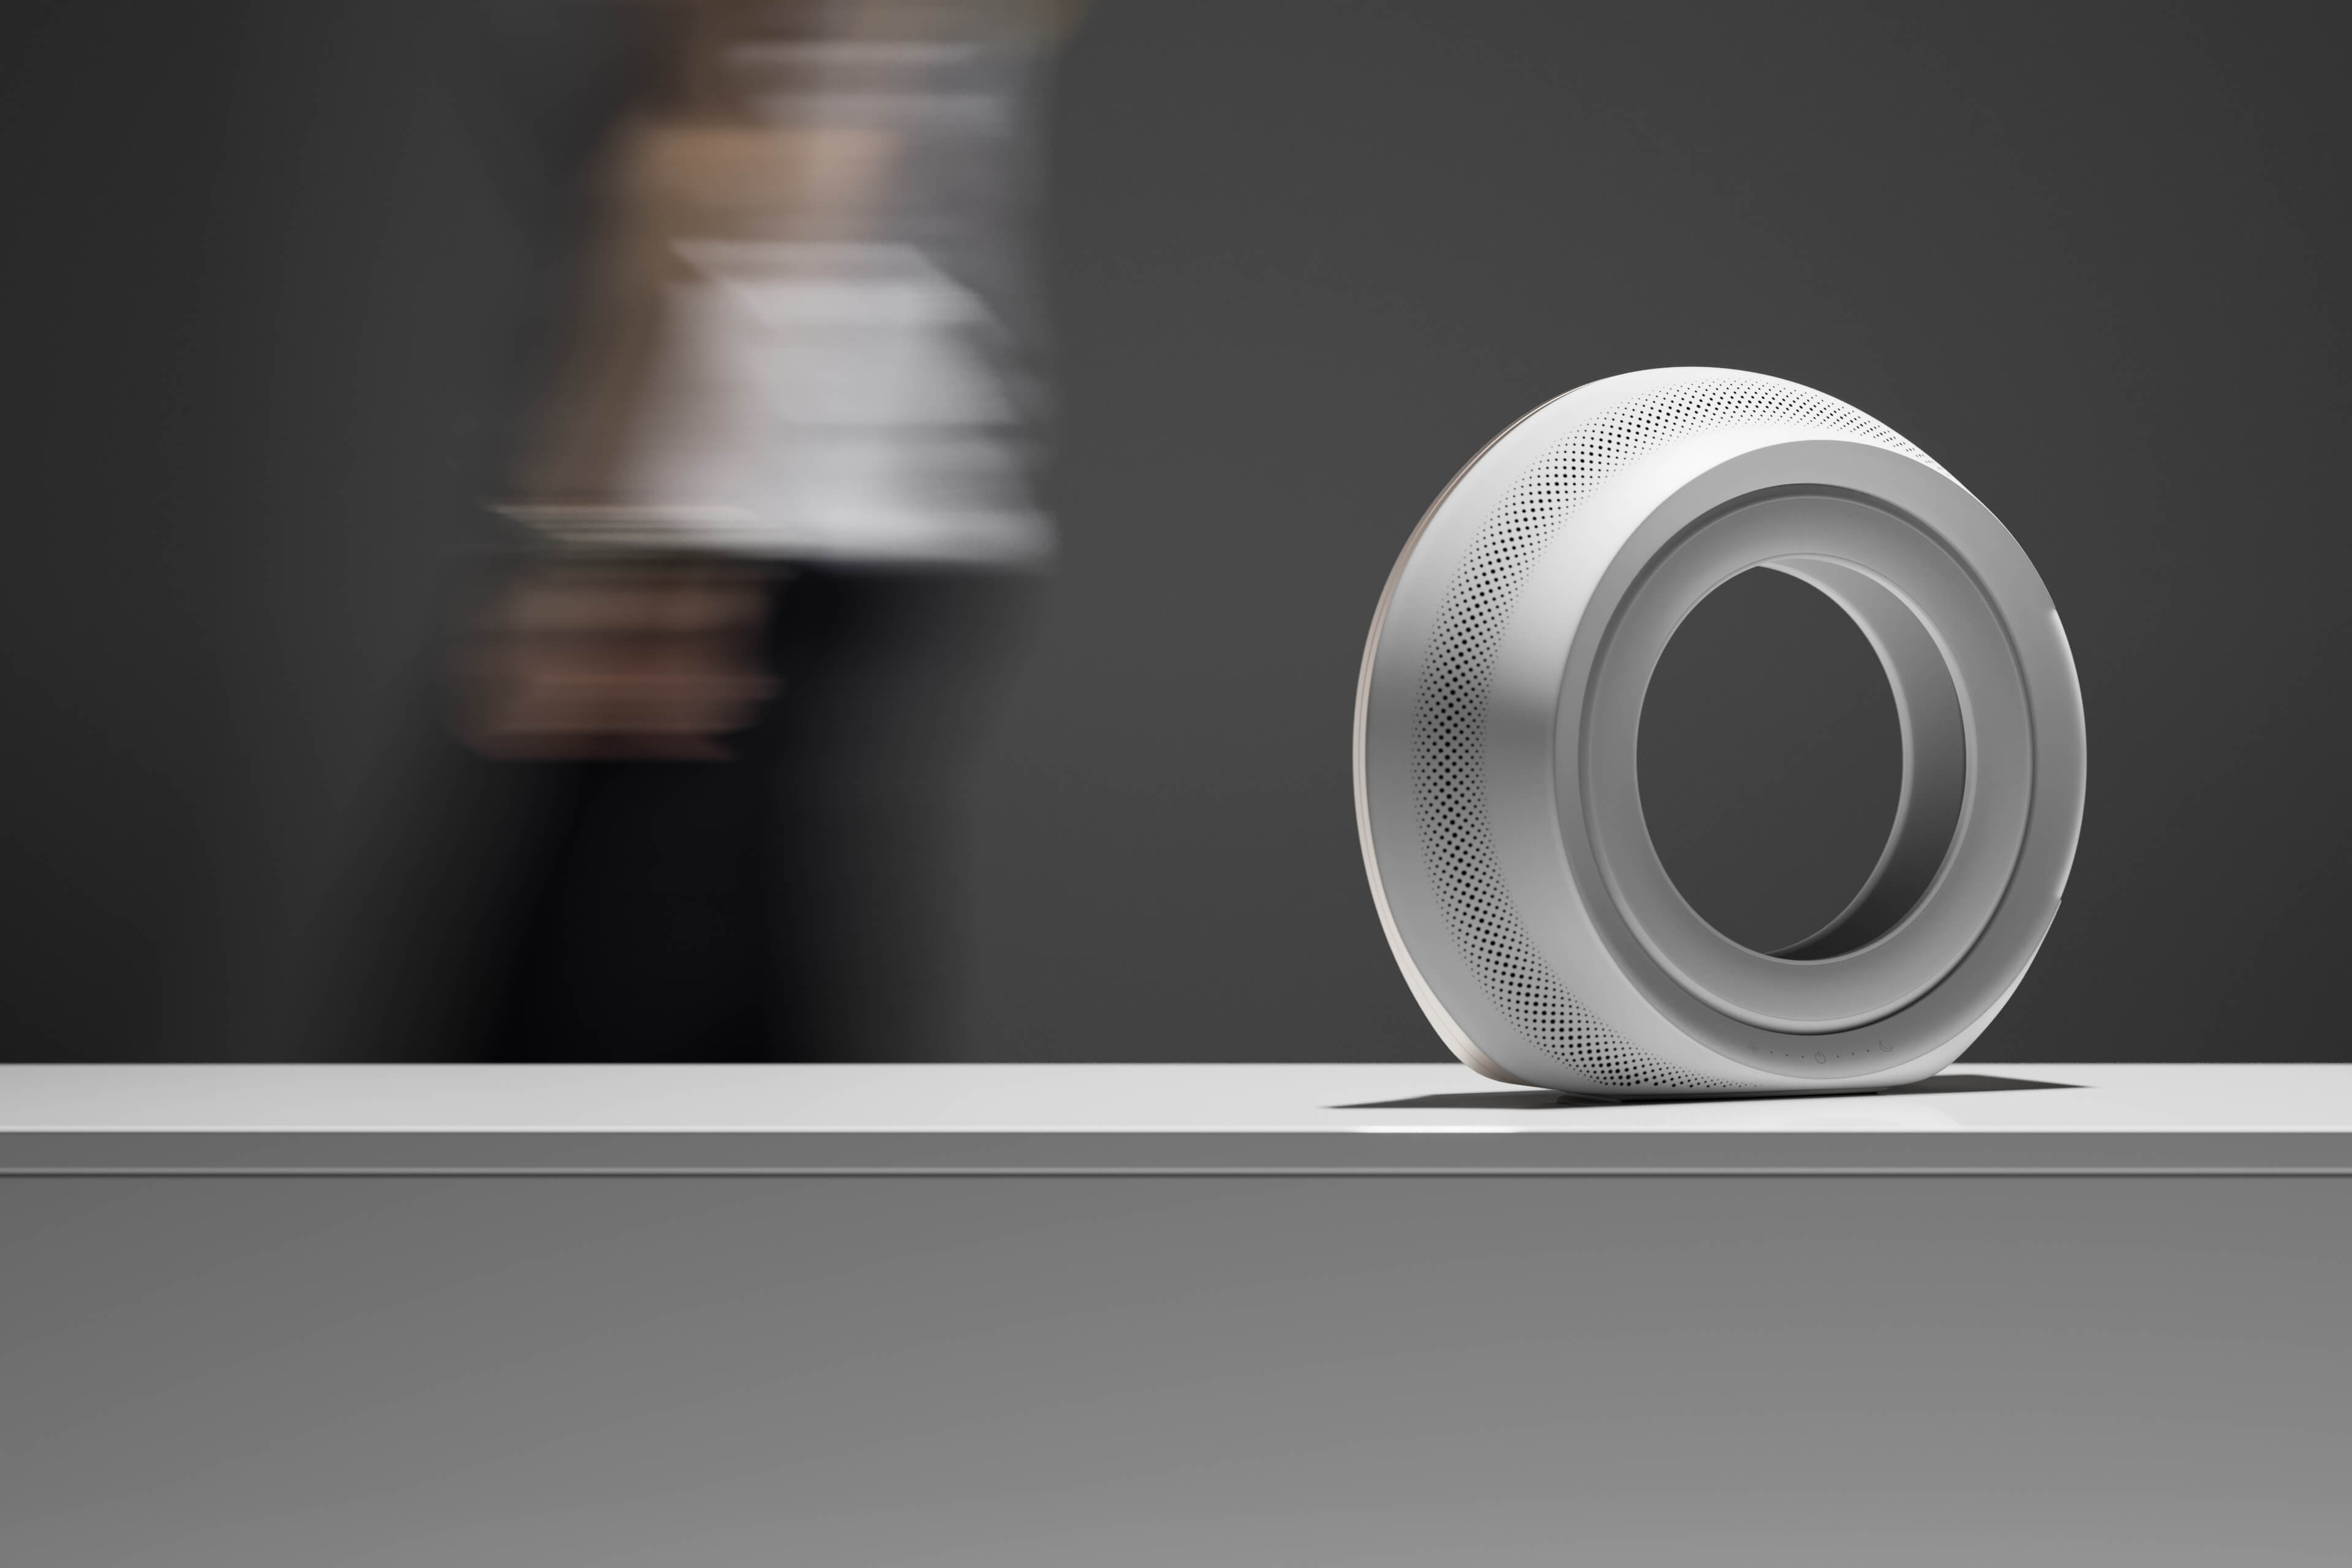
Check whether renders on white are included, or just the model itself. How many amends will they do? Will you receive the editable source file? Many cheap quotes are just a mesh.
Hiring a freelance 3D artist: risks the quote leaves out
Most issues with 3D outsourcing aren’t talent related. Here are some issues to consider when outsourcing for your product brand.
The artist goes quiet
A freelancer will only ever be one person. If they catch flu in week 2, your speaker model won’t be touched until they are well again. No one else will have opened the file. Ask them at the beginning who will take over the job. A studio should be able to give you a name.
Changes that never end
Watch out for quotes offering “unlimited revisions”, by round 5 most people will be charging or just not replying. Agree on how many rounds will be done and detail what counts as a revision. Moving a seam is a revision. Adding a second variation is a new request.
No second pair of eyes
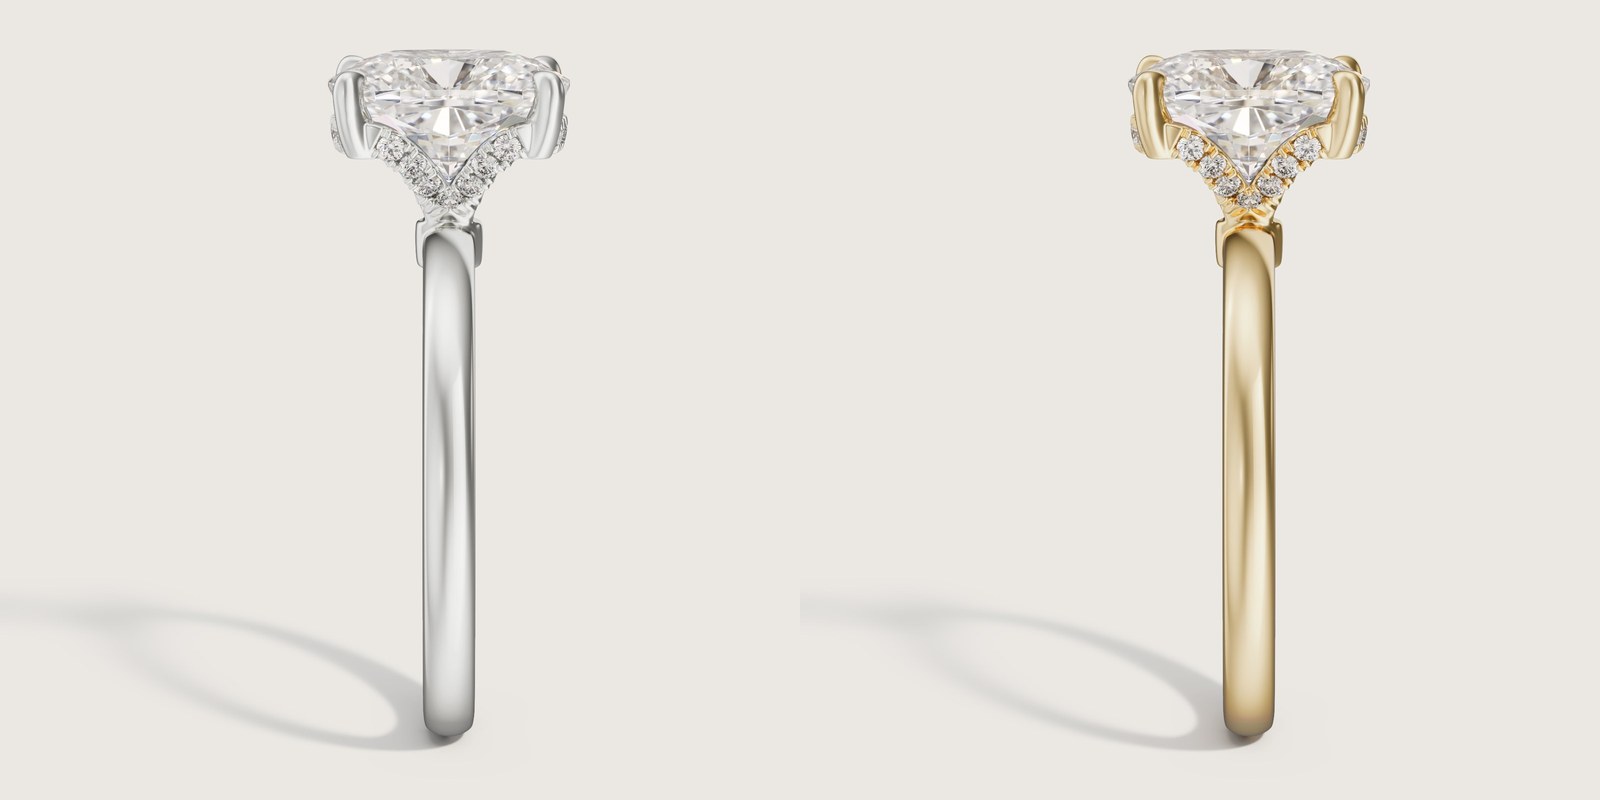
Self-checking by an artist. If it’s a simple product then great! If it’s a product with 50 components then errors such as incorrect thread pitches may go unnoticed until the engineers see it in the final image. Ask if there is any second party review.
Scaling up for a launch
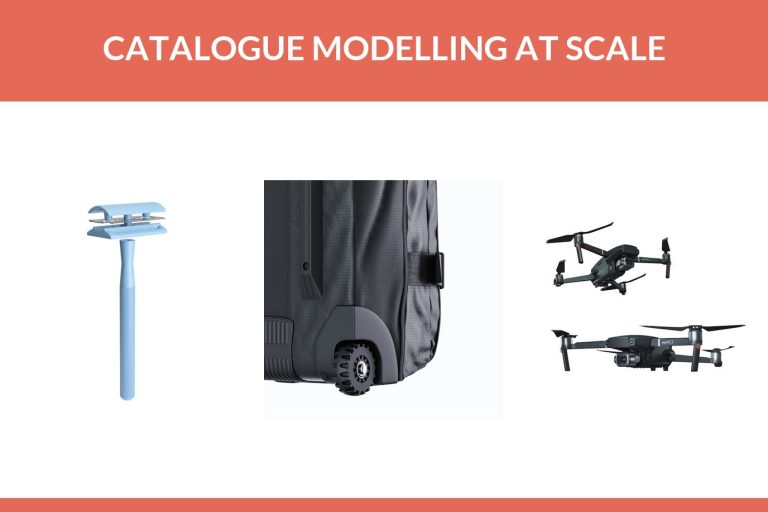
If you need 12 standard products in 2 weeks then it will take 2-3 days per product for a sole artist to complete. This is 24-36 working days / 5-7 weeks. Time is not on your side. Splitting the list between multiple artists in the studio will help. UFO3D complete 100 SKUs in a week using this method but this really does depend on the brief and files you send us. If you’re planning a catalogue later in the year then capacity will be something to ask on the initial call.
Who owns the model when you hire a 3D artist
Many brands assume that if you pay for a model you own it, however under US law this is not automatically true.
The US Copyright Office explains this in its circular on works made for hire: a commissioned work only counts as made for hire if it fits one of nine listed categories and both sides sign a written agreement. Your 3D model of the product would not seem to fall under any of these 9 categories. This means a written agreement to assign copyright would be used. To transfer ownership, there must be a signed document from the copyright holder (17 U.S.C. section 204). A simple “sure, it’s yours” in a chat won’t cut it.
Ideally you want a signed transfer document that details the source file. This isn’t legal advice just good practice. If it’s a high value product it’s worth investing in an hour of legal time to make sure it’s covered in the contract.
We keep it simple. The model belongs to the client and we will supply you with the source file. If you want an NDA signed we will sign it prior to receiving a single file. Whatever artist you use, ask them to provide you with two clear answers. Who owns the model once paid for and what files will you receive?
How to test a 3D modeler before you hire
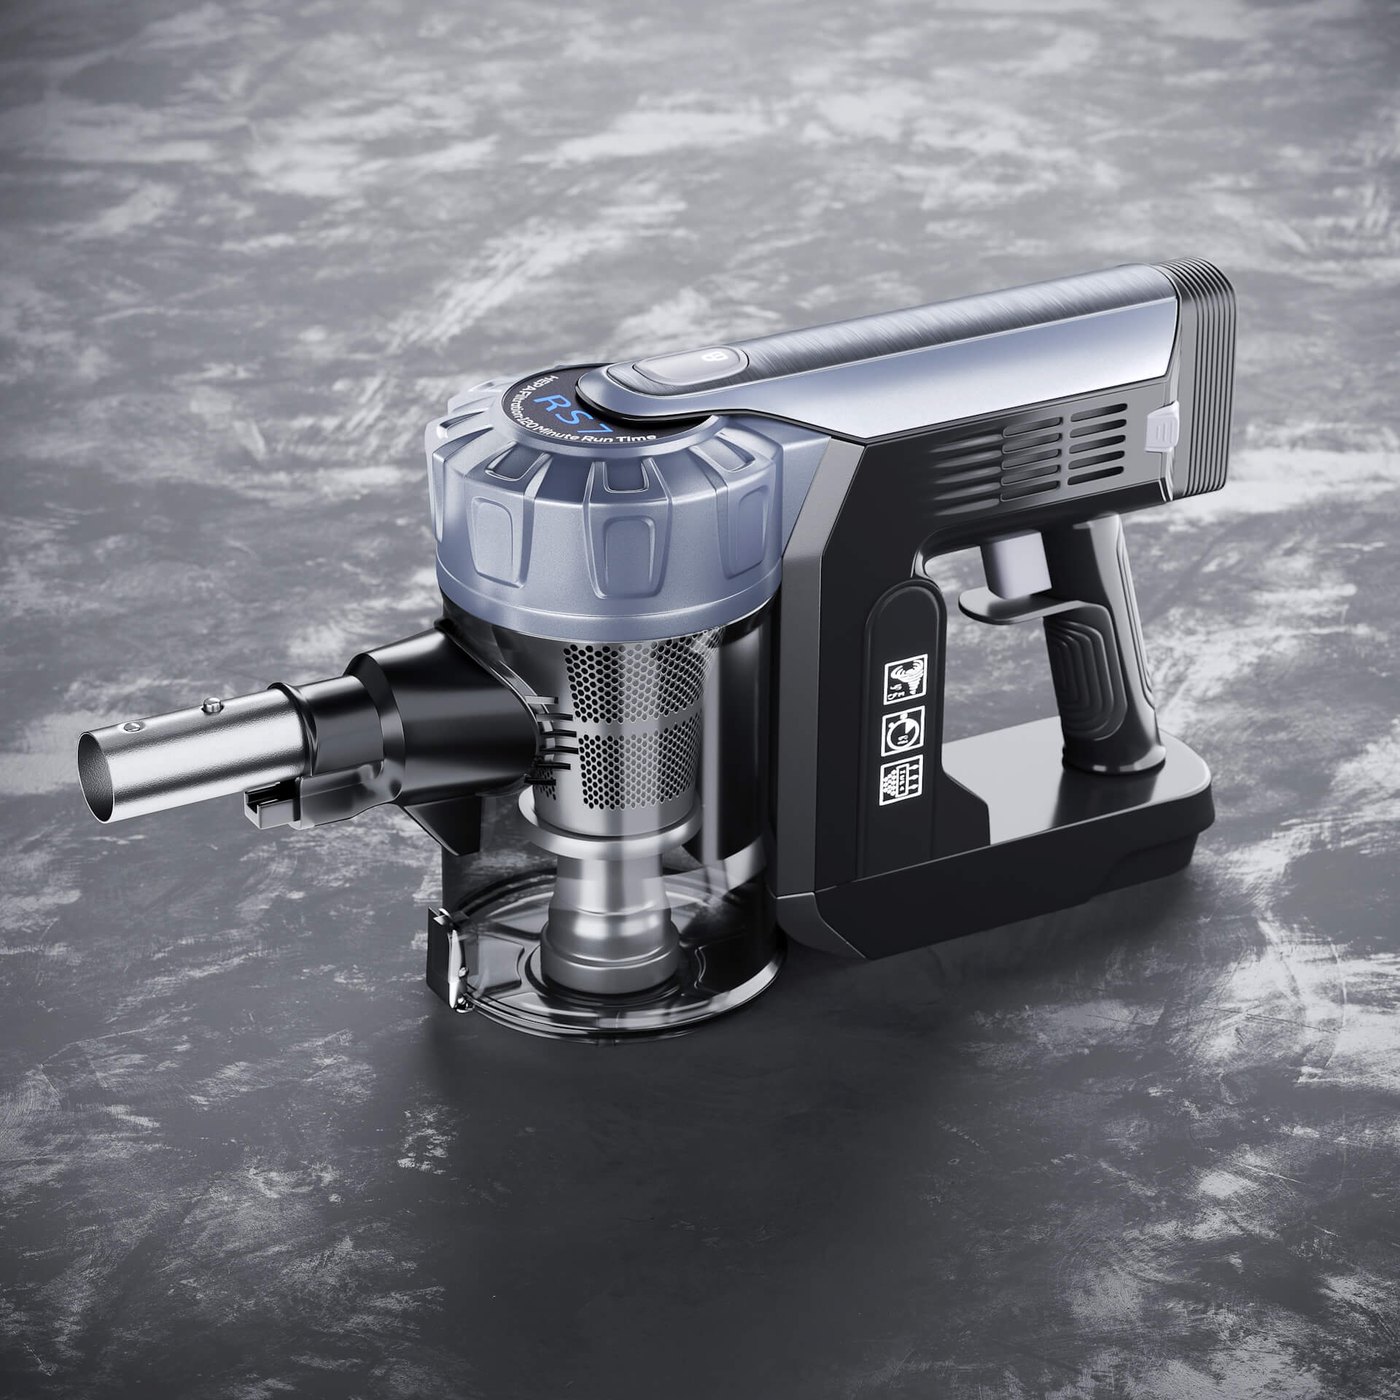
Portfolios show the best work they’ve ever done. A paid trial will show you what they’ll do for your product. Choose one SKU to represent your range. Ideally choose one of medium complexity. This is a mini real project and should cost around 200 USD for a standard product at studio rates. It’s a cheap way to make sure you’re getting what you want before a range of 40.
Here’s what to watch during that test:
- Did they ask questions regarding the product? If they didn’t then they are likely to be guessing.
- Did they send you a grey model (basic geometry with no materials) for approval? Any errors with the curves can be easily fixed in minutes. Once lit, it can take a day to fix.
- Look closely at the edges of your final render. Real items will have very slight bevelling that catches the light. Sharp edges will give it away.
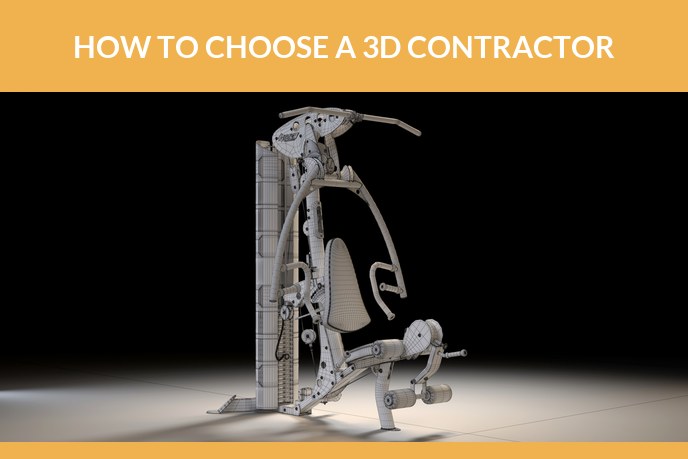
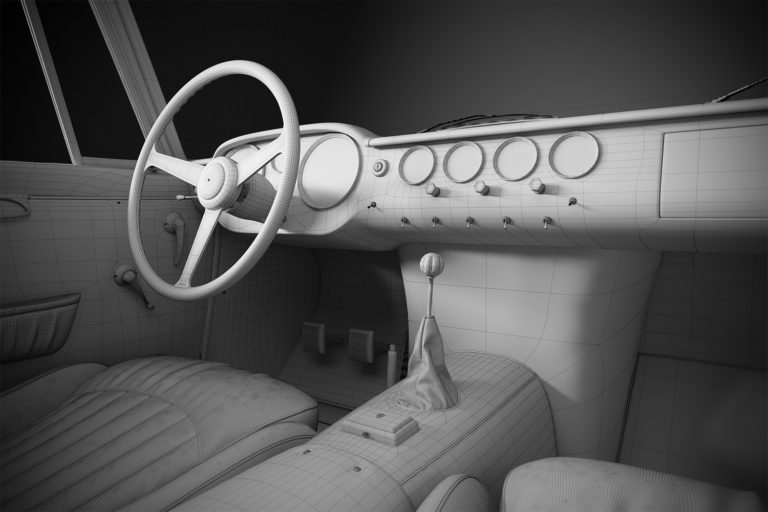
- Ask for the wireframe. A clean even mesh can be changed to a different colour or exported for AR later.
- How fast did they reply during your working day?
- Did you receive the files? Including editable source?
Two of these areas are fairly obvious to spot if you know what a good outcome should look like. So we have included some examples from actual projects within our portfolio.
Example: the grey model stage
For a pair of branded boxing gloves we received a few phone photographs and the logo artwork. We sent over a grey model without any leather, colour or logo.
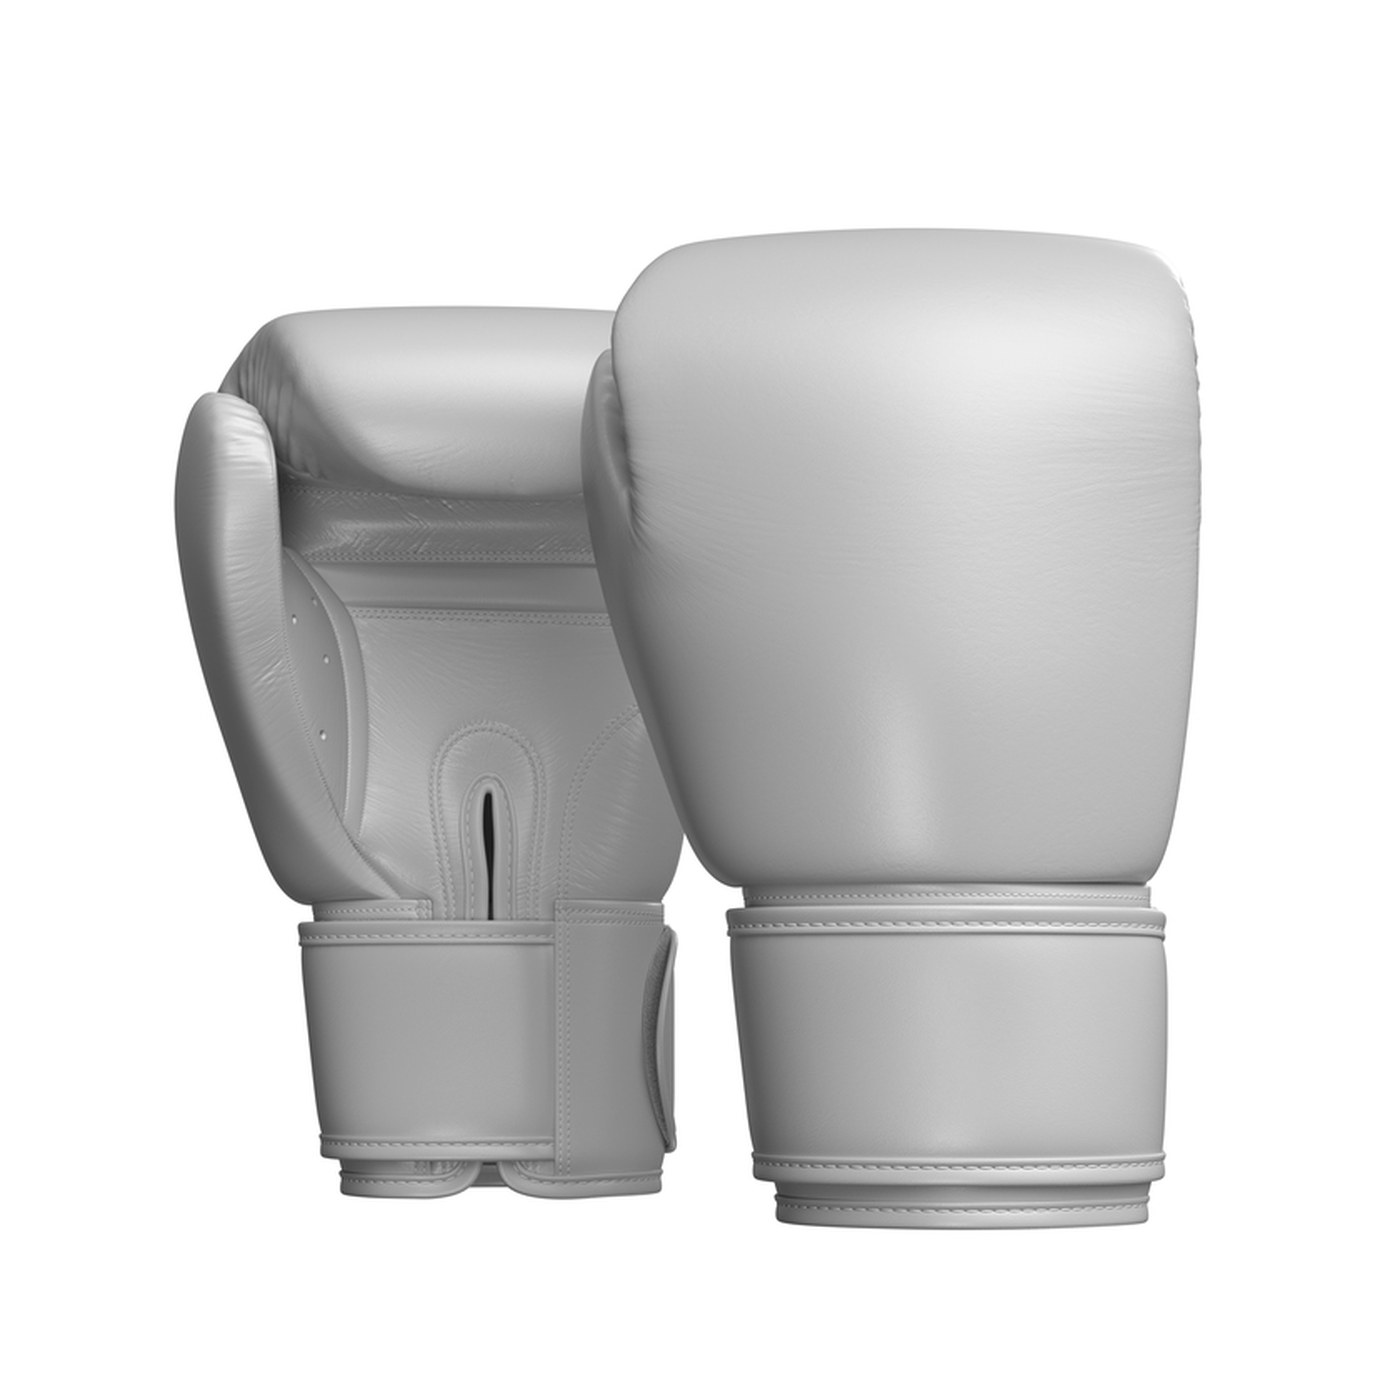
This is an area that you can really see if things are looking good. Thickness of cuff, curve of thumb and panel joints. If the 3D modeler doesn’t do a grey model for your test you should ask why. Any changes to the geometry will incur additional rendering time on top of modelling time.
Example: the wireframe check
For a set of leather boots we used just one photograph from the client. Below you can see the wireframe. This shows the mesh underneath the final render.
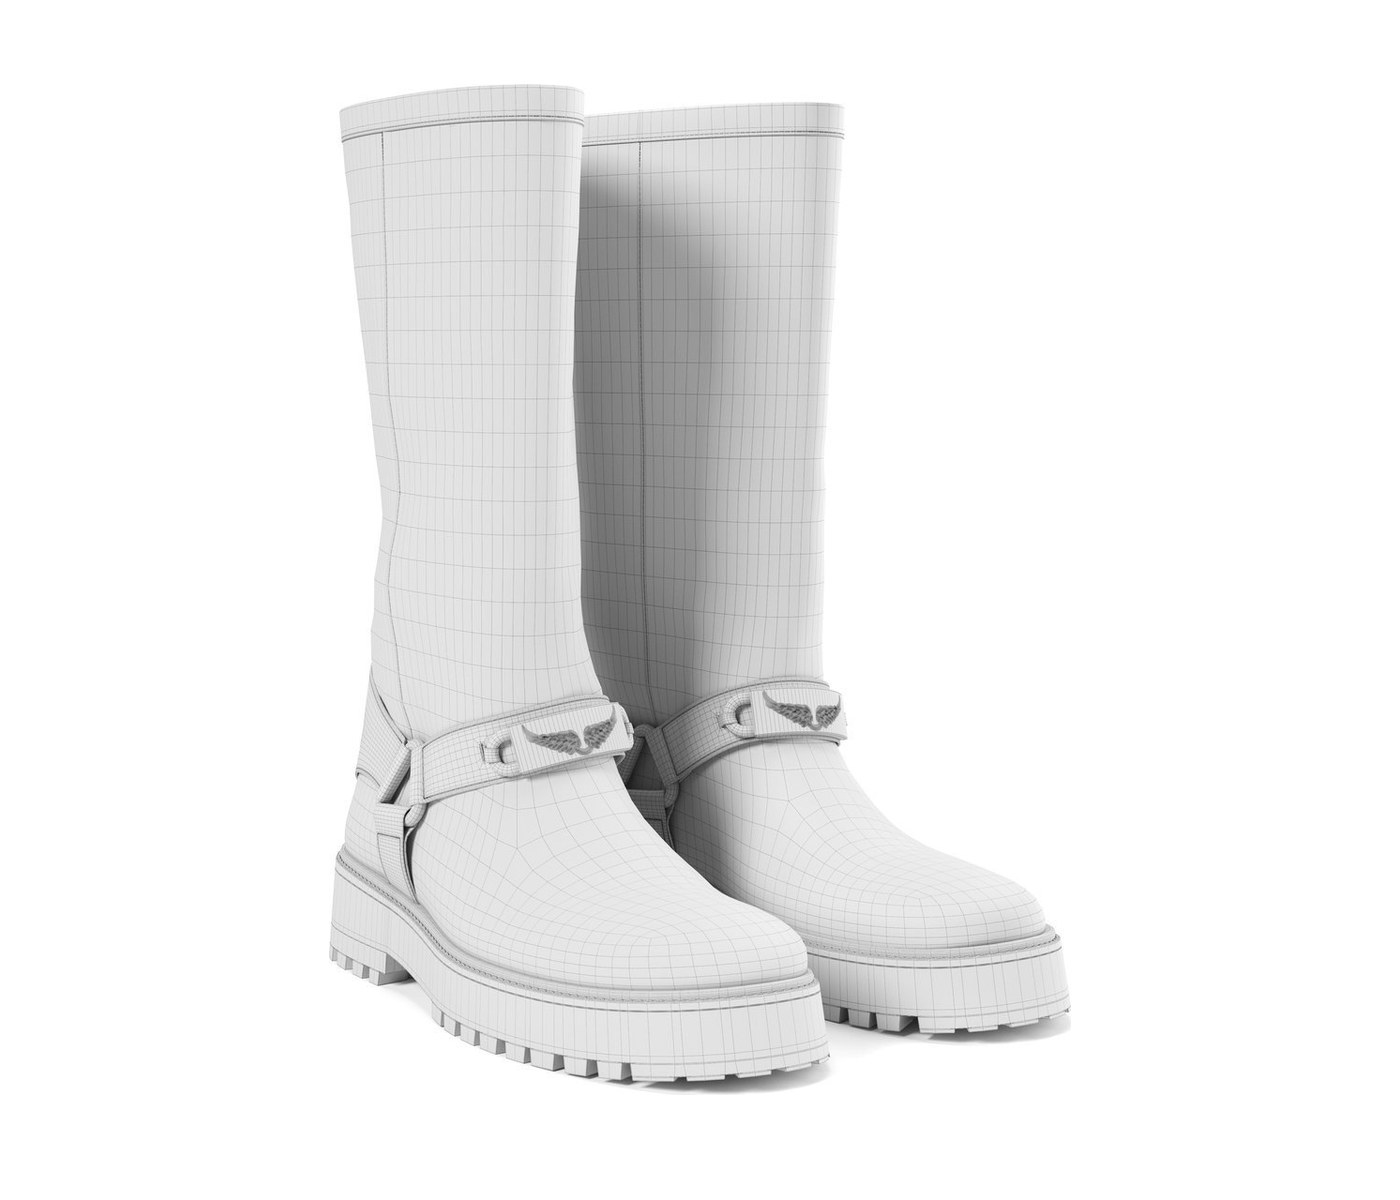
You should be seeing a mesh that is dense around the sole and hardware. Lighter around the shaft as it is flat. Different pieces for sole, upper, buckle and strap. If the wireframe is very messy with lots of thin triangles it may render a nice image but will cause problems when trying to create a new colourway or AR file.
What to send when you hire a 3D modeler
If you give a vague brief you will get a vague quote. The gaps will be filled in throughout the revisions. To get an accurate quote from a freelancer/studio include:
- Source files. The best option would be CAD/STEP files. If not technical drawings with measurements. If neither of these are available then photographs of the sample (front, side and three quarter) with overall measurements will be sufficient for most products.
- Materials and finishes. Name them clearly. “Matte black” won’t help as much as a Pantone reference or physical swatch you can photograph with a white card.
- Where the model will be used. Different weights of models will be created for white background listings, print and an AR viewer on a phone.
- File formats. GLB for web viewers and Android AR. USDZ for iPhone AR. OBJ/FBX for other 3D software. Always include the editable source file.
- Images needed. Angles, background, resolution and aspect ratio.
- Deadline, with any fixed date that can’t move, such as a trade show or a listing launch.
Example: when all you have is one photo
Not all brands will have CAD files. In one of our projects we had a cordless drill. We only had one image of the product (500 pixels). This was from the distributor listing and only showed a flat side view. We had to interpret the moulded grip, vents, chuck and printed details.
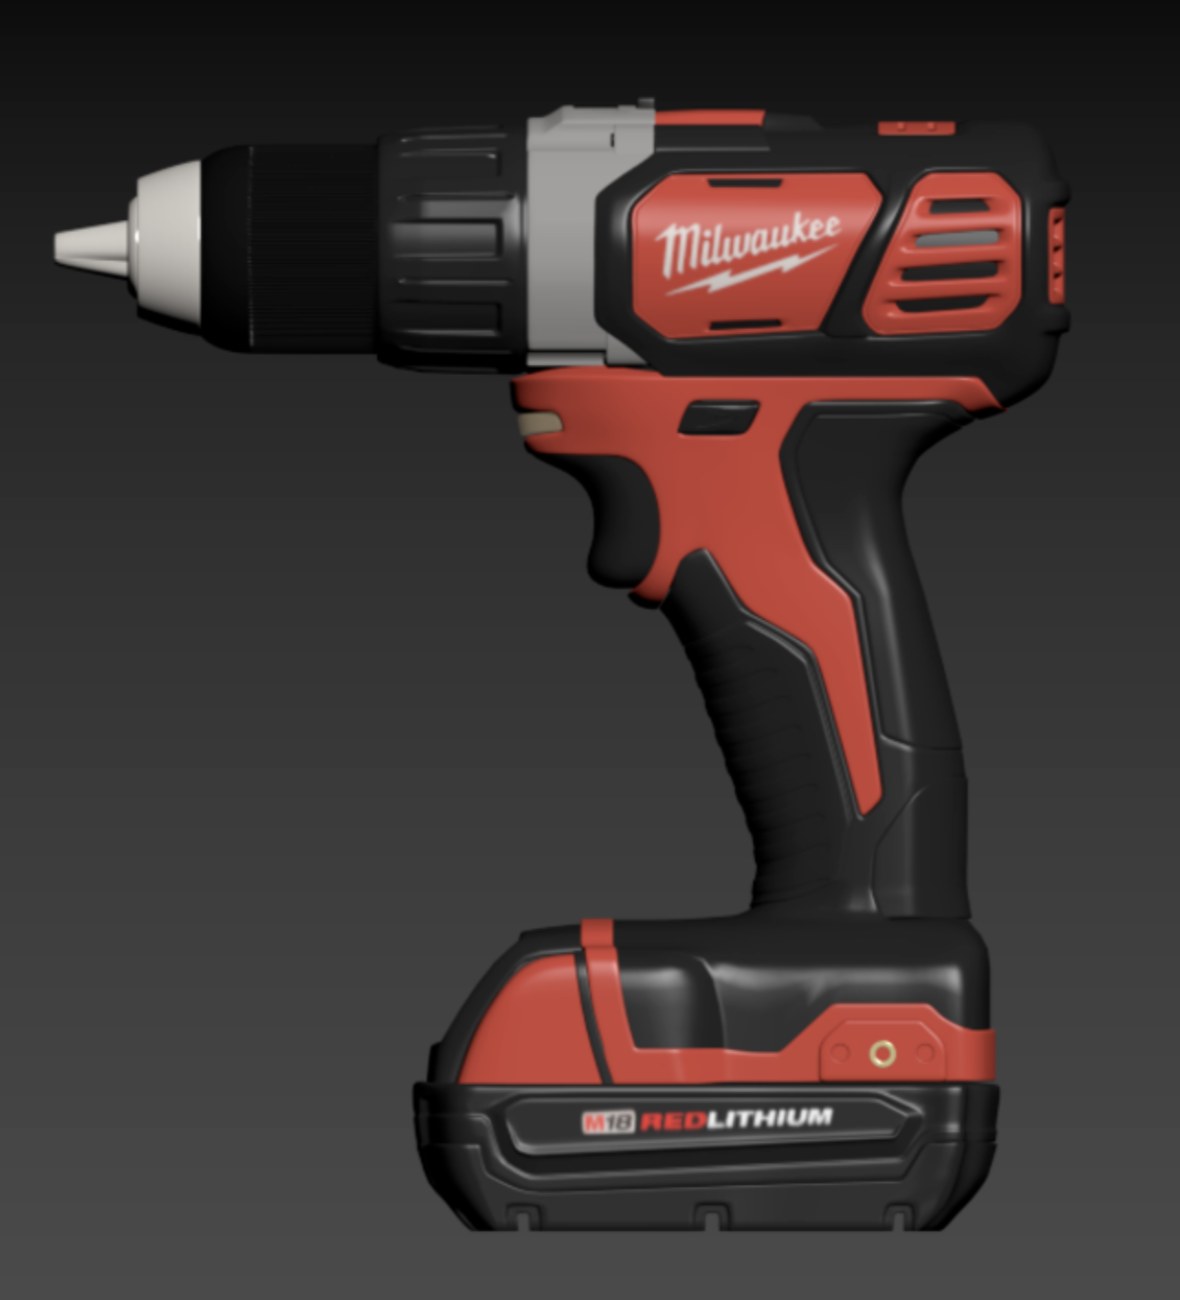
It can be done but with a brief like this there will be more interpretation needed from the artist. When testing someone using only images include overall measurements. You will instantly know if they will ask for more information or just guess.
Make sure to give the same brief to everyone you are comparing. Otherwise you will be comparing guesses.
Contract checklist for hiring a 3D artist
You may be okay using a 2 page freelancing contract or studio terms. Ensure you have the following in place;
- Scope (products, deliverables, file formats).
- Costs and what is included. Are renders included in the model cost?
- Milestones (grey model approval as a named step)
- Number of revisions included and extra costs.
- Copyright ownership of the model and source files. Signed.
- Third party assets. If using any library assets like props, textures or HDRIs then are they on a licence? Can they be reused?
- Confidentiality, or a separate NDA signed before sending over CAD files.
- Deadline and what happens if it’s missed.
- Work in progress handover.
The last two are the most likely issues with a freelancer. If the project were to end at week 3 without a handover clause in place you may not receive anything useful. UFO3D offers a guarantee of punctuality which can be requested by the client. If the project is late then it is free.
For a more detailed checklist to ensure you have the correct checks in place with any provider, take a look at our 5 point outsourcing 3D modelling checklist.
When to hire a freelance 3D modeler instead of a studio
We would be lying if we said a studio was always the best option. If it is just one model, clear spec and no strict deadline then a freelancer can handle it, especially if someone on your team can give feedback on the geometry. Ensure you choose an artist who has modelled similar products. Include copyright ownership and handover in the contract. Then the lower overhead is yours to keep.
If it is a range of work, strict deadlines or no-one in-house has time to manage an artist then a studio would make more sense. If there is an extra hourly cost, it covers a project manager, review and backup artist.
To see how your products would look, take a look at how product brand 3D modeling works or send us your files through our 3D product modeling services page. We will provide a quote in 1 business day and our team of over 290 3D artists mean your catalogue will not be queued up waiting for one person.
Frequently asked questions

Ian Diev
Content Writer, Editor
Ian loves writing about innovative 3D technologies and their impact on architecture and design. In his spare time, he makes indie music, watches obscure movies, and cooks culinary masterpieces for friends.