
Contents
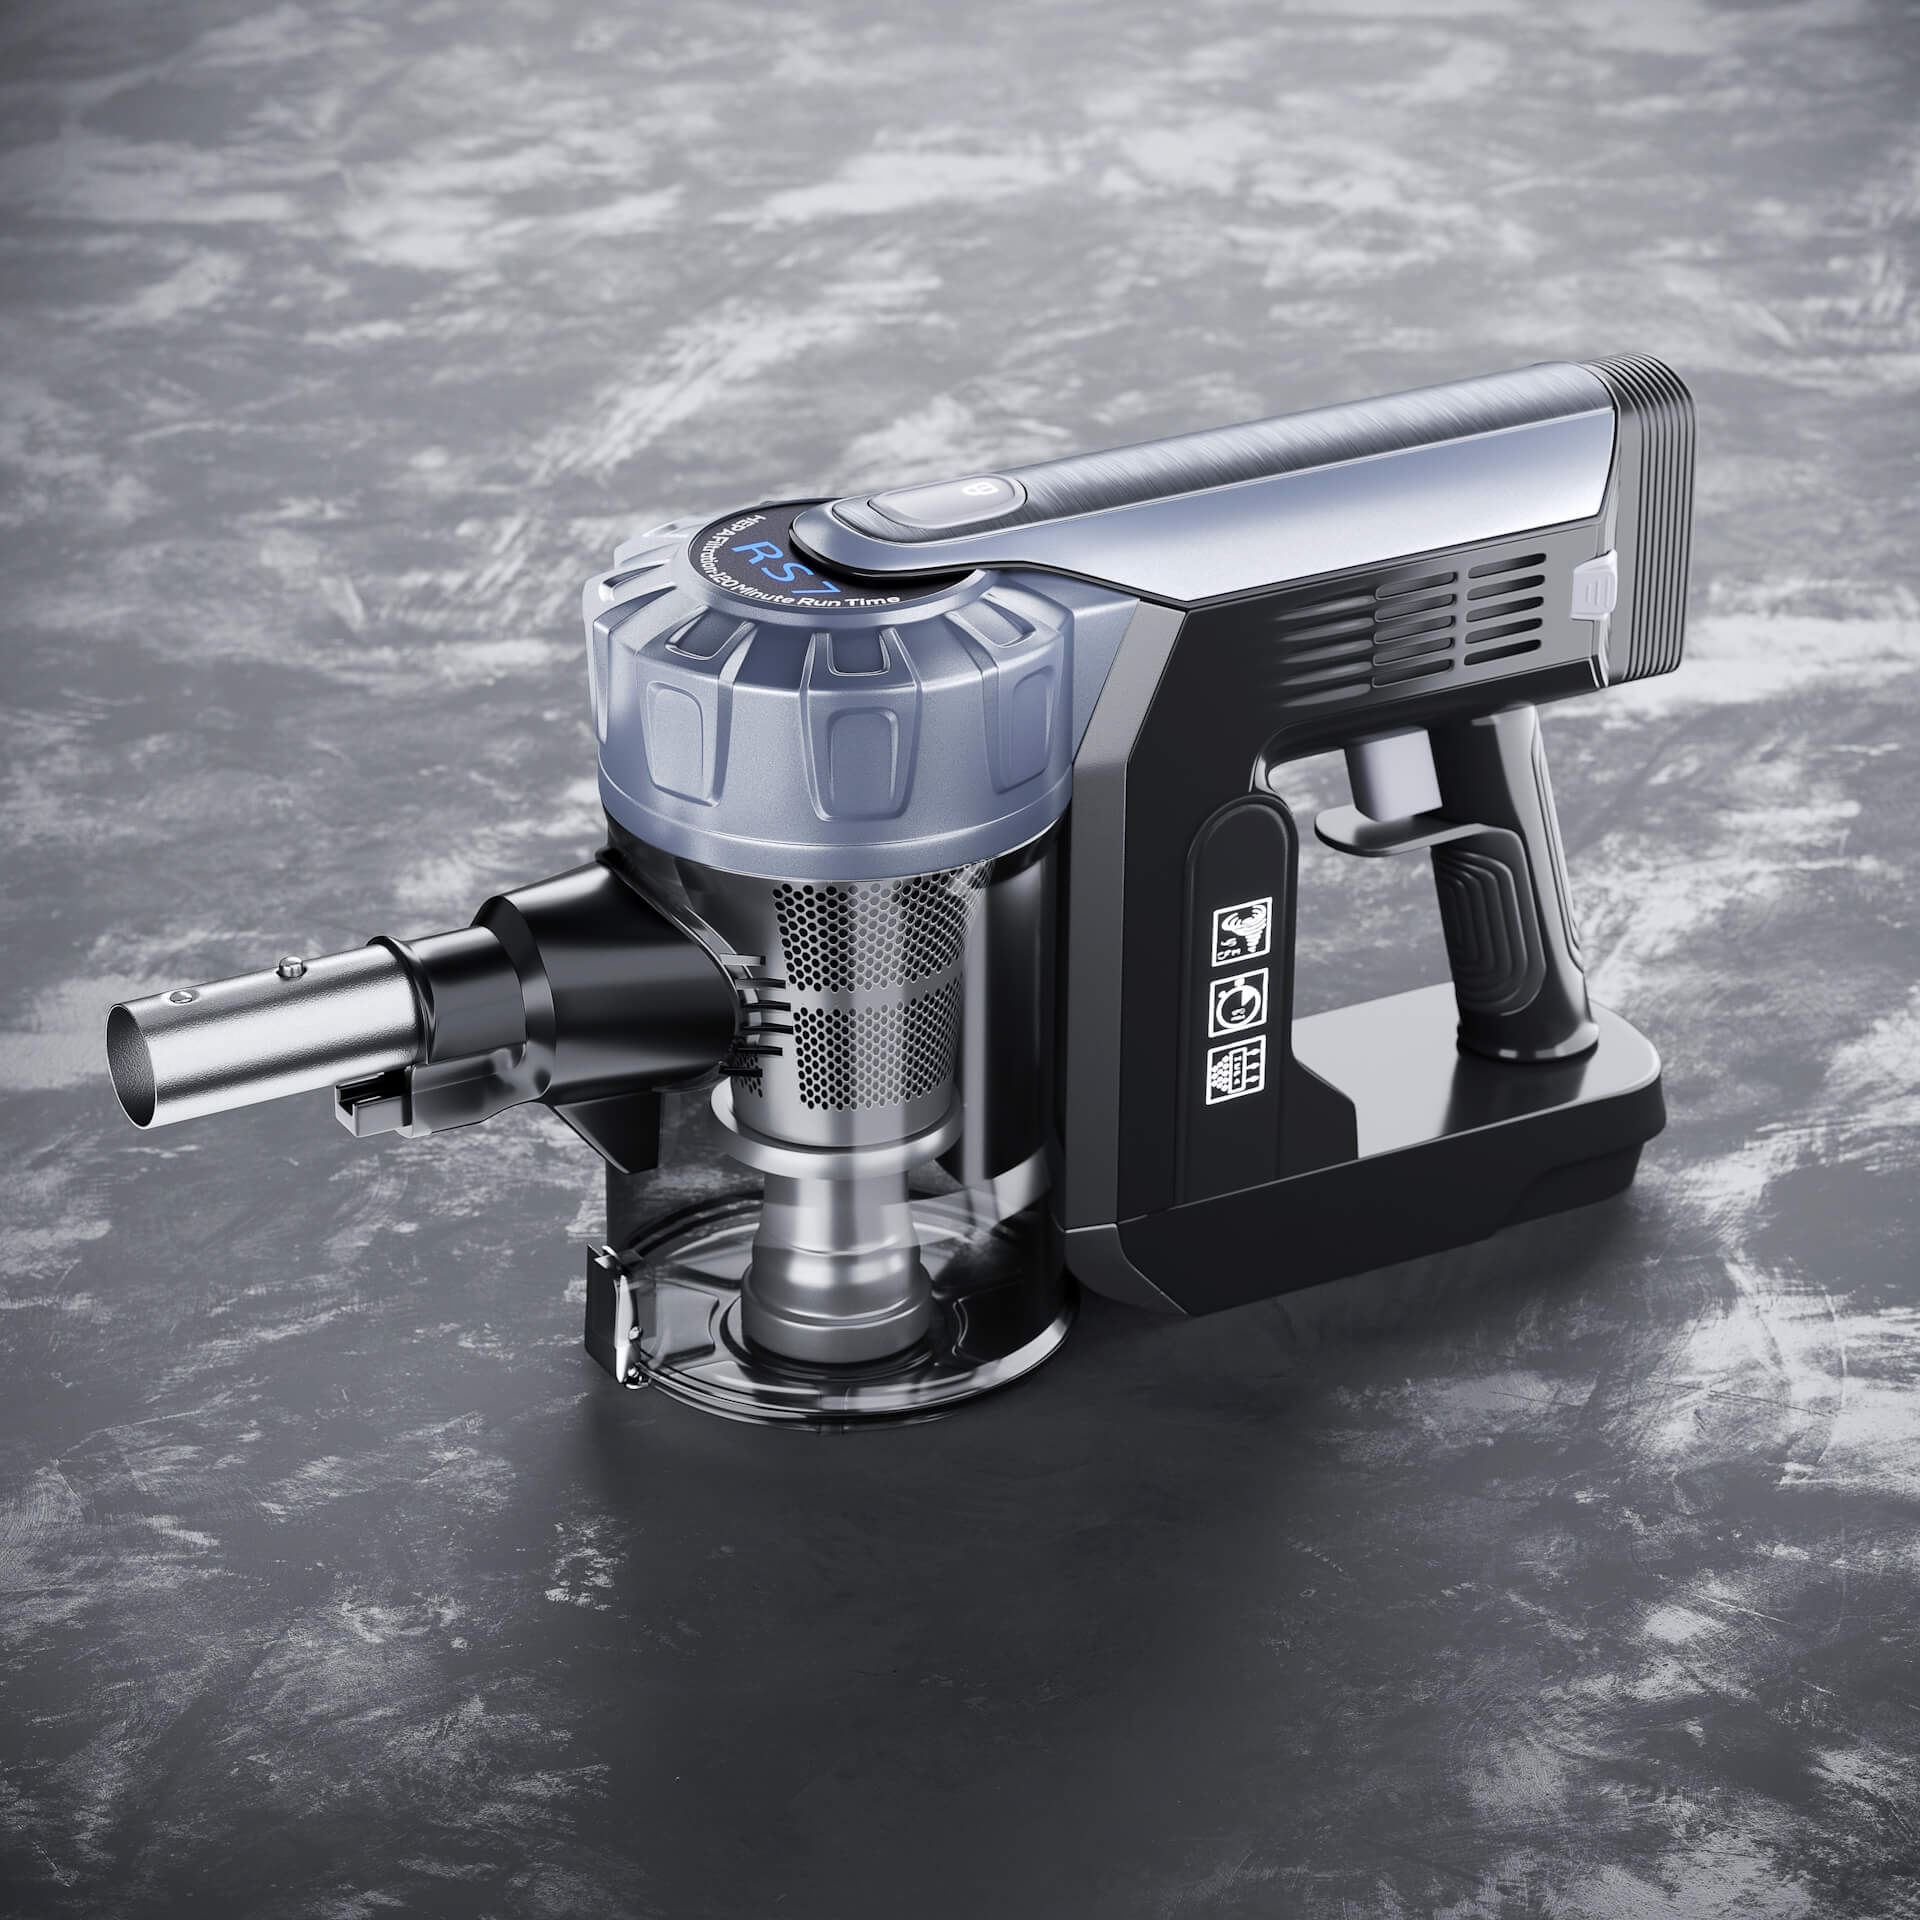
Ask five people what 3D modeling for product design means and you will get two different answers, both correct. One group means the engineering model, the one with tolerances that a factory can build from. The other means the visual model, the one that produces images long before anything is manufactured. They are different files, made by different people, for different reasons.
We build the second kind, so this page is honest about where the line falls and what each side is actually for.
The word covers two different jobs
| Engineering model | Visualisation model | |
|---|---|---|
| Built in | SolidWorks, Fusion 360, Rhino, Creo | 3ds Max, Blender, Maya, KeyShot |
| Cares about | Dimensions, tolerances, wall thickness, assembly | Silhouette, materials, light, what the camera sees |
| Feeds | Tooling, CNC, 3D printing, DFM review | Renders, animation, AR, configurators, packaging art |
| Fails when | A part does not fit or cannot be moulded | The image reads as computer generated |
| Detail nobody sees | Modelled anyway, it has to exist | Deleted, it only costs render time |
The two meet at one file. A STEP export from the engineering side is the fastest possible start for the visual side, because the dimensions are already correct and nobody has to guess the radius of a corner. When brands ask us for a quote, the first question is always whether that file exists.
Where the model sits in the design cycle
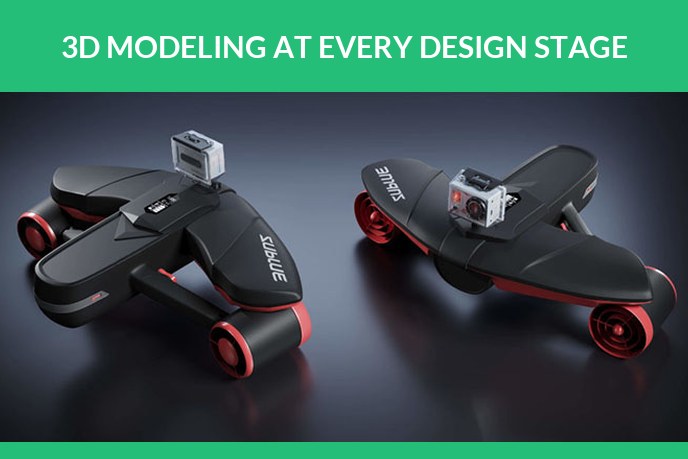
Visualisation is not a step at the end. It shows up three or four times, doing a different job each time.
| Stage | What the model is for | Who looks at it |
|---|---|---|
| Concept | Rough grey renders of three or four directions | The design team, deciding what to kill |
| Development | Accurate form with real proportions and materials | Engineering and management, signing off |
| Pre-production | Photoreal images of a product that does not exist yet | Retail buyers, investors, pre-order pages |
| Launch | Catalogue sets, lifestyle scenes, spins, AR | Customers |
| Every variant after | The same model in a new finish | Customers again, at almost no cost |
From sketch to a model you can manufacture
The route is fairly standard whatever the product.
- Sketches and references. Proportion decisions happen here, on paper, faster than in any software.
- Blocking. Primitive volumes to check scale against a hand, a shelf, a shipping box.
- Surfacing. The stage that decides whether the product looks designed or assembled. Curvature continuity is the thing people feel without being able to name it.
- Engineering detail. Wall thickness, draft angles, fasteners, the parts that make it mouldable rather than merely printable.
- Prototype. A 3D print or CNC part, because a screen never tells you how something feels in the hand.
- Revision. Then most of the above again, which is normal and not a sign anything went wrong.
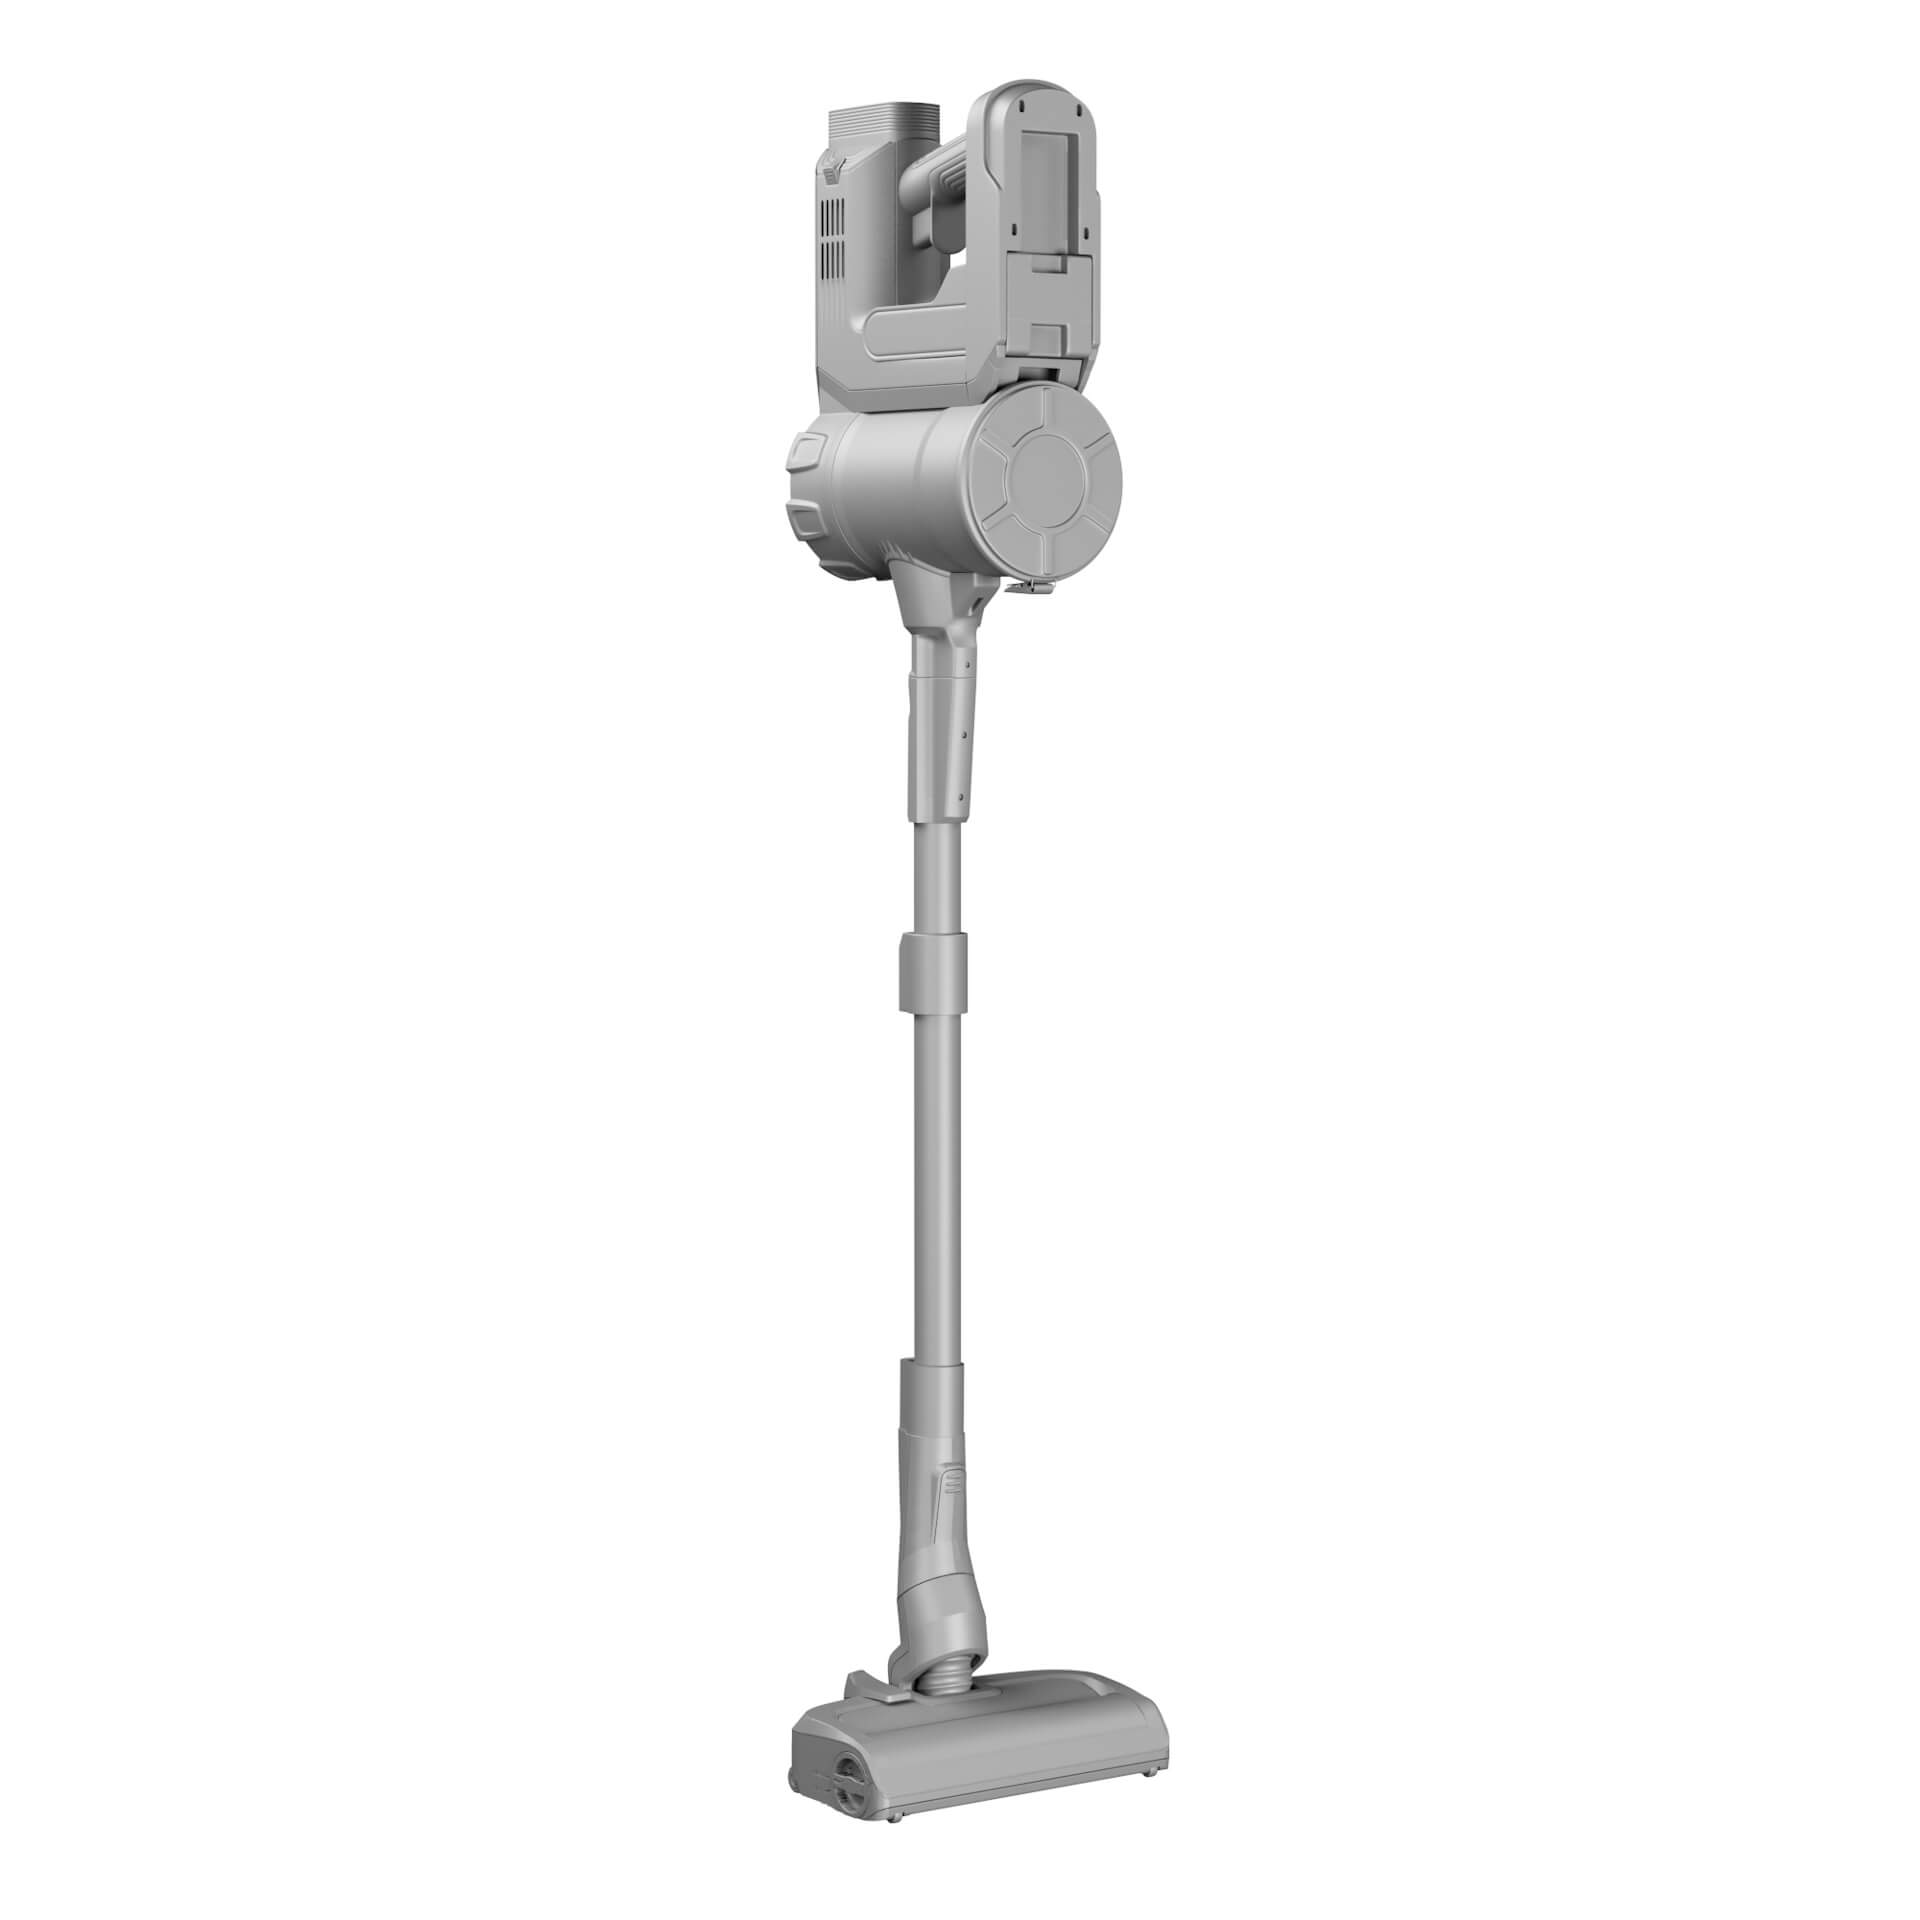
The visualisation model branches off after surfacing. It gets retopologised, given real materials and lit, while the engineering file carries on toward tooling. Trying to render straight from raw CAD is possible and usually looks it: triangulated edges, no bevels, materials that behave like plastic regardless of what they are meant to be. The craft side of that is in photorealistic rendering.
Renders that settle arguments
The most undervalued use of a 3D model is internal. A design review with two rendered options ends in twenty minutes. The same review with sketches and adjectives runs for weeks and gets reopened.
- Grey clay renders for form review, deliberately without colour, so people critique shape instead of arguing about the shade of blue.
- Side by side variants in one frame, identical lighting, so the comparison is about the product rather than the presentation.
- Scale references next to a hand or an existing product, which catches the it looked bigger on screen problem before tooling money is spent.
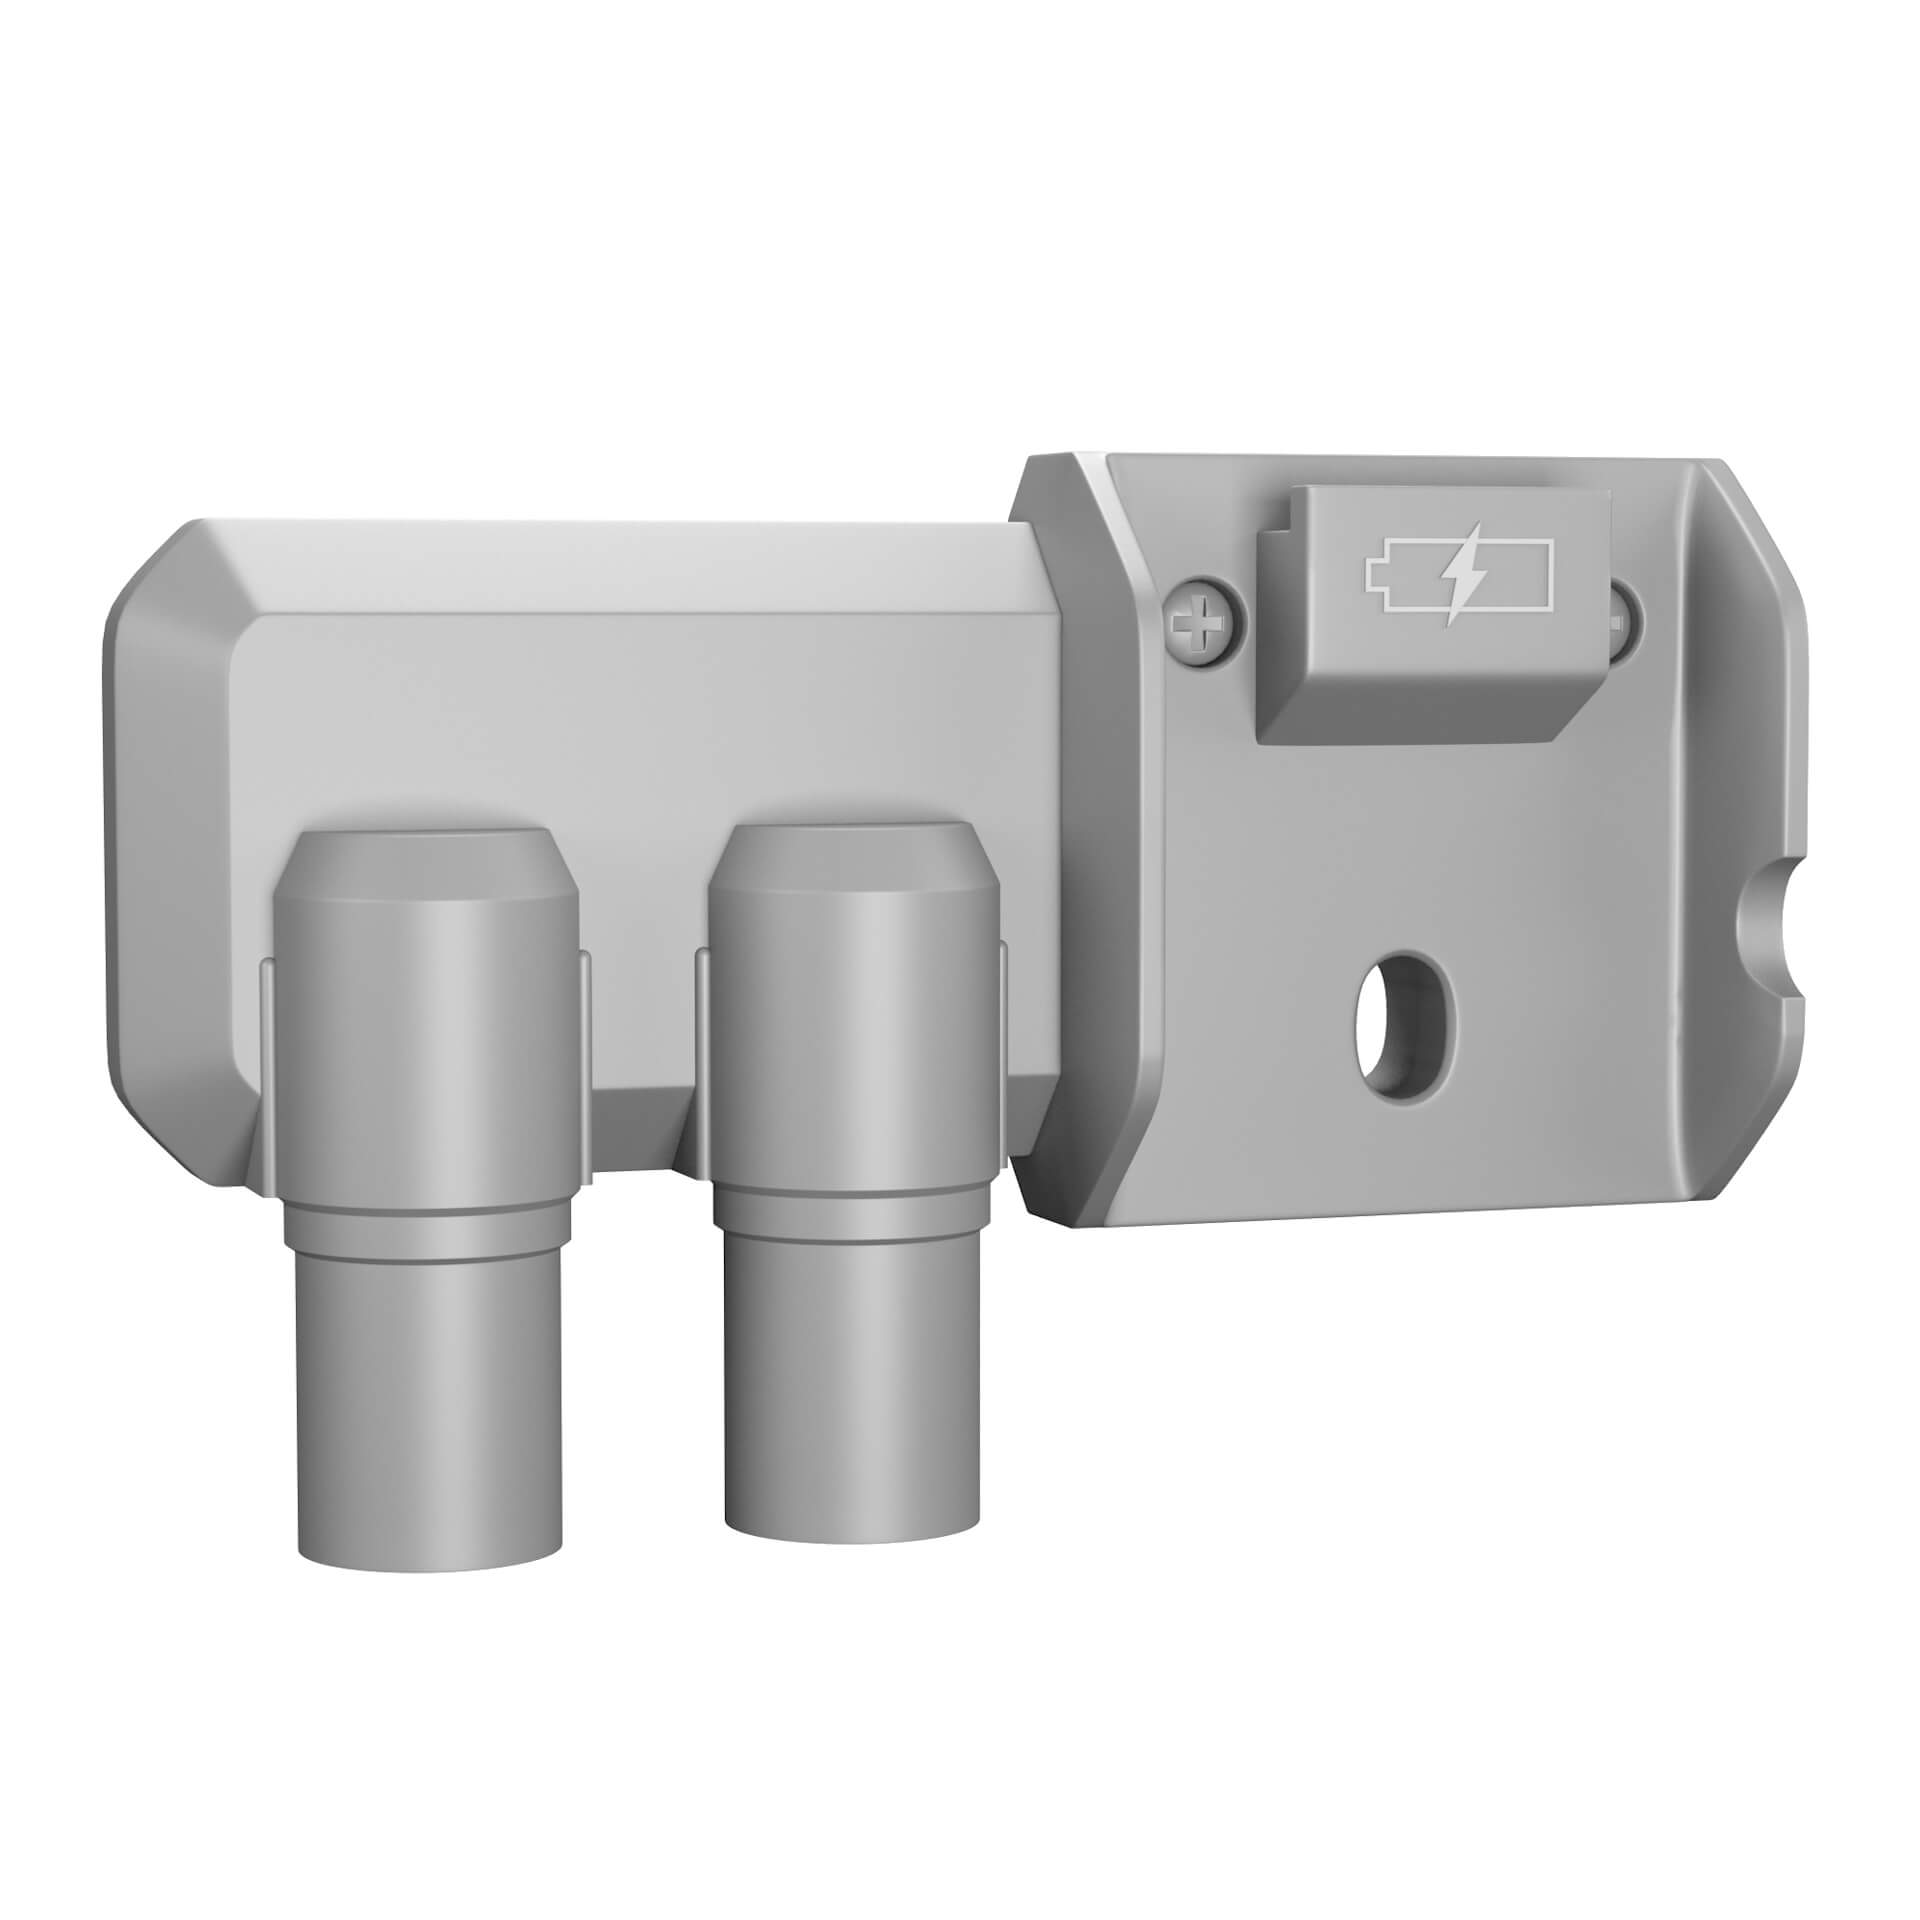
- Exploded views for assembly and service documentation, where clarity beats realism.
Selling the product before it exists
This is where visualisation pays for itself, and it is a timing argument rather than a quality one. Retail buyers commit seasons ahead. Crowdfunding pages need images before the first production run. Trade shows fall on dates that ignore your tooling schedule.
A photoreal render of an unbuilt product covers all three. It also means the catalogue and the packaging artwork can be produced in parallel with manufacturing instead of after it, which usually pulls weeks out of a launch. When the product finally ships, the same model keeps working: new colourways, marketplace angles, interactive views on the product page, and campaign scenes.
What a studio needs from you
In order of how much time each one saves.
- CAD, if it exists. STEP or IGES. This removes all guesswork and usually halves the modelling time.
- Dimensions. If there is no CAD, overall sizes plus the details that matter: the radius of the main corner, the thickness of a lip.
- Materials. Not brushed metal but which brushed metal, ideally with a sample photo in daylight or a Pantone reference.
- Every side. Including the underside and how parts join, the two views briefs almost always forget.
- What the images are for. A pitch deck and a marketplace listing need different things, and knowing which changes what we spend time on.
What it costs and how long it takes
Our published prices, so the ranges are concrete.
| What you order | Price | Delivery |
|---|---|---|
| Silo image on white | from 1 dollar in a catalogue batch | 1 to 2 days |
| Image with a scene | from 120 dollars | 2 to 3 days |
| New finish or colourway | from 60 dollars | Same set, model already exists |
| Full set for one product | from 360 dollars | 3 to 5 days |
| Product complexity | Modelling time | With usable CAD |
|---|---|---|
| Simple: bottles, boxes, basic decor | 1 to 2 days | Under a day |
| Furniture, small appliances | 3 to 5 days | 1 to 2 days |
| Complex assemblies, electronics | 1 to 2 weeks | 3 to 5 days |
The service details are on our 3D product modeling services and 3D product rendering pages, and how this compares against a photo shoot is in product photography cost.
FAQ
If you have a product in development and need images before it ships, send whatever exists: CAD, drawings, or photographs of a prototype. We will tell you what can be built from it and what is still missing.
Both jobs described here draw on the same underlying craft, which is unpacked in what is 3D modeling.

Ian Diev
Content Writer, Editor
Ian loves writing about innovative 3D technologies and their impact on architecture and design. In his spare time, he makes indie music, watches obscure movies, and cooks culinary masterpieces for friends.