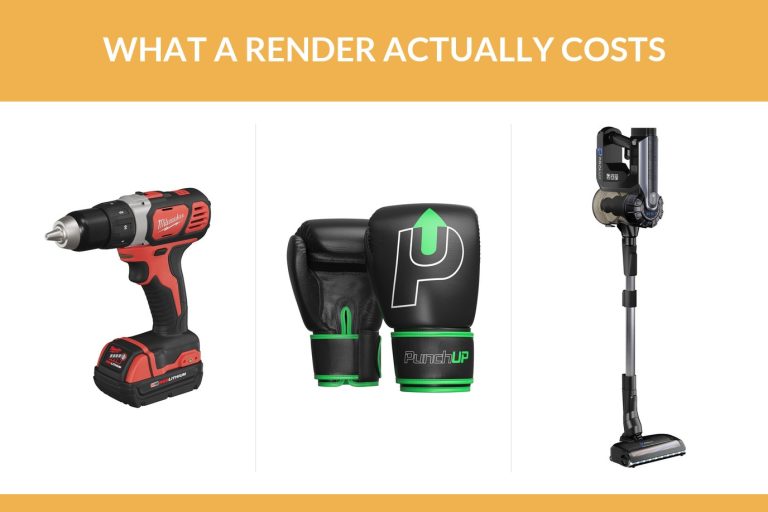
The render itself is quick: a workstation finishes a product still in minutes. The project around it is not. For a typical product with no existing model, plan on roughly one to two working weeks from brief to final images: two to three days to build the model, two to five days for materials, lighting and rendering, plus the time you spend approving each stage.
Ask a render farm and you’ll hear about minutes per frame. Useful if you’re the artist. If you’re the marketing manager waiting on launch images, it tells you almost nothing. This article breaks the project down stage by stage, with real build and render times, worked timelines for three kinds of product and a brief template you can download to keep your own project on the short end.
Contents
- How long does a 3D render take? Machine time vs project time
- 3D rendering timeline, stage by stage
- How long 3D modeling takes before rendering
- How long 3D rendering takes for three typical projects
- How long a 3D product animation takes
- How to shorten 3D rendering turnaround
- What slows a 3D rendering project down
- Frequently asked questions
How long does a 3D render take? Machine time vs project time
Search for how long 3D rendering takes and you’ll mostly find render farms explaining minutes per frame. That’s a real number. A 2026 render farm article says a detailed interior can easily take 10 to 40 minutes per frame on a capable workstation, and it works out that a one minute clip of 1,500 frames at an optimistic 12 minutes each would need about 300 hours on a single machine.

For a set of product stills, though, the computer’s share is small. A dozen images at half an hour each is six hours of machine time, which a workstation can get through overnight. What fills the calendar is everything around it: building the model, matching materials to your samples, setting up light, waiting for approvals and making changes. Those are hours of an artist’s work and days of your attention, and that’s the number to plan a launch around.
3D rendering timeline, stage by stage
Here’s how a rendering project runs at UFO3D, with the time each stage usually takes.
| Stage | What happens | Typical time |
|---|---|---|
| Quote | You send files and a shot list, the studio replies with price and schedule | within one business day |
| Grey model | Geometry without materials, sent to you for approval | one day for a simple part, two to three for a typical product, three to five for a complex one |
| Your approval | You check shape, proportions and details | depends on you |
| Materials, lighting, images | Finishes matched, scene lit, images rendered | two days for simple images, up to five for complex ones |
| Changes | Two rounds included in the price | depends on the size of the changes |
| Delivery | Images plus the model and its source file | after final approval |
The grey model step is the one people try to skip, and it’s the one that saves the most time. Say the handle of your kettle comes out two millimetres too thick. On a grey model, that’s a quick fix. Spot it after materials, lighting and twenty renders, and much of that work gets redone.
Here’s what those two checkpoints looked like on a stick vacuum from our portfolio, built from the client’s reference photos.
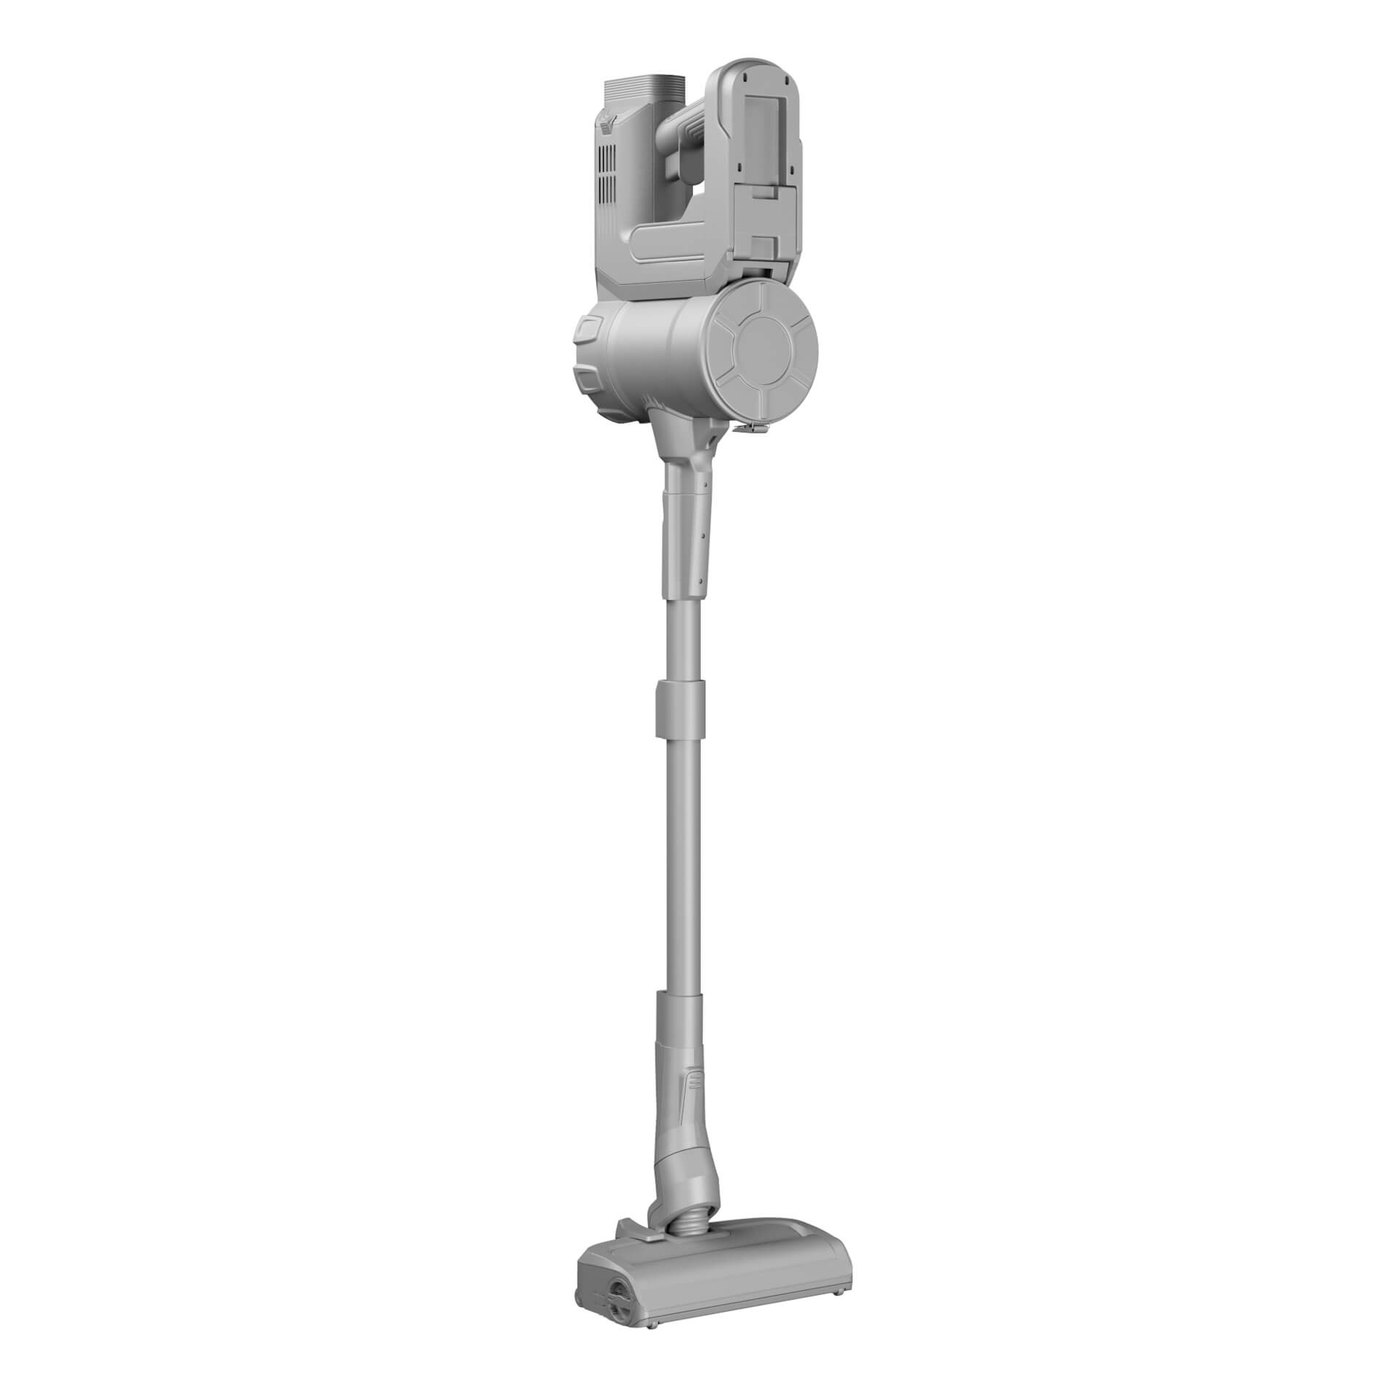
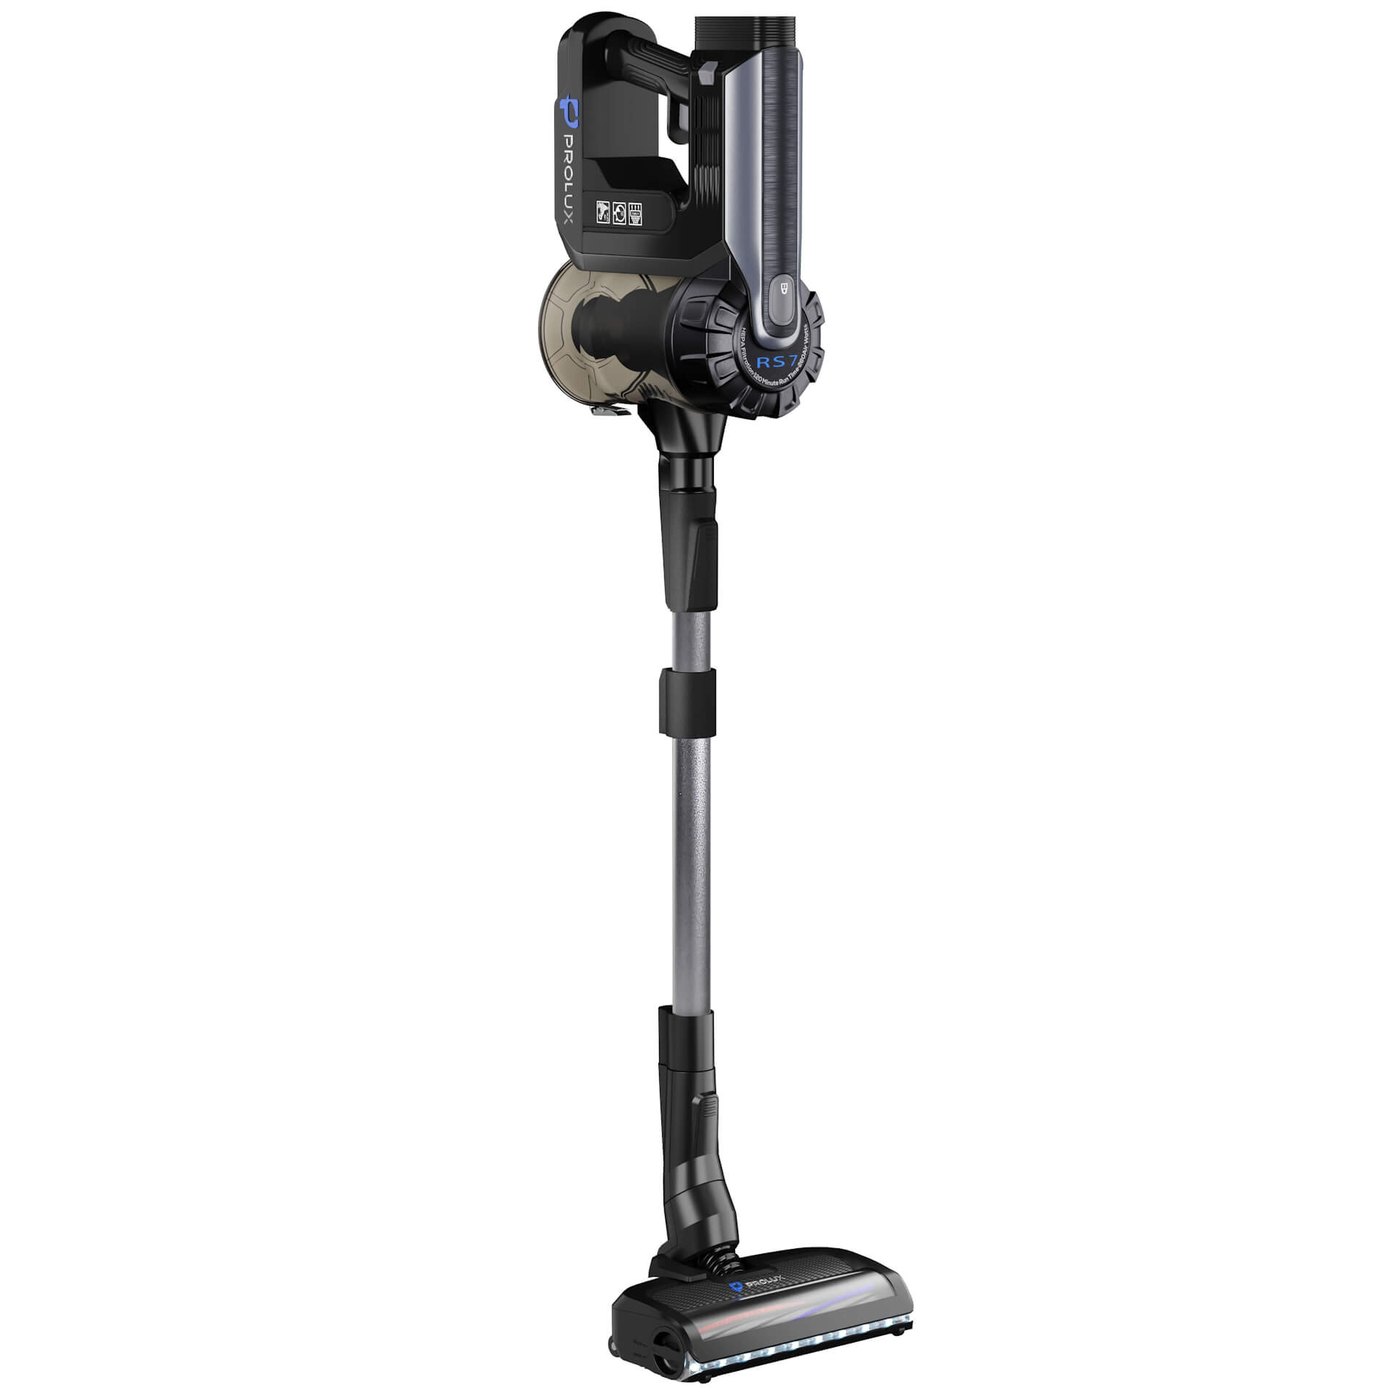
Between those two images sits the materials and lighting stage, two to five days depending on how many images and scenes are on the list. Everything about the shape was already settled at checkpoint one, so the second review is about colour, finish and logos only.
How long 3D modeling takes before rendering
If you already have a render ready model, skip this section. Most brands don’t, and the model is usually the longest single stage of a first project.
| Product | Model build time |
|---|---|
| Simple part | about one day |
| Typical product, such as a portable speaker | two to three days |
| Complex product with many parts or a mechanism | three to five days |
| Watch with its movement | one to two weeks |
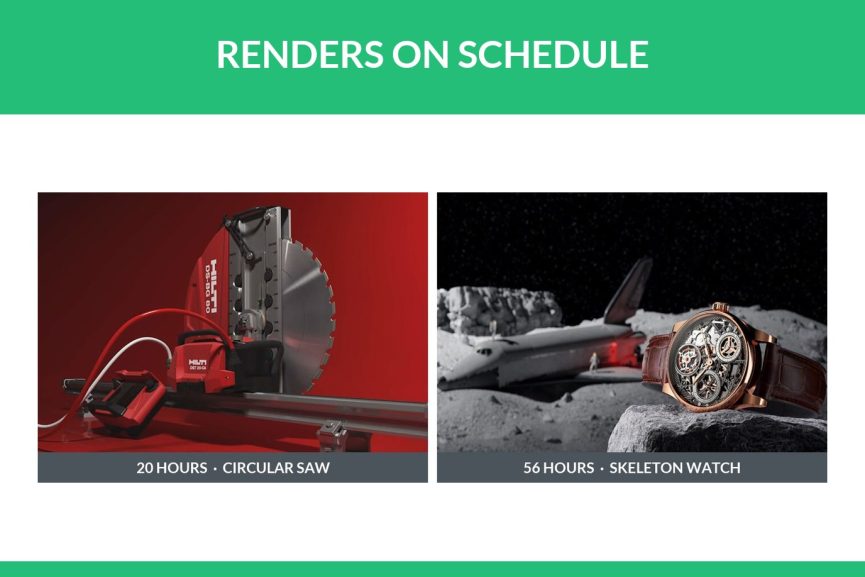
The part count drives most of it. Organic, carved or sculpted detail adds more, because it can’t be built from clean geometric shapes. Two past projects on our site show the spread clearly.

Put those hours into working days and the gap is plain. Twenty hours is about two and a half days for one artist. Fifty six hours is seven days, and that’s before the watch gets a single lit image.
You only pay this time once, though. When you come back for new colourways or a seasonal scene, the model is already there and the project starts at materials and lighting.
How long 3D rendering takes for three typical projects
These are hypothetical projects, timed with the stage figures above. They assume quick approvals on your side. The images show real work from our portfolio in the same product categories, not these exact jobs.
A simple part on white: about one working week
Say it’s a replacement filter for a water jug. The quote comes back the next business day, the model takes about a day, and simple renders on white take about two days. Allow most of a working week once you add an approval round.
A typical product with scenes: one and a half to two weeks
Picture a portable speaker. You want shots on white for the listing and two lifestyle scenes for ads. The model takes two to three days. The scenes push rendering towards the five day end, since a room needs a set, props and its own light, while a white background needs none of that.
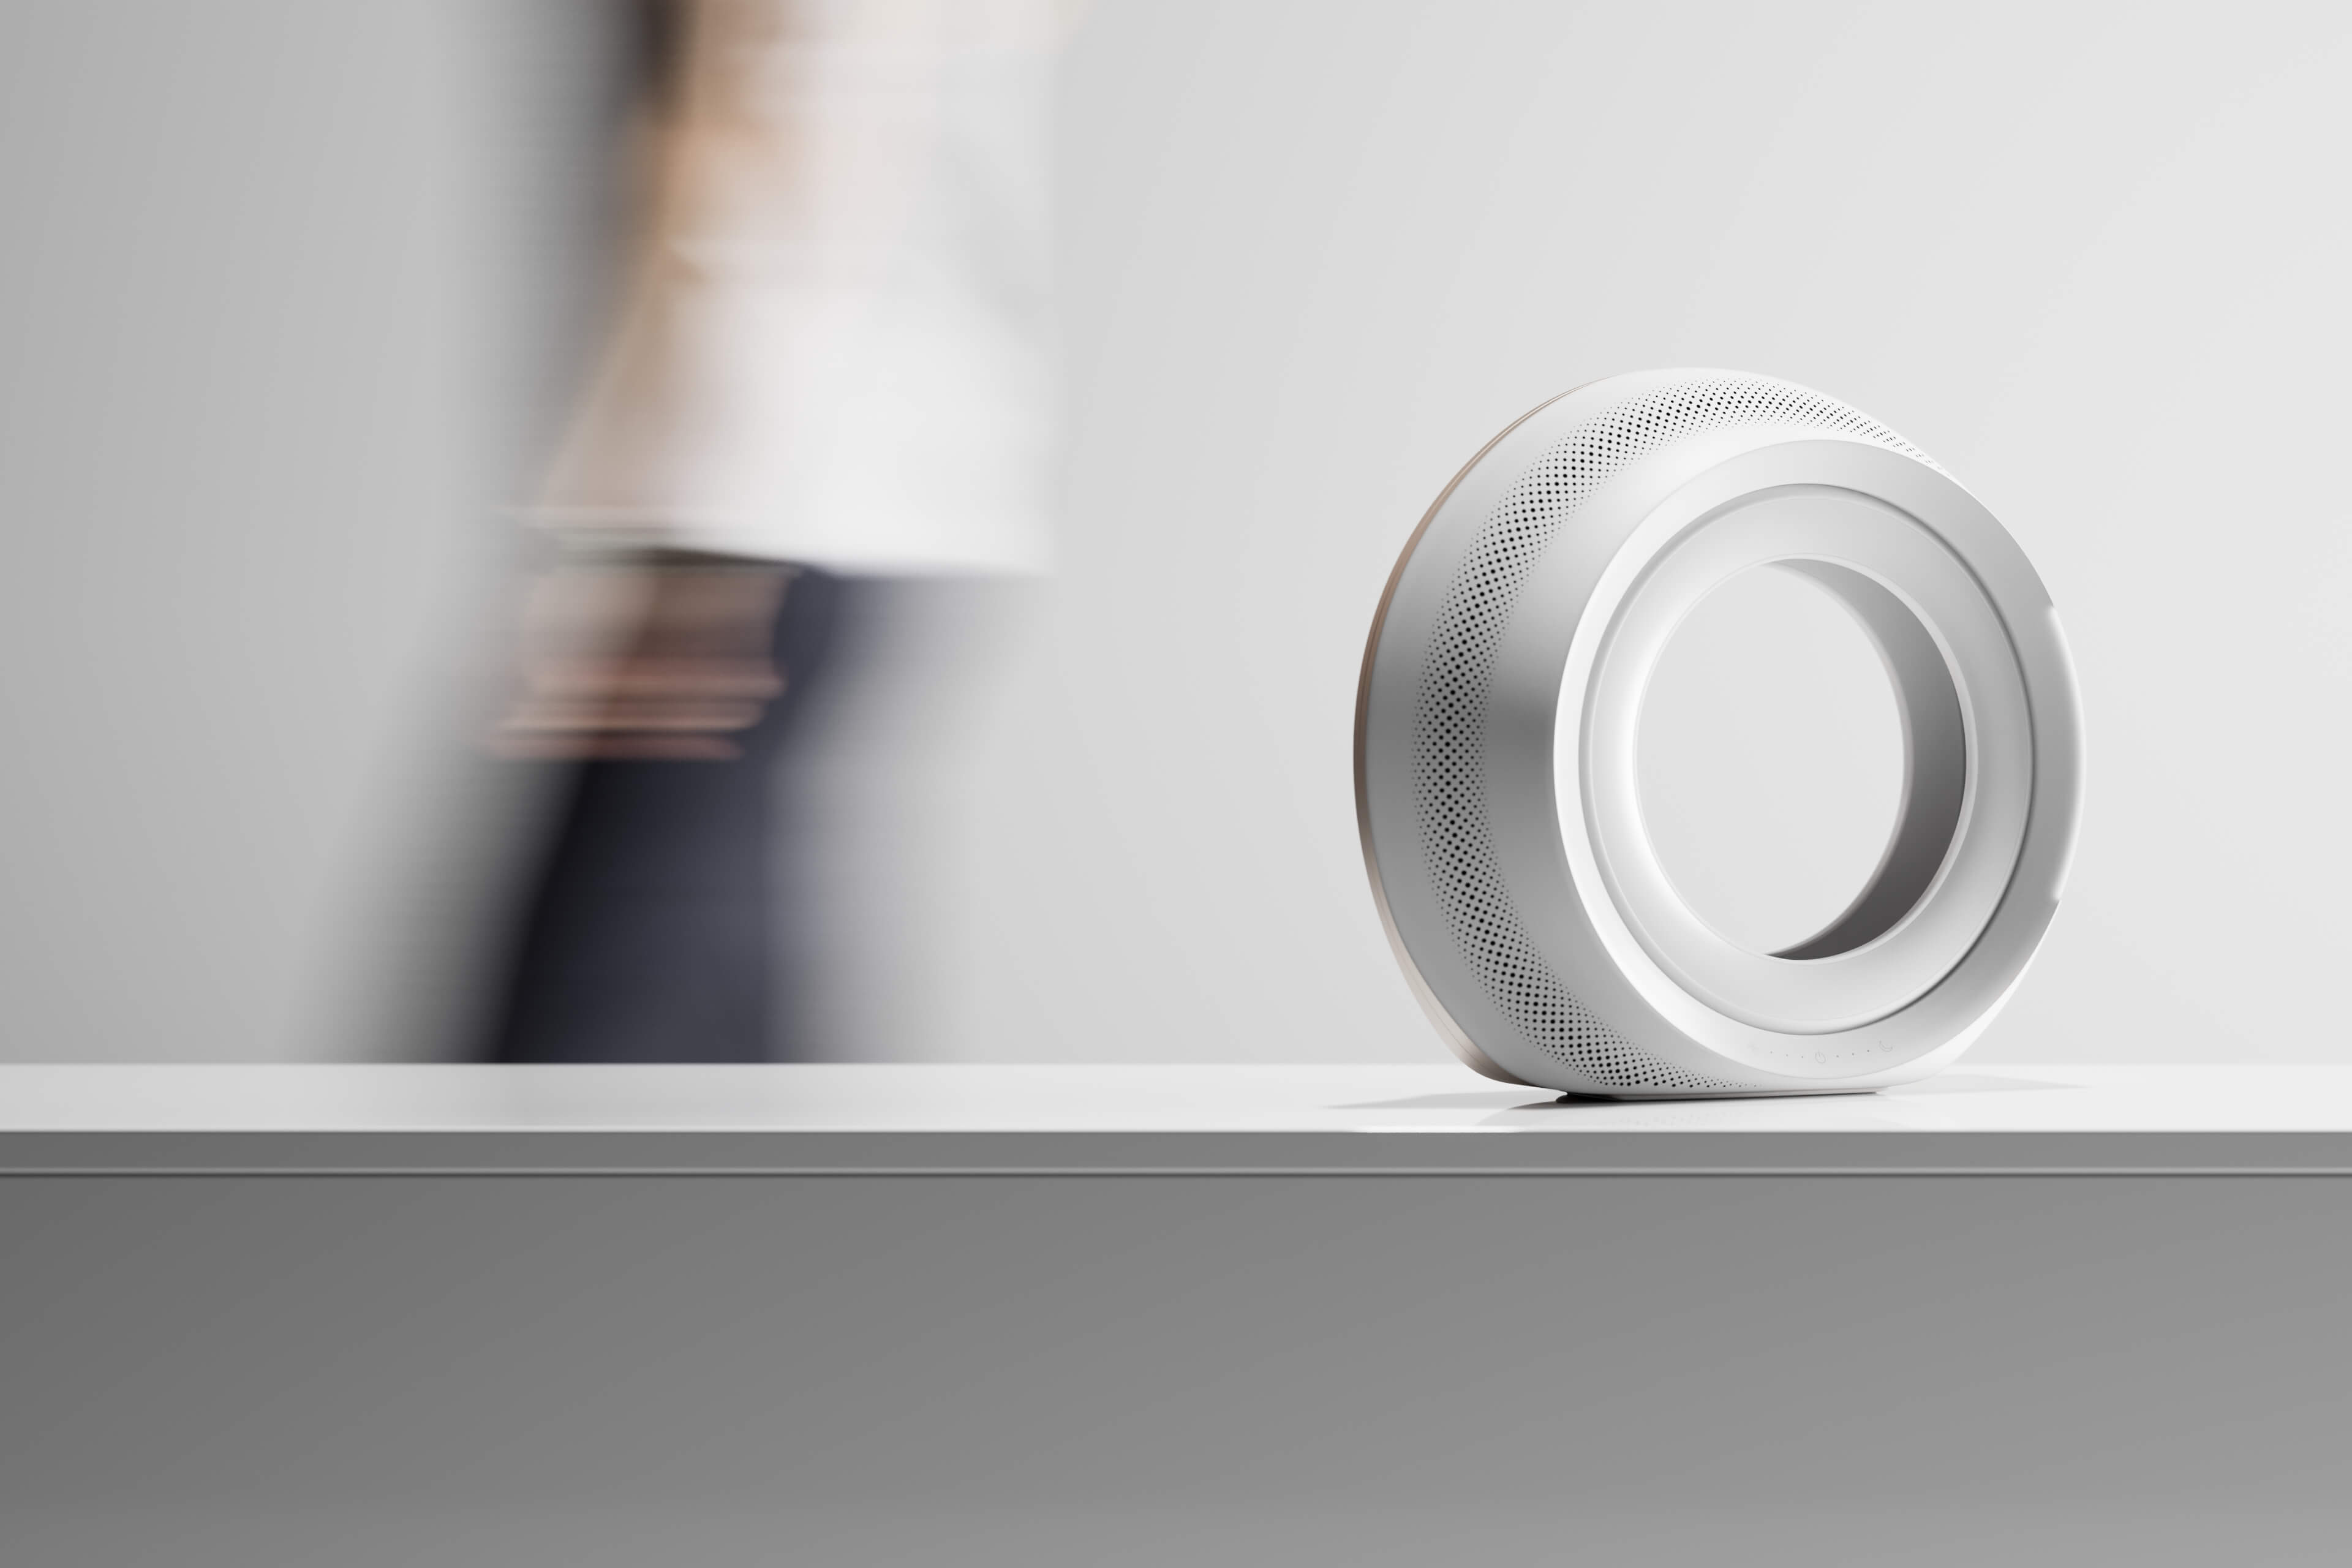
Counted up, that’s two to three days of modelling, a day or so for your approval, up to five days of rendering and a round of changes. One and a half to two working weeks is a fair estimate.
A watch campaign: around three weeks
A watch with a visible movement takes one to two weeks to model before any image is rendered. Add complex renders and a change round on top, and a three week window is a sensible plan.

Want to see how real projects moved from client files to finished images? Our product rendering examples show five of them, with what was supplied at the start.
How long a 3D product animation takes
Animation is where machine time stops being trivial. Each second of video is made of a couple of dozen separate frames, and every one of them renders like a still. That’s why the render farm maths above runs into hundreds of hours.
Even so, rendering isn’t what makes a product film slow. A film at UFO3D takes two to four weeks, and most of that is spent on the script and the edit. Before anything moves, somebody has to work out the story: which feature appears first, where the camera goes, how many seconds the battery door gets. Camera moves get agreed on a rough version first. The final frames render only after that. If a launch date depends on a film, start the script conversation before the model is even finished.
How to shorten 3D rendering turnaround
Here’s the part you control. None of it costs extra.
- Send CAD or STEP files if they exist. With the geometry defined, the artist isn’t estimating curves from a photo. No CAD? Dimensioned drawings come close.
- Decide materials before the brief. A physical swatch or a colour code ends the back and forth on finishes.
- Write a shot list. Note the angles and backgrounds you want, the sizes, and the place each image will run. The quote then reflects the actual job.
- Approve the grey model quickly. A day’s wait at that stage pushes everything after it by a day.
- Collect feedback into one list. One combined message per round beats five separate emails from five people.
Use a brief template
Most of the days lost on a rendering project go on questions that a complete brief would have answered on day one. What are the overall dimensions? Which finish is the hero colour? Is the image for a marketplace listing or a printed catalogue? Our brief template walks through them in ten short sections, from product files and dimensions to materials, artwork, a shot list, formats and the deadline with the name of whoever approves. Fill in what you know and leave the rest blank, since the gaps show what still needs deciding. Send the same filled-in brief to every studio you ask, and you get quotes for the same job.
Download the 3D rendering brief template (PDF)
Having the model already built is the biggest shortcut of all. A new set of images from an existing model starts at the lighting stage.
Catalogues move faster per product
A range of products doesn’t take a hundred times as long as one. At UFO3D, 100 SKUs take about a week, because the work is split across a team of more than 290 3D artists and the lighting setup is built once for the whole range. That figure leans heavily on the inputs. A catalogue where every product has CAD files and agreed finishes gets close to it. One where half the products arrive as phone photos with no sizes will not. If you’re planning a large batch, it helps to run three to five products through first, so the look is agreed and the gaps in your files show up early.
What slows a 3D rendering project down
Slow computers are almost never the problem. Look instead at the brief, and at anything that changed after you signed off a stage.
- Photos sent without a single measurement. The artist emails to ask, then waits.
- Design changes after the grey model is approved. A new button layout late in the project means remodelling, then re-rendering.
- Unclear destinations. Discovering at delivery that images are needed at print resolution, or in a vertical crop for social, adds a pass.
- Feedback arriving in pieces over several days.
- Scope growing mid project, such as a third scene added after the first two are lit.
None of these is unusual, and a studio can absorb some of it. If a date is fixed, though, settle them at the brief. UFO3D also offers a timeliness guarantee you can apply for: if the project is late, it’s free.
Speed and price are linked, too. The things that shorten a schedule also cut hours from the bill, and our guide to reducing product rendering cost goes through them. For the bigger picture on how rendering works and what it produces, see our 3D product rendering guide.
If you have a launch date in mind, send the files and the date through our 3D product rendering services page. You’ll have a quote within one business day, with a schedule attached.
Frequently asked questions

Ian Diev
Content Writer, Editor
Ian loves writing about innovative 3D technologies and their impact on architecture and design. In his spare time, he makes indie music, watches obscure movies, and cooks culinary masterpieces for friends.