For a handful of images of one product that already sits on your desk, a photoshoot is usually the cheaper and quicker choice. Once you have several colourways, dozens of SKUs or a product that has not been manufactured yet, 3D rendering costs less per image and keeps costing less every time you need a new one.
This article skips the question of which one looks better. At a good level of craft, buyers on a product page don’t tell them apart. What follows is a way to decide by four practical things: what the product is, how many SKUs you have, how many colourways each one comes in and whether a physical sample exists. You’ll find prices for both routes, three rendered projects from our portfolio and a decision table at the end.
Contents
- 3D rendering vs photography: four questions that decide it
- Product photography vs 3D rendering: cost per image
- CGI vs photography for colourways
- Rendering instead of a photoshoot: three real projects
- When product photography is the better choice
- When 3D rendering beats a photoshoot
- CGI or photography: a decision table by situation
- Frequently asked questions
3D rendering vs photography: four questions that decide it
Most comparisons of CGI and photography argue about realism. For packaged goods, electronics and hard products that argument was settled years ago. The real decision is about money and timing, and four questions get you most of the way there. Read each row and note which column sounds like your range.
| Question | When CGI wins | When a photoshoot wins |
|---|---|---|
| What is the product made of? | Rigid objects with clean surfaces: a speaker, a drill, a bottle, a phone case. Leather and soft goods are routine too, they just take more hours. | Food, drinks being poured and anything organic. Steam, crumbs and melting cheese can be rendered, but rarely at a price that beats a food photographer. |
| How many SKUs are in the range? | Dozens or hundreds. The fortieth product goes through the same render setup as the first, with the same light and camera height. | One or a few. Forty products on set means shipping samples, tracking them and reshooting the one that arrived scratched. |
| How many colourways per SKU? | Two or more. A new colour is a material change on a file that already exists, and our price list charges 1 USD per colour change. | Just one, and it won’t change. Then there is nothing for a model to repeat. |
| Is there a physical sample? | No, or not yet. A model can be built from CAD files, technical drawings or photos of a prototype while tooling is still going on. | Yes, it is finished and on your desk, and nothing about it will change before launch. |
If most of your answers land in the left column, rendering will almost certainly cost less over the life of the product. If they land on the right, book a photographer. With a split result, let the colourway row decide. It moves the numbers more than any other, as the next two sections show.
Product photography vs 3D rendering: cost per image
Photography prices vary a lot from studio to studio, so the comparison below uses one service that publishes its full price list. Soona’s pricing page lists 39 USD per photo on every plan, a 149 USD studio pass per booking for non-members (members pay from 13 USD a month, billed annually, and the fee is waived), 93 USD per video clip, and models and styling billed on top. Treat it as one reference point, not the market average.
The rendering side uses our own rates at UFO3D. The main cost is the 3D model, which you pay for once.
| What you need | Photoshoot (soona, published) | 3D rendering (UFO3D) |
|---|---|---|
| Starting a project | 149 USD studio pass per booking, or a membership | The 3D model: around 80 USD for a simple part, around 200 USD for a typical product such as a portable speaker |
| Images on white | 39 USD per photo | Included in the model price above |
| Image in a styled scene | 39 USD per photo, studio sets and props included | From 120 USD per scene image |
| A new colourway | A new sample, plus 39 USD per photo again | 1 USD per colour change on the existing model |
| People in the shot | Full body model 159 USD an hour, hand model 79 USD an hour | Possible, but usually not the right tool |
| Motion | 93 USD per video clip | 30 to 60 USD per second of animation |
Look at the scene row before you decide anything. On a per image basis, a styled studio photo at 39 USD is cheaper than a rendered scene from 120 USD. If you need a couple of lifestyle shots of one existing product and the studio’s sets fit your brand, book the shoot. Rendering earns its keep elsewhere: in variants and repeats, and in products that are not on a shelf yet.
A fuller breakdown of shoot costs, including the retouching, studio rental and shipping that often sit outside the quote, is in our guide to product photography cost.
CGI vs photography for colourways
Say you sell a portable speaker in six colours. Each colour needs five images on white for the shop and the marketplace listing. That’s 30 images.
Photographed
- 30 photos at 39 USD: 1,170 USD
- Studio pass for a non-member: 149 USD
- Total: 1,319 USD, before you pay to ship six samples to the studio and back
That works out at about 220 USD per colourway, studio pass included.
Rendered
- One model of a typical product, with the renders on white: around 200 USD
- Five more colours on the same model, at 1 USD per colour change: 5 USD
- Total: about 205 USD, and no samples travel anywhere
Per colourway, that’s roughly 34 USD, and nearly all of it is the model you pay for once. The gap widens with every colour you add, and it widens again next season. A seventh colour on the photo route means another sample and another booking. On the render route it’s another finish on a file you already own.
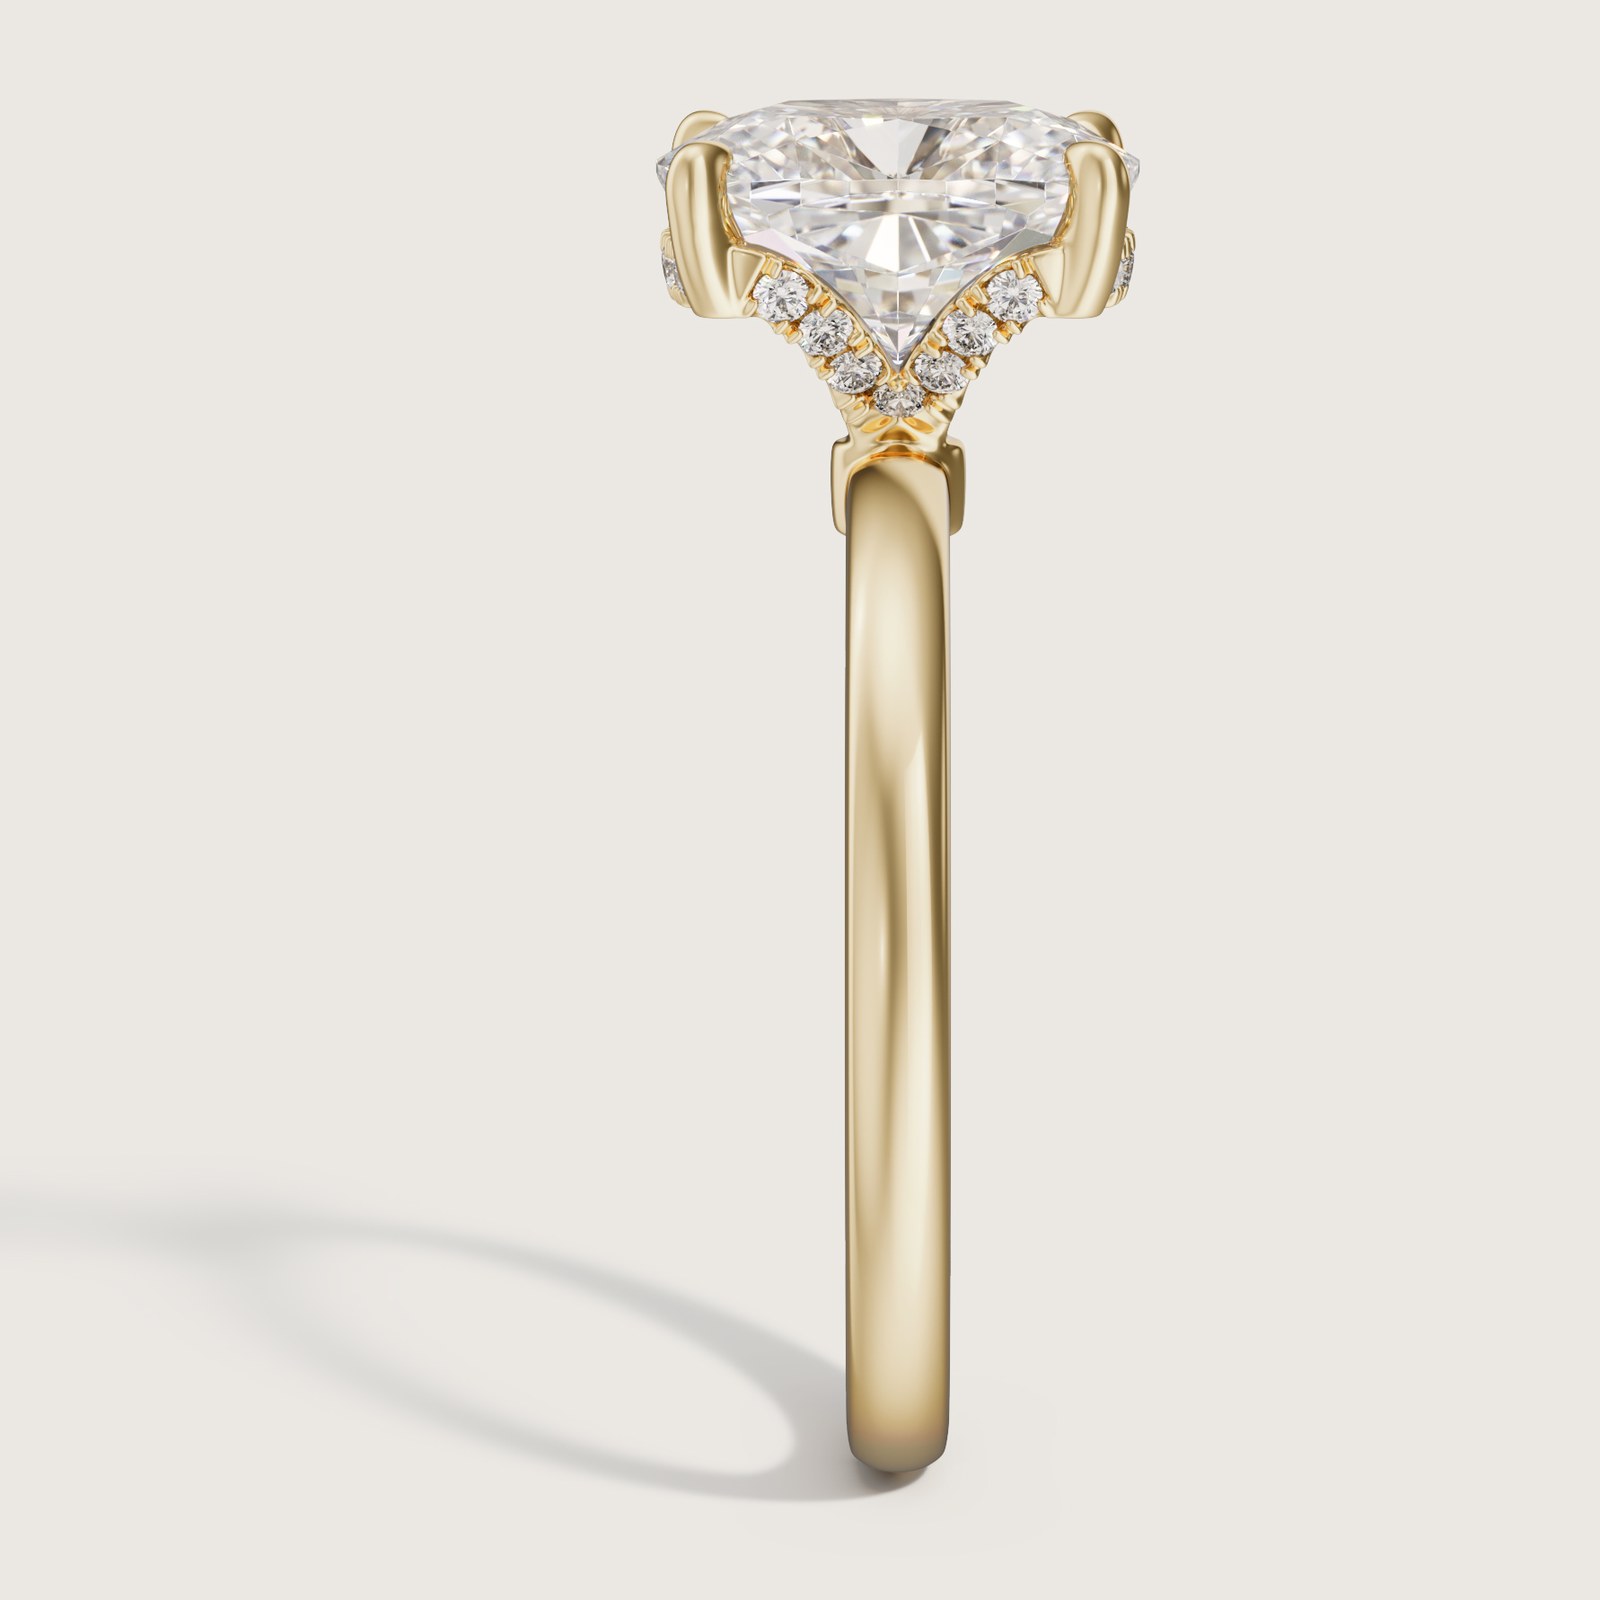
Metals work the same way as fabrics and plastics. The ring below comes from a portfolio project where the jeweller sent a CAD file and the ring was rendered in white gold and then in yellow gold from the same model, with the same cameras and the same lighting.
Now run the speaker exercise with one colour and five images. Photographed, it’s 195 USD in photo fees plus the studio pass or a membership. Rendered, it’s around 200 USD for a typical product. That’s close to a tie, and if the sample is in your hands today, the shoot is the simpler option. Pick by the variant count, not by the headline price per image.
Rendering instead of a photoshoot: three real projects
Numbers on a table only go so far. Here are three projects from our portfolio where the brand needed product images and no camera was involved. Each one started from a different kind of input.
Boxing gloves from phone photos
The brand photographed its gloves on a kitchen counter with a phone and sent those pictures along with the logo artwork. The shape was modelled and approved in grey first, then the leather, green trim and printed branding went on. The result was a set of renders on white at three angles, ready for a store listing.
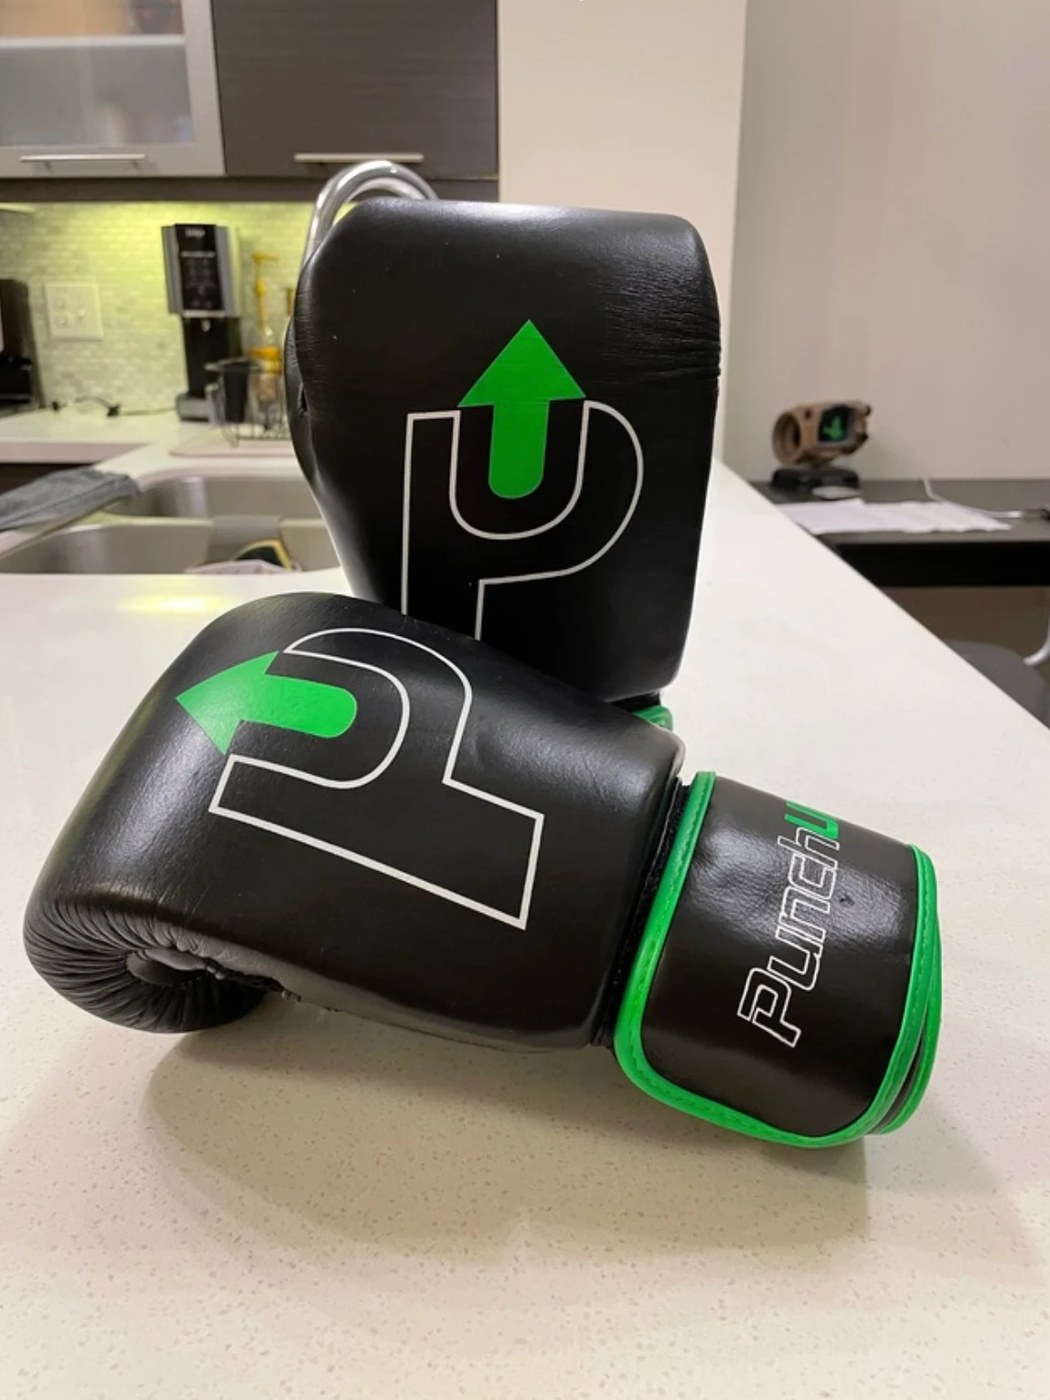
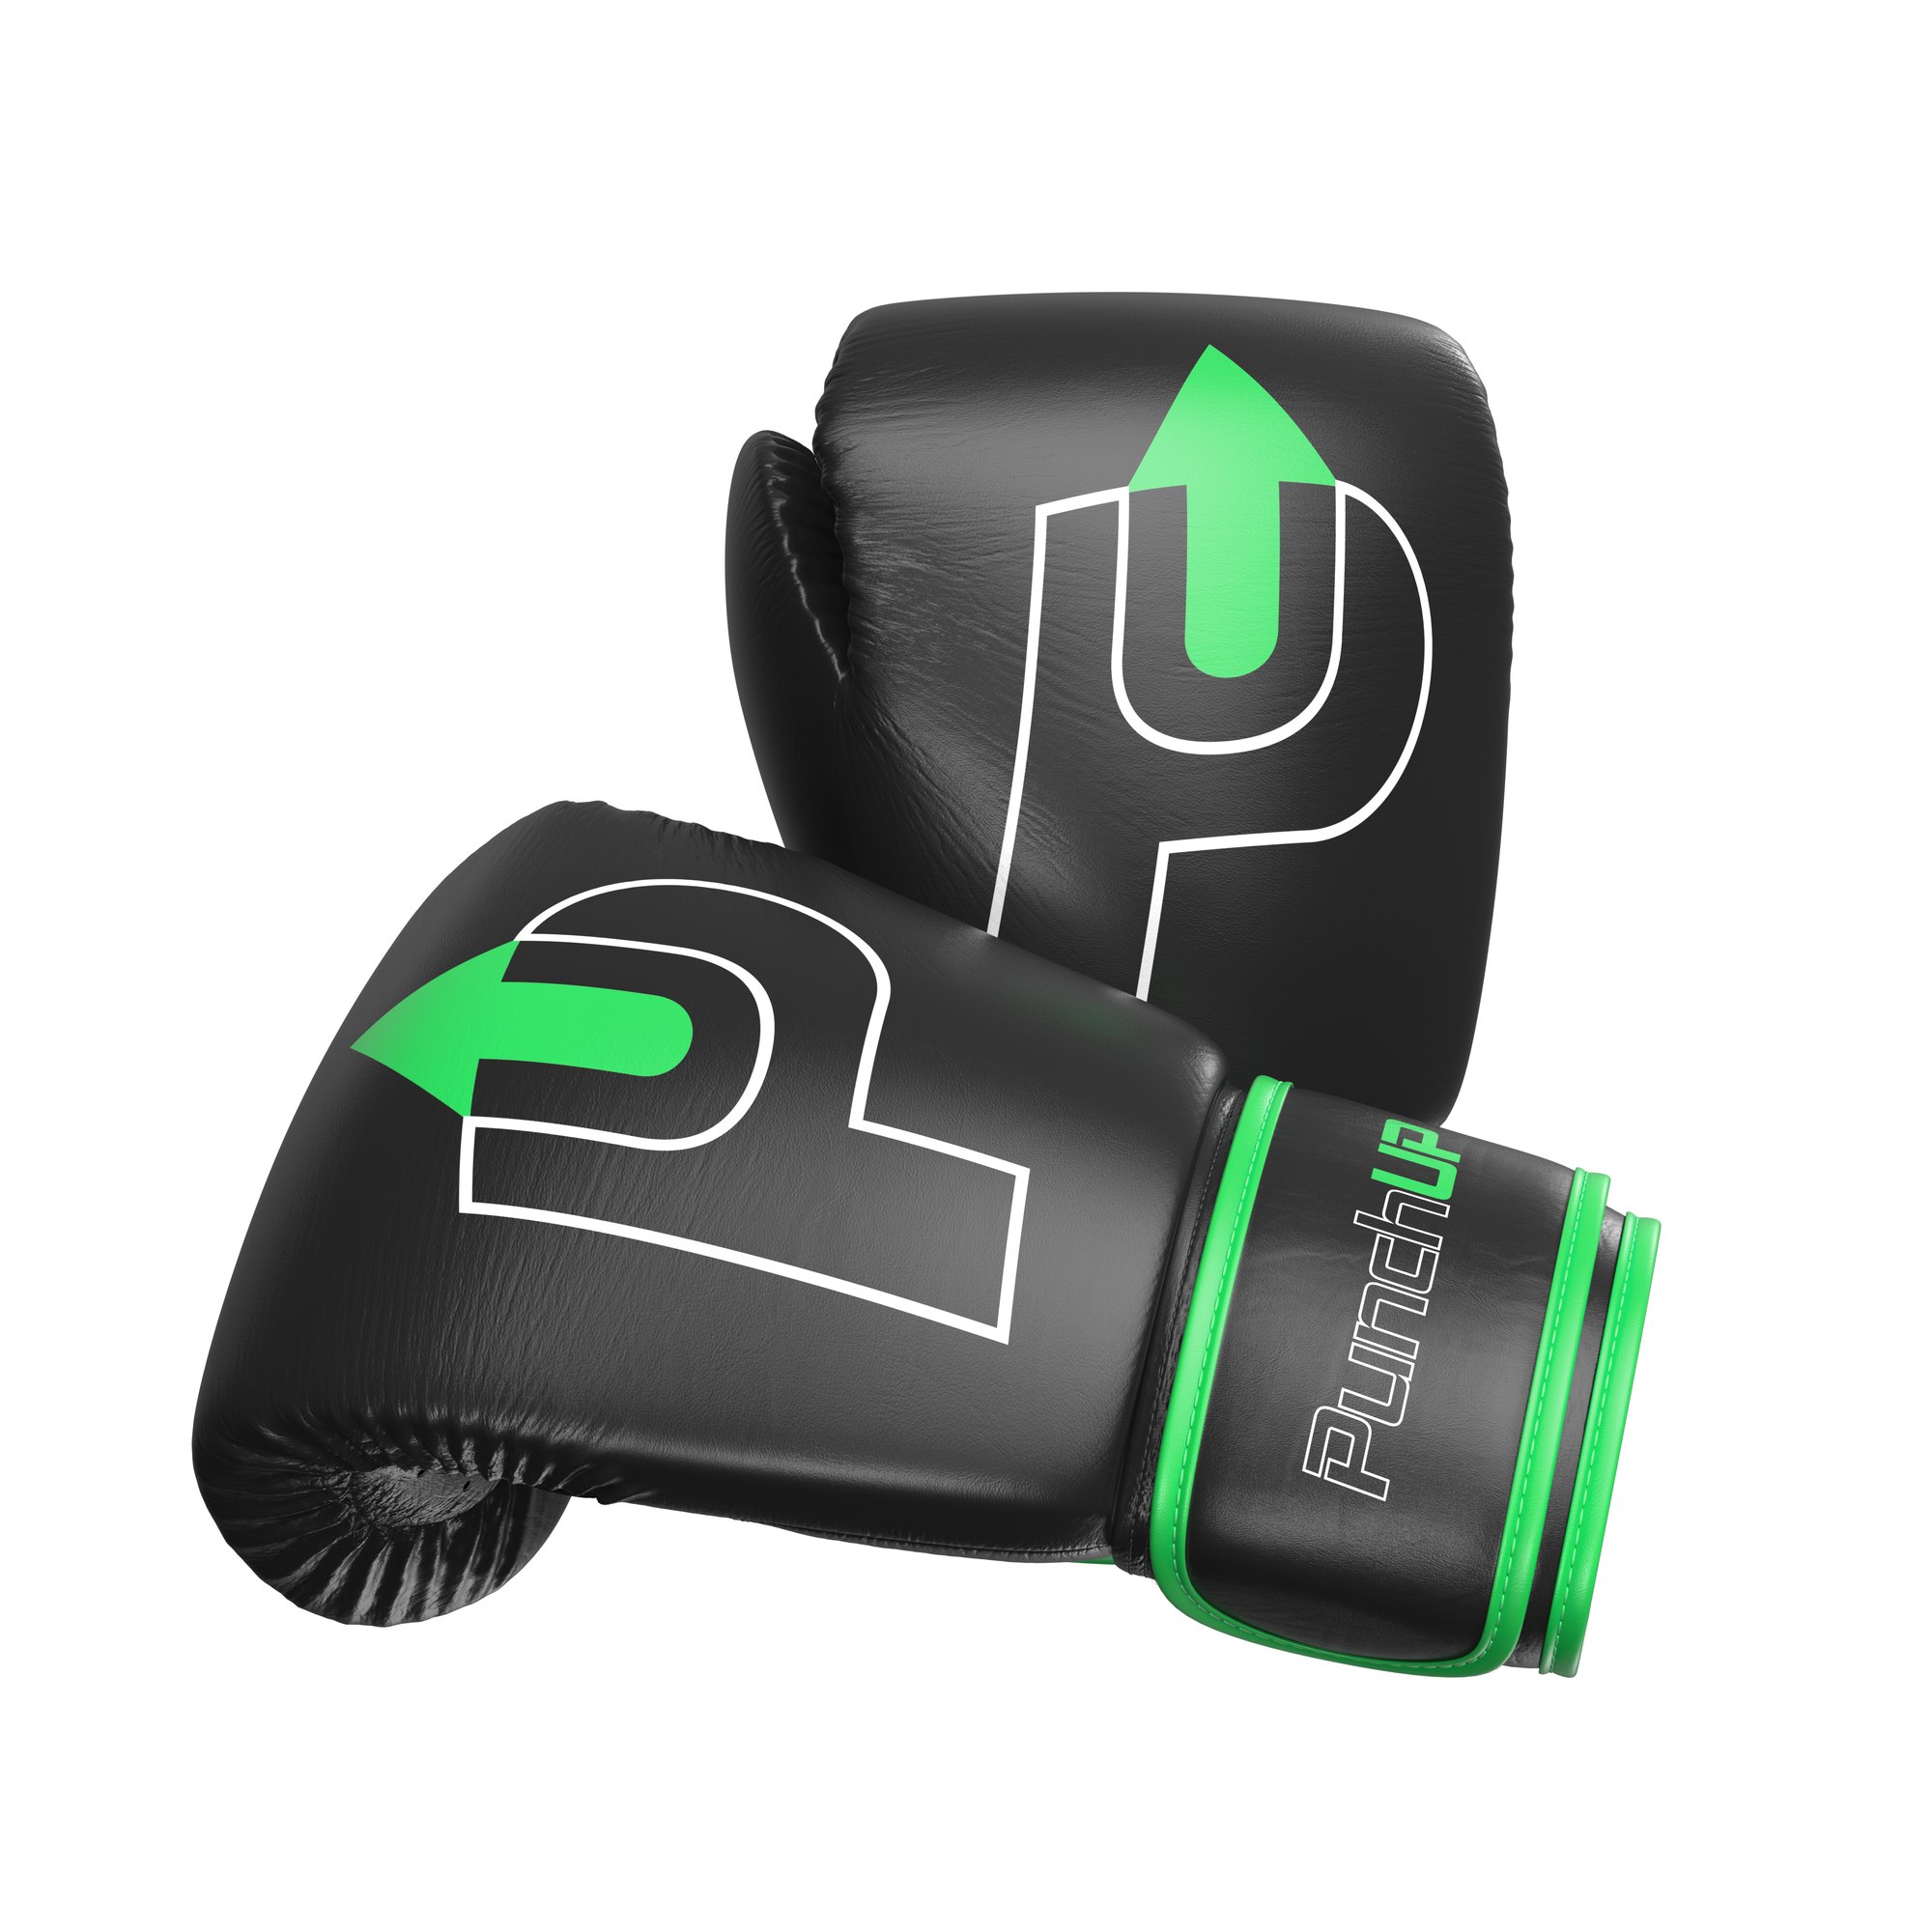
Compare the two. To get the second image from a photographer, someone would have shipped the gloves, booked a slot and paid for retouching to clean the white. Here the only thing that travelled was a handful of phone photos, and the other two angles needed no extra sample.
A cordless vacuum, one model and a whole campaign
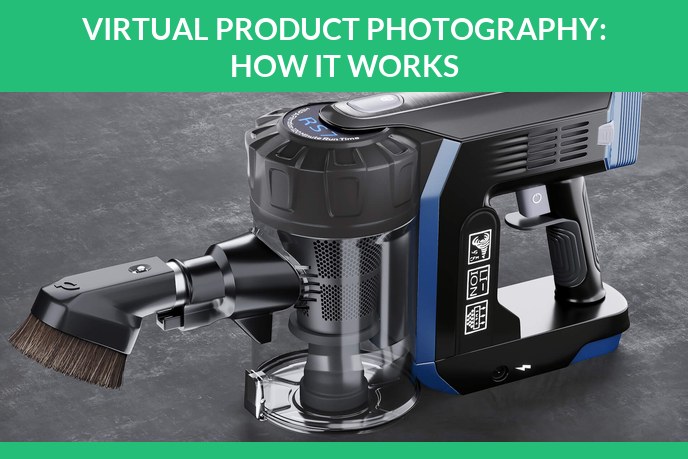
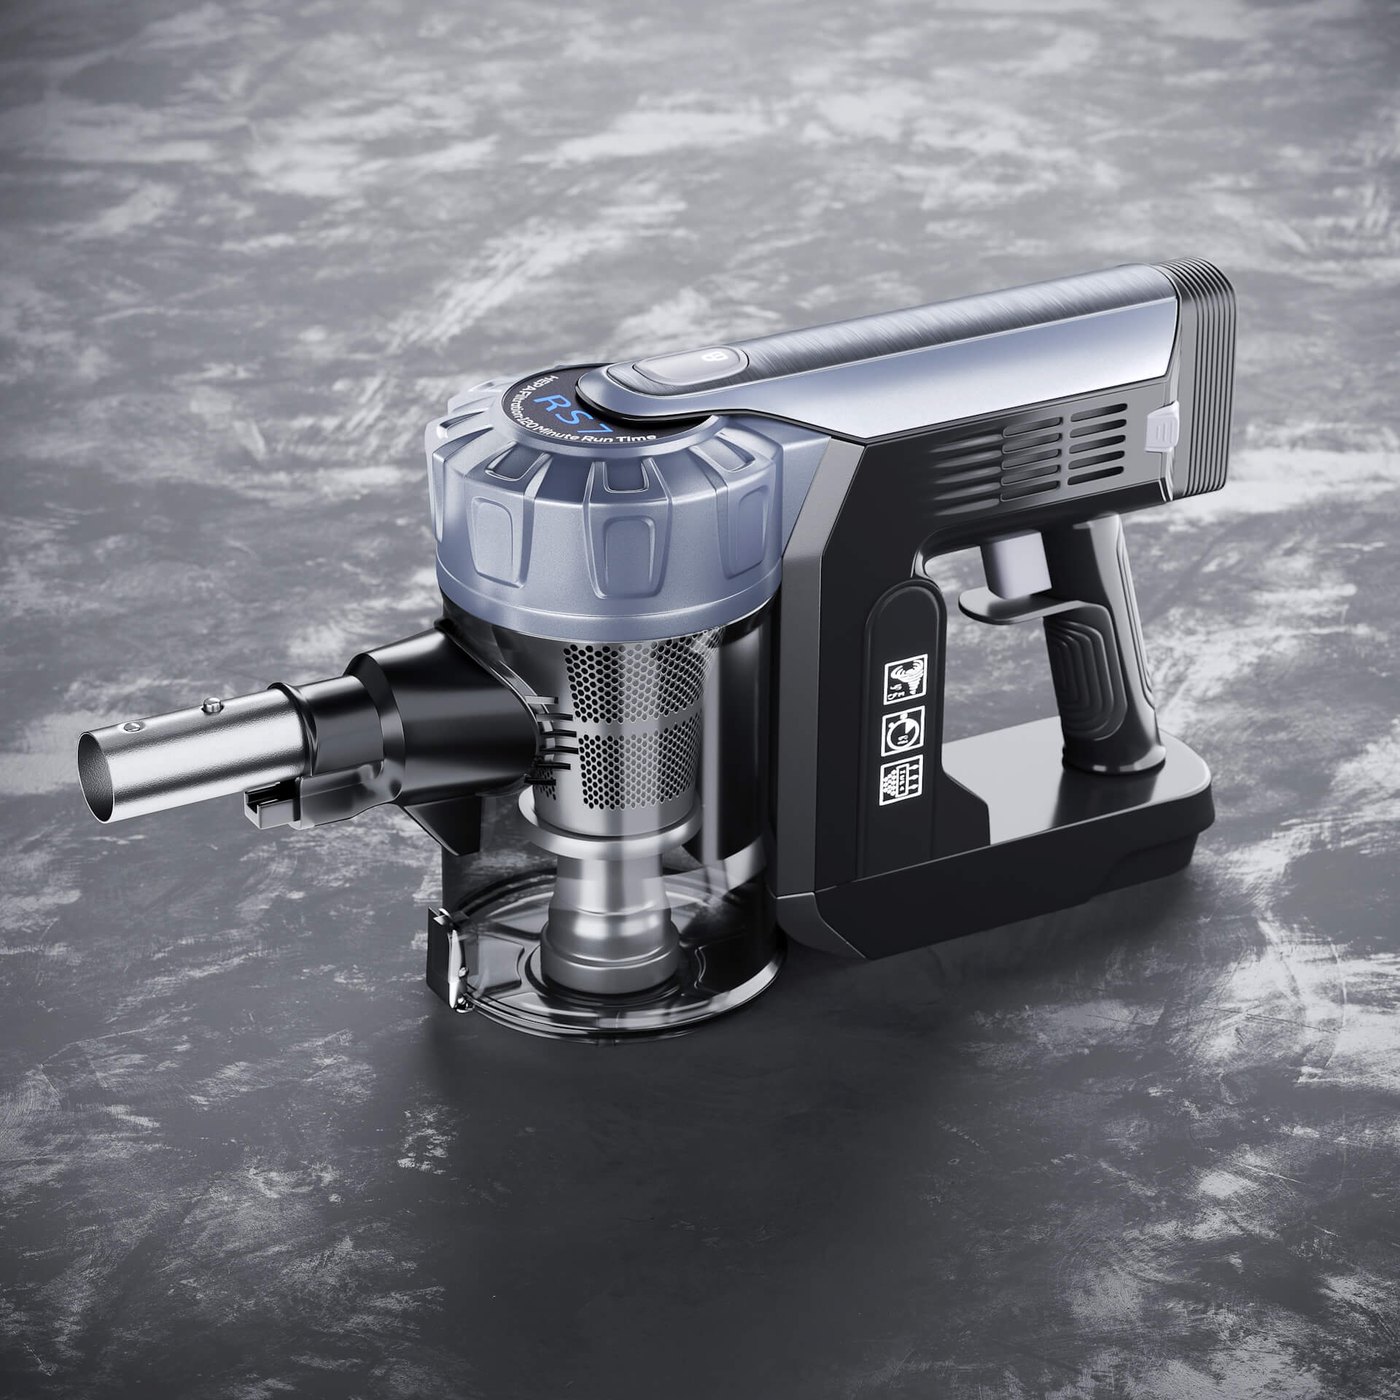
For a stick vacuum, the client sent reference photos of the physical product. From the single model built from them came silo images on white for retailers, lifestyle scenes and marketing visuals, including a marketplace listing layout. A photo route would have needed a studio day for the white shots and a location or set for the rest.
Leather boots from a single photograph
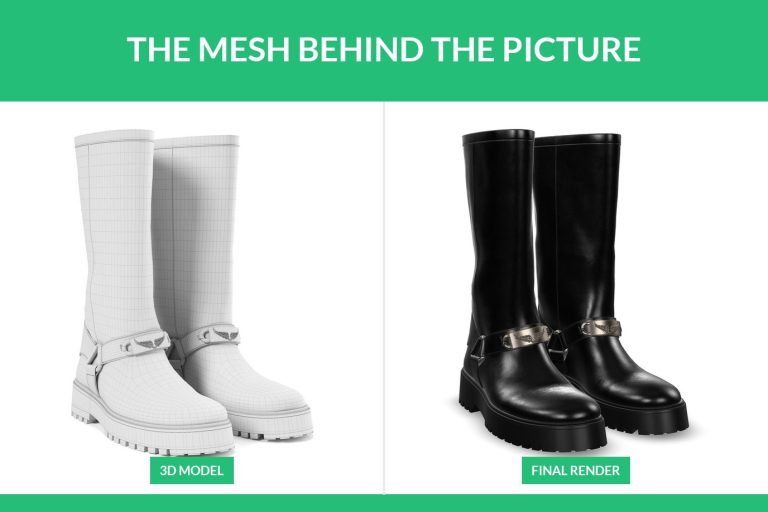
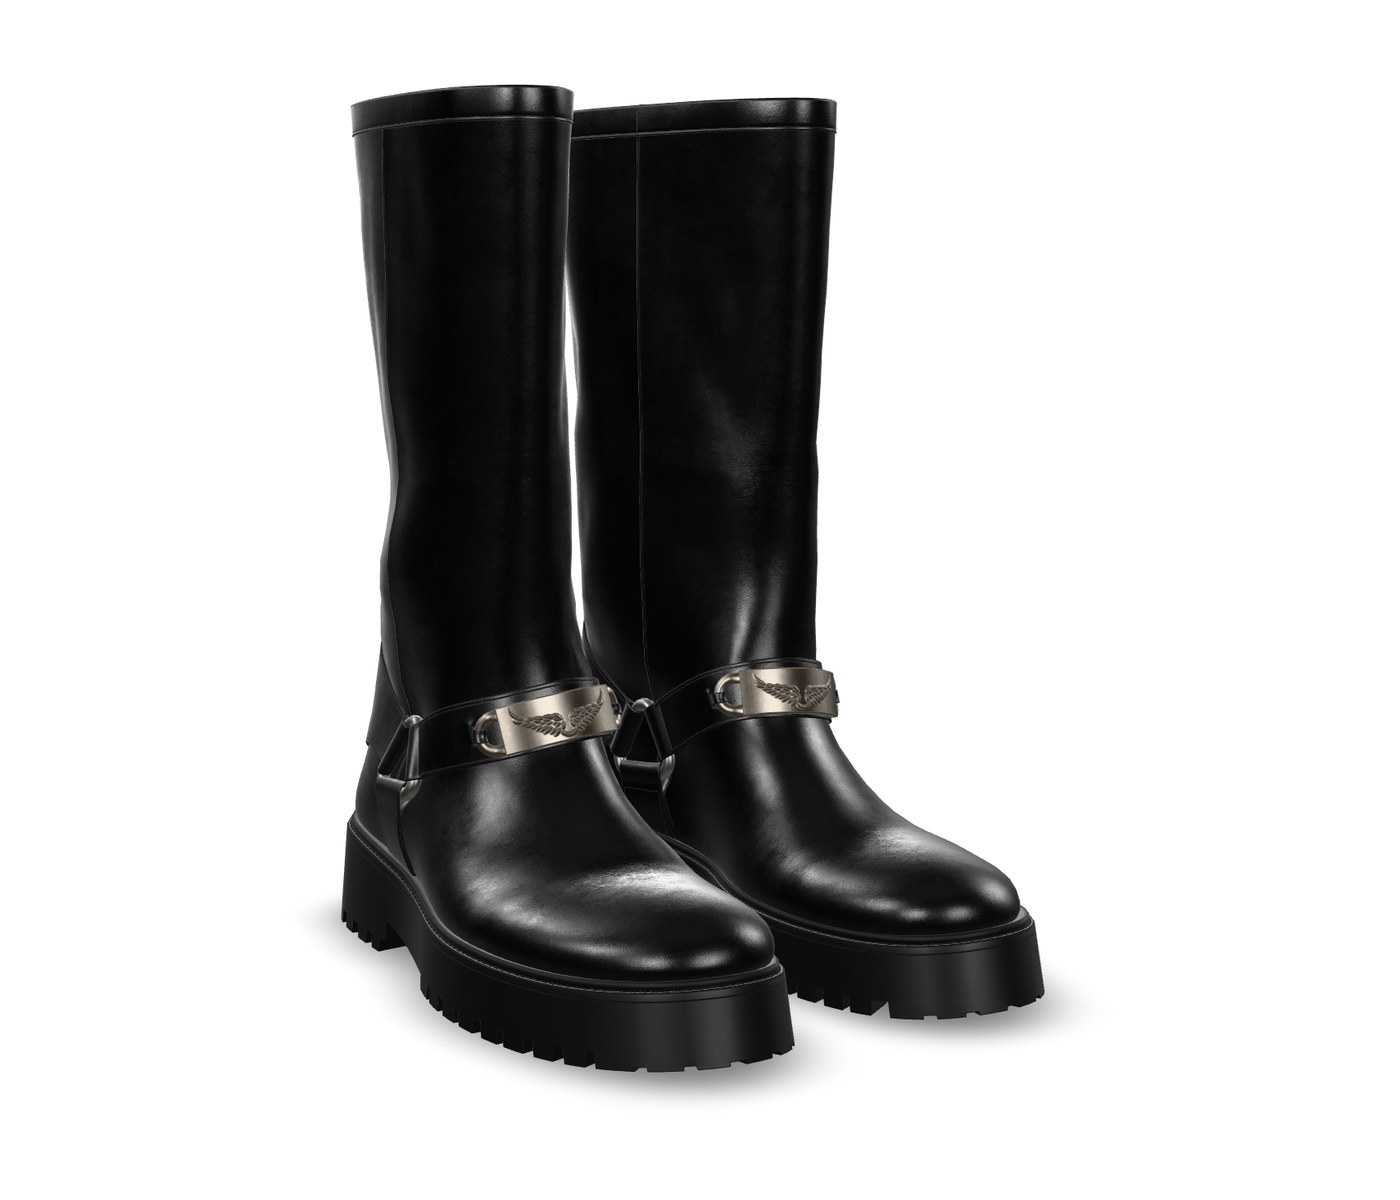
This one had the least to work with: one product photo, no CAD and no sample. The boots were modelled with separate parts for the sole, upper, buckle hardware and strap, then rendered on white. Because the parts are separate, the same file is ready for new colourways and a 360 spin later, which a photo of the boots can never become.
When product photography is the better choice
A CGI studio saying this may sound odd, but there are products we’d send to a photographer without hesitation.
- Food, drinks being poured and anything organic. The randomness is the appeal, and a camera captures it for free.
- Shots where a person is the subject. If the image sells a feeling through a face or a body in motion, hire people and a photographer.
- Materials nobody can describe. A fabric with an odd sheen, no spec sheet and no swatch to send is faster to photograph than to match by eye.
- Tiny runs that will not change. Six images of one product that ships once and never gets a new colour don’t justify building a model.
- One off, texture heavy pieces such as a hand thrown vase, where every unit differs and the one in the photo is the one that sells.
Speed matters here too. If the sample is in your office and you need images by Friday, a booked studio slot can beat a model build plus rendering, which runs a few days for a typical product.
When 3D rendering beats a photoshoot
The render route pulls ahead as soon as any of these is true, and most growing catalogues hit more than one.
The product doesn’t exist yet. Launch imagery, preorder pages and retailer line sheets can be ready months before the first unit. The model is built from CAD, drawings or photos of a prototype.
The range has variants. Colours, finishes, prints and sizes all come out of one model. That’s the colourway maths above, and it’s usually the deciding factor.
The catalogue has to look consistent. Holding the same light, camera height and shadow across two hundred SKUs shot over three years is very hard with photography. With rendering it’s close to automatic.
You need angles a camera can’t easily reach. Cutaways, exploded views and the inside of a sealed unit are render territory.
The model gets reused. The file that produced your white background images can also drive a 360 spin, an animation or an AR view. A photo library can’t do that.
How the virtual route works step by step, from model to finished set, is covered in virtual product photography. The image types you can get from one model are listed in our 3D product photography guide.
CGI or photography: a decision table by situation
Find the row closest to your situation. If you land on two rows that disagree, the colourway count usually breaks the tie.
| Your situation | Better choice | Why |
|---|---|---|
| One existing product, one colour, a few images | Photoshoot | Costs are close and the sample is already there |
| One product in five or more colourways | 3D rendering | Each extra colour is a material change, not a new shoot |
| Product still in tooling | 3D rendering | Nothing to photograph yet |
| 50 or more SKUs that need a consistent look | 3D rendering | Same light and camera across the range, no sample logistics |
| Food, drinks, organic products | Photoshoot | Randomness is the point and a camera gets it cheaply |
| Lifestyle images with people as the focus | Photoshoot | People are easier to photograph than to render convincingly |
| A couple of styled shots of an existing product | Photoshoot | A studio photo is cheaper per image than a rendered scene |
| Hand made one offs with unique texture | Photoshoot | Each unit differs, so a model of one won’t represent the next |
| Images now, 360 spin or AR later | 3D rendering | The same model feeds every later format |
| Seasonal refresh of the same products | 3D rendering | New scenes reuse models you already paid for |
Plenty of brands end up using both. Models cover the catalogue and the colourways, and a shoot day once a year covers campaign images with people in them. There’s nothing wrong with that split, as long as each route is doing the job it’s cheaper at.
If your range sits on the rendering side of that table, send us the product list, the colourways and whatever files you have, and we’ll price it on the same terms as our 3D product rendering services. A quote comes back within one business day, and if a photographer is the better answer for your products, we’ll tell you.
Frequently asked questions

Ian Diev
Content Writer, Editor
Ian loves writing about innovative 3D technologies and their impact on architecture and design. In his spare time, he makes indie music, watches obscure movies, and cooks culinary masterpieces for friends.