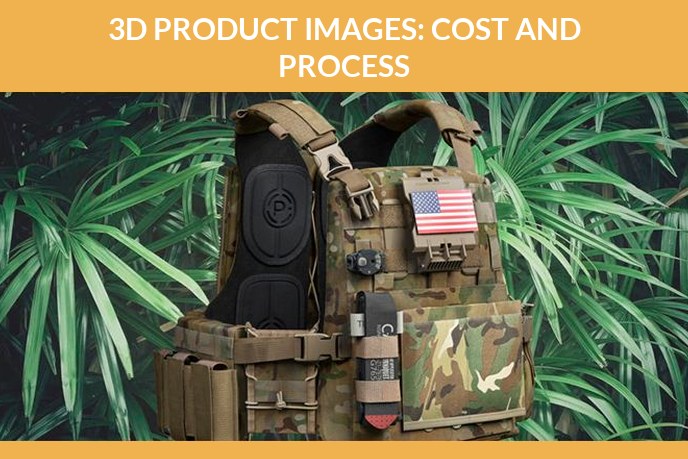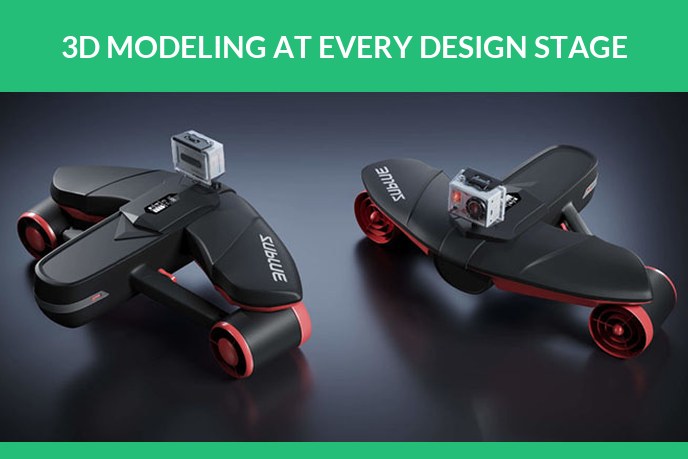
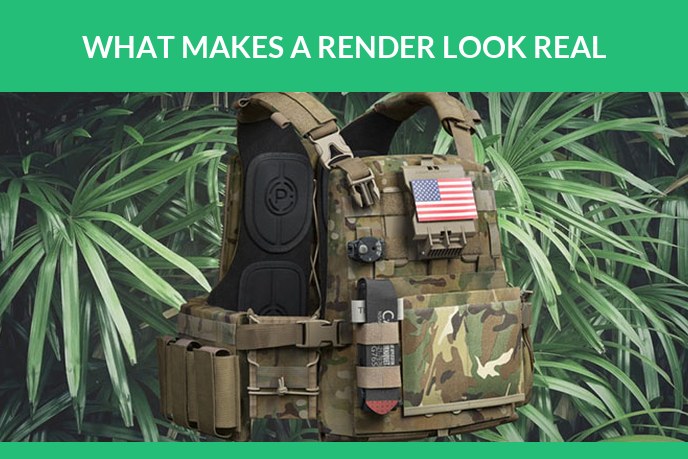
Photorealistic 3D product rendering means making a computer image of a product that passes for a photograph. Not almost passes. A shopper scrolling past should have no reason to stop and wonder whether a camera was involved.
Oddly, photorealism is rarely lost on the big things. The geometry is usually fine. It’s the small stuff that gives a render away: an edge with no bevel, a surface that’s spotless all over, a shadow too sharp for the light casting it. We render products commercially, and what follows is what we fix in reviews rather than a tour of software features.
Contents
- What makes a render look photorealistic
- What photorealistic rendering means
- Lighting for photorealistic product rendering
- Photorealistic materials: why roughness matters more than colour
- Imperfection is what makes a 3D render look real
- Making the render camera behave like a real one
- Photorealistic 3D product rendering examples
- Why a render looks fake: the tells to check
- Photorealistic render engines and software
- Photorealistic rendering cost and timing
- When photorealism is not the goal
- Frequently asked questions
What makes a render look photorealistic
Six things, roughly in order of impact:
- Believable light. Big soft sources and bounce light, with shadow edges as soft as the light is large.
- Roughness that varies. Real surfaces are duller where hands touch them, so one flat value across a surface looks fake.
- Bevelled edges. No real edge is perfectly sharp, and a tiny bevel catches a line of highlight.
- Restrained wear. A little dust and polish where hands go. If you spot it at first glance, there is too much.
- Real scale. Textures at true size. Wood grain twice too big makes a product look like a toy.
- A camera that acts like a camera. A lens around 50 to 100mm, soft depth of field, highlights that roll off, a bit of grain.
What photorealistic rendering means
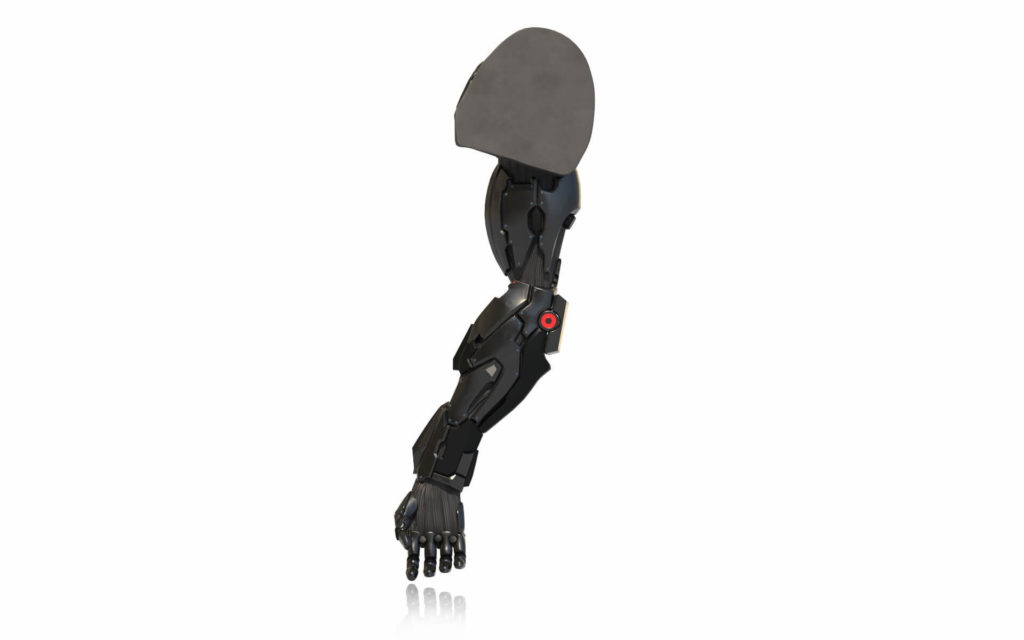
The word gets used for two different things. Photorealism with a capital P is a painting movement from the late 1960s, artists copying photographs by hand. Photorealistic rendering is the 3D version of that goal: simulate how light physically behaves until the result can’t be told from a photo. If you came here from the art side, you want the other subject.
How close does it get? A study out of Dartmouth College tested how well people can tell the difference. Untrained observers correctly identified real photographs 92 percent of the time but spotted computer generated images only 60 percent of the time. With a little training, accuracy on renders rose to 76 percent while accuracy on photographs slipped to 85. Two things follow: people are already poor at this, and the study is from 2016, so renderers have improved a great deal since it ran.
Lighting for photorealistic product rendering
If a render looks off and you can’t put your finger on it, check the lighting before anything else. It is the cause about eight times out of ten. Materials get blamed far more often than they deserve.
Size of the light comes first. Think of a north facing window against a bare bulb: one wraps the product in soft shadow, the other cuts a hard edge. Pick the wrong one for the scene and viewers feel something is off without knowing what. Bounce comes next. Light carries colour from whatever it hits, so a red box throws a faint pink onto a white table. Skip that global illumination and the shadows look dead, as if the product was stuck on afterwards.
A lot of product scenes are lit with an HDRI, a high dynamic range photo of a real room or street wrapped around the scene like a dome. It’s much faster than placing lamps one by one, and it often looks more natural too.
Two smaller things. Shiny products need something to reflect, even a white card that never appears in frame. And anything made of glass or full of liquid wants caustics, those bright wobbly patterns light throws through it. They take ages to compute, and people notice when a perfume bottle has none.

Photorealistic materials: why roughness matters more than colour
Physically based rendering describes a surface by what it does with light. Colour comes last, and honestly it’s the dull part.
- Roughness is the one that sells it. Roughness decides whether a reflection is crisp or smeared, and on a real object it changes from spot to spot. There are thumb smudges on a phone back, and a kettle handle goes dull long before the lid does. Give a whole surface one roughness number and you have the classic amateur giveaway.
- Fresnel. Look along a matte wall at a low angle and it suddenly shines. Every material does this. Modern engines handle it on their own, so the job is simply not to break it.
- Subsurface scattering. Wax, skin, marble, milk and thin plastic let light travel a little way in before it comes back out. Switch that off and a candle looks carved from stone.
- Metals behave differently. They tint their own reflections and have no diffuse colour at all, which is why a metal set up as a grey plastic with high gloss never looks right.
Imperfection is what makes a 3D render look real
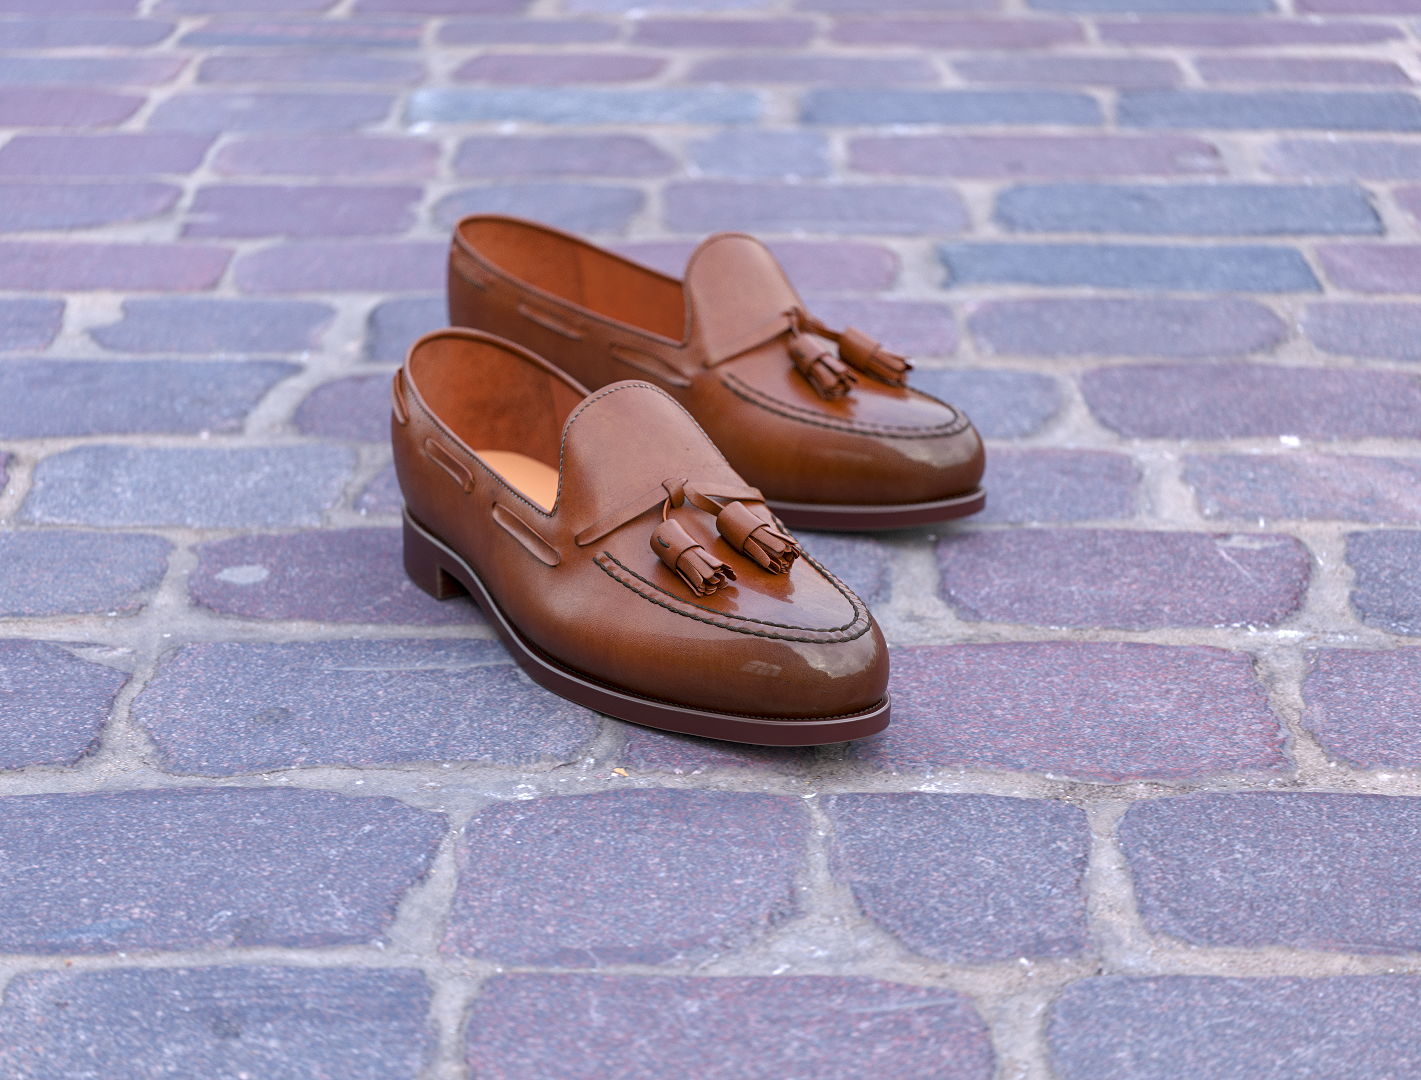
Real things are made with small errors, and then people use them. A render with neither looks computed. Want the fastest way over the line? Add some wear, and keep it under control.
- Bevel every edge. There is no such thing as a perfectly sharp edge in the physical world. Even a razor catches light along its edge. A tiny bevel that produces a highlight line is possibly the highest value change per minute of work in this entire craft.
- Dust and fingerprints. Faint, and only where a hand would really land, say round a power button or on the lip of a lid. Smear them evenly and they turn into a texture.
- Edge wear. Paint thins on corners, metal shows through, plastic polishes.
- Nothing perfectly straight or perfectly aligned. Cables have memory, labels sit a fraction off, fabric never falls symmetrically.
The discipline is restraint. Wear should be at the level you would notice only if you looked for it. Overdone grime is as artificial as none at all, just in the other direction.
Making the render camera behave like a real one
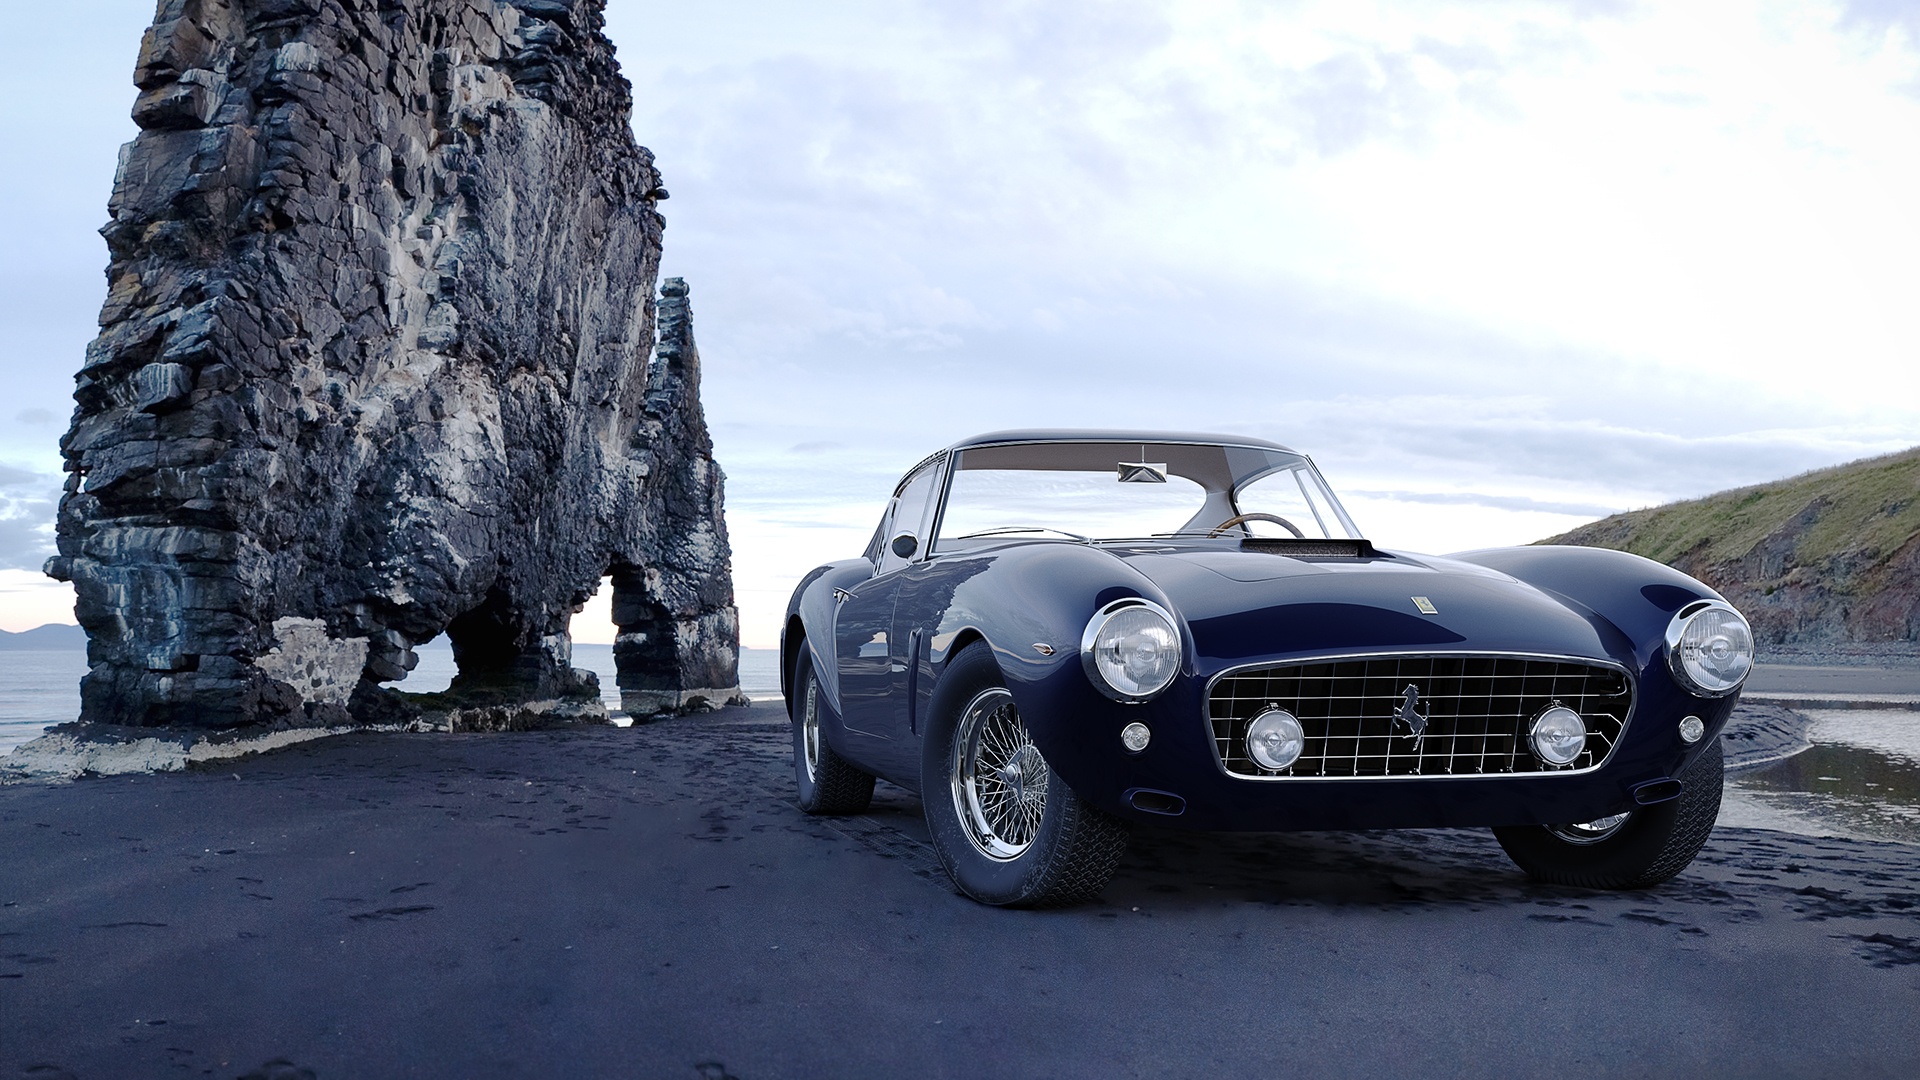
A virtual camera starts out flawless, which is exactly what’s wrong with it. Photos are full of tiny defects from glass and sensors, and our eyes have learned to trust them.
Use the lens a product photographer would reach for, somewhere from 50 to 100mm. Go wide and the distortion gives the game away. Depth of field helps if it’s gentle; real lenses can’t keep everything sharp, but heavy blur is what beginners do when they overcorrect. Then add a little grain, and a touch of colour fringing at the corners where the glass splits light.
Watch the whites. A camera eases highlights down, but a raw render clips them to flat white, which no photo ever does. Tone mapping, or a colour pipeline such as ACES, fixes that. And keep the camera at a height a person could actually hold it. One floating near the ceiling ruins an otherwise perfect shot.
Photorealistic 3D product rendering examples
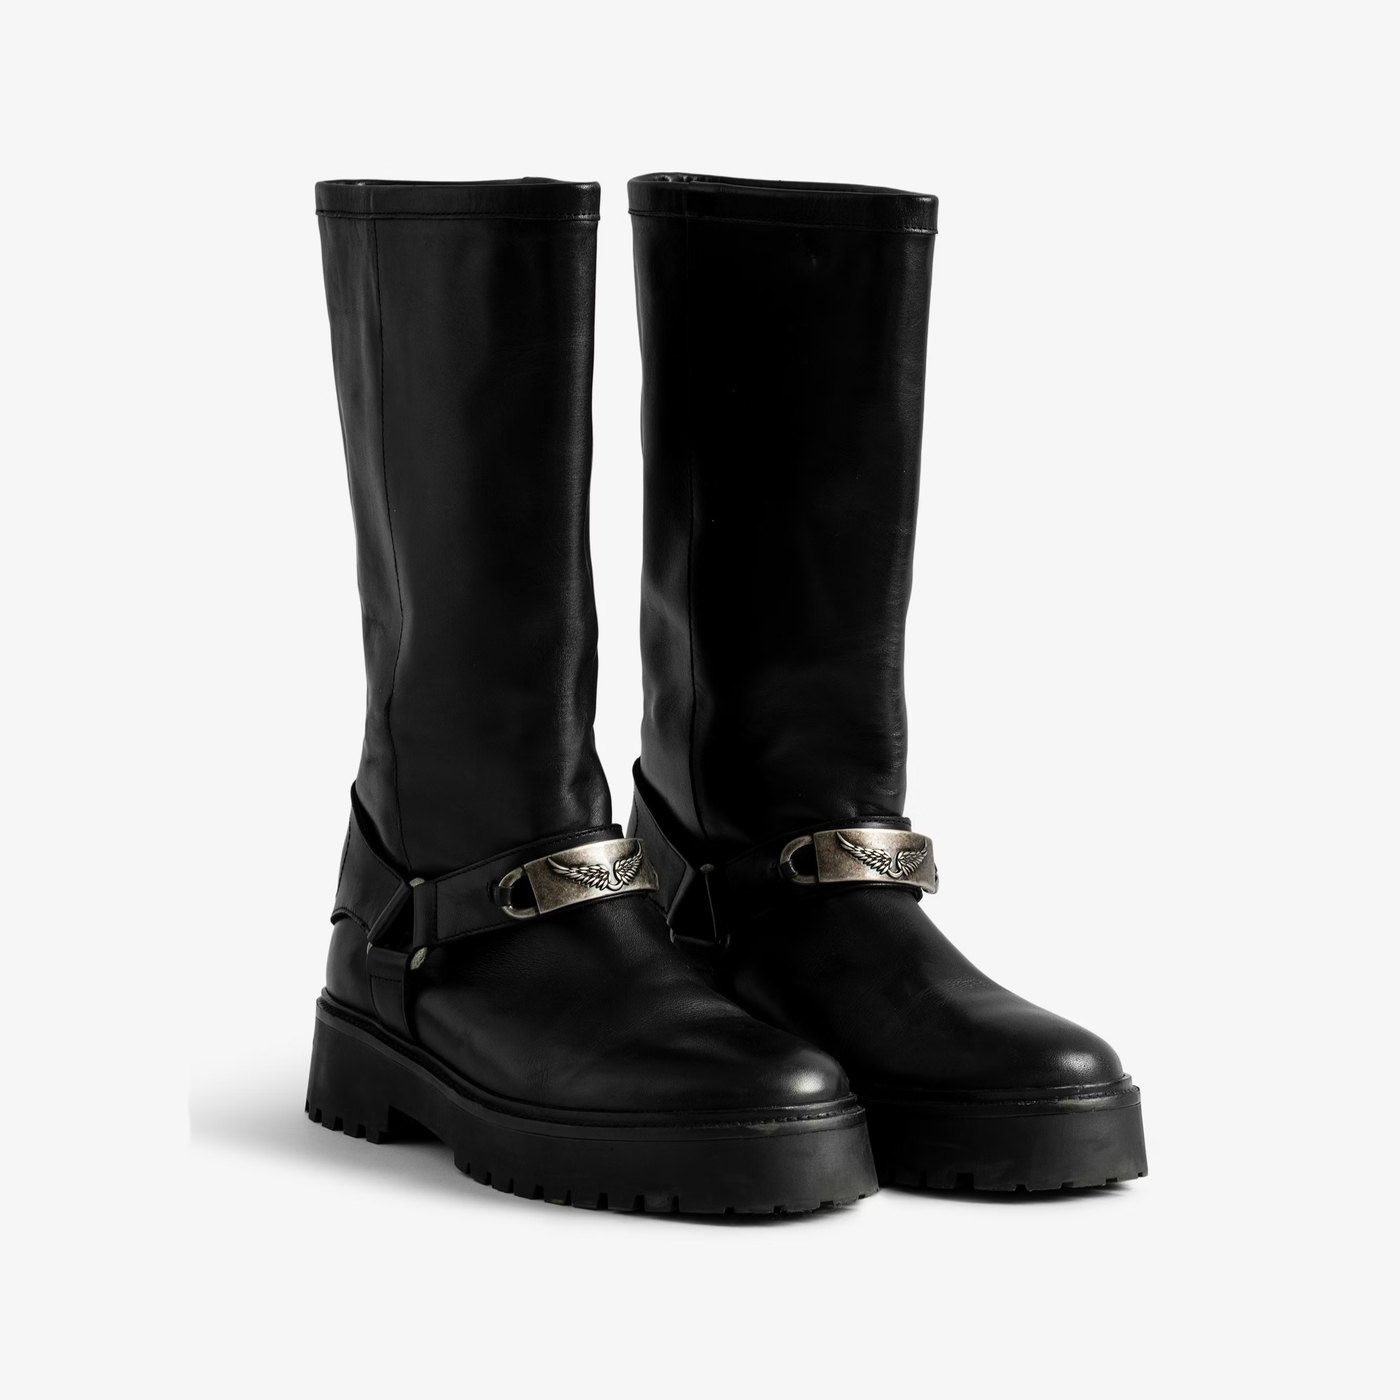
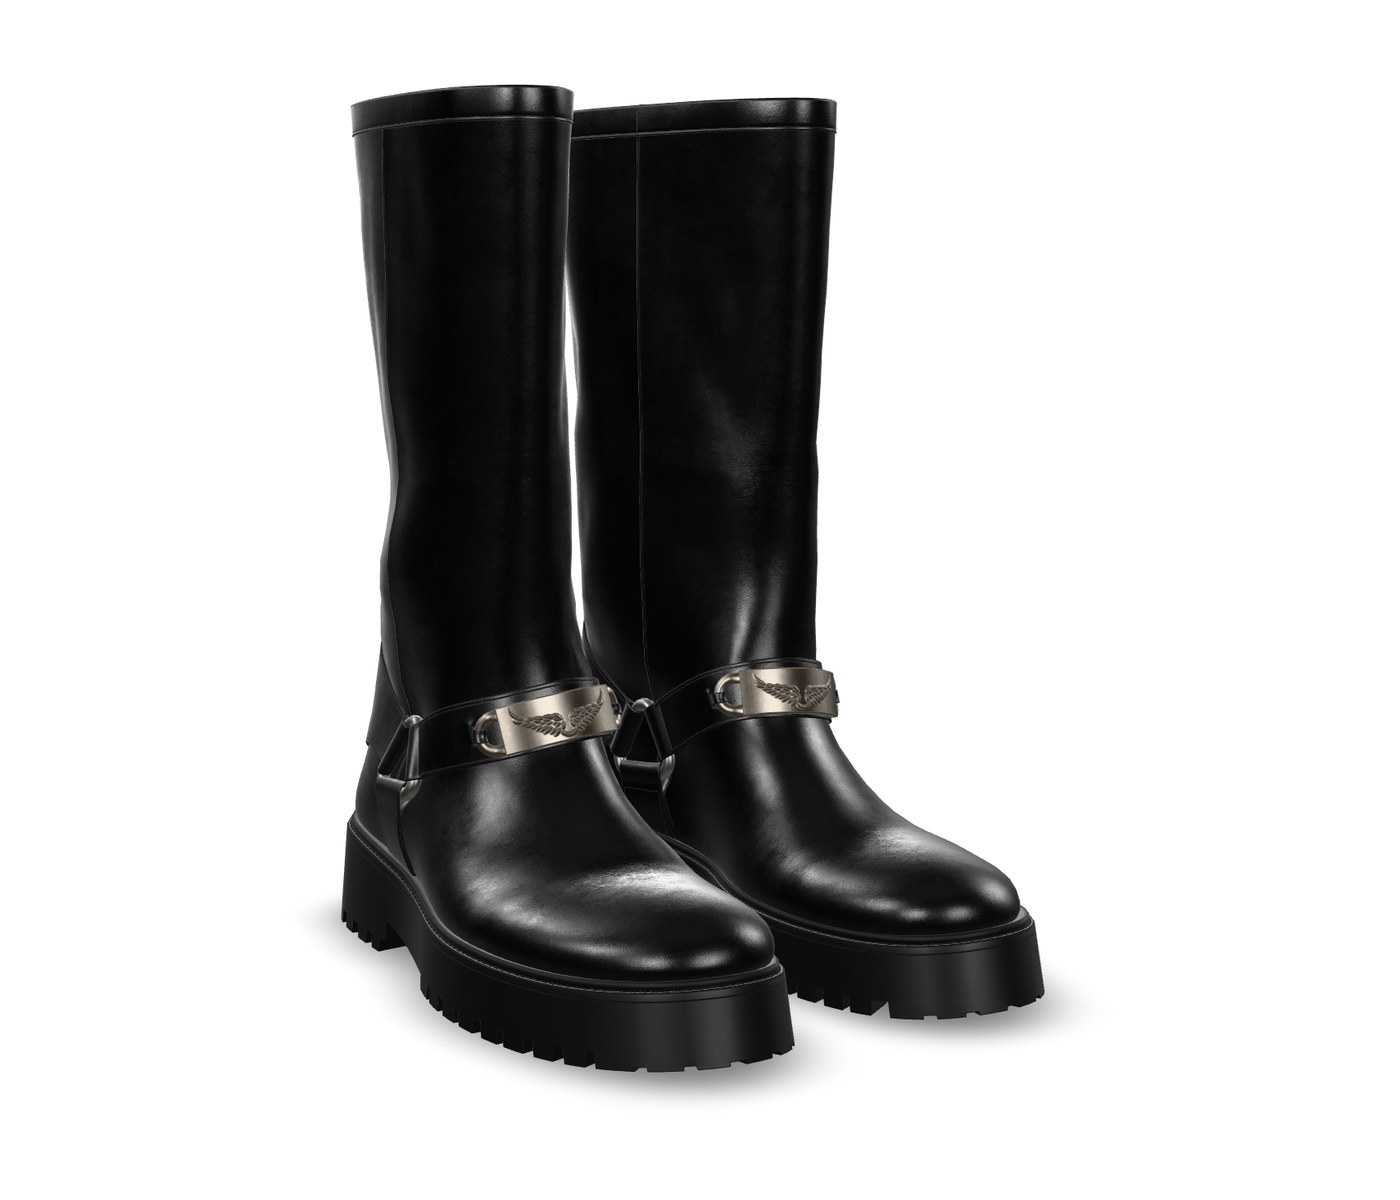
The first two projects below started from a single photograph, with no CAD and no sample on the desk. The third shows the same geometry before and after materials and light.
Leather boots. The client sent one product photograph and nothing else. From it we built the boots as separate parts (sole, upper, hardware, strap) and rendered them on white. What sells the result? Look at the stitched rim at the top of the shaft and the curve of the toe, where the highlights sit. Then compare the metal plate on the strap with the leather around it: two materials, two very different reflections. Even the lug sole has proper depth.
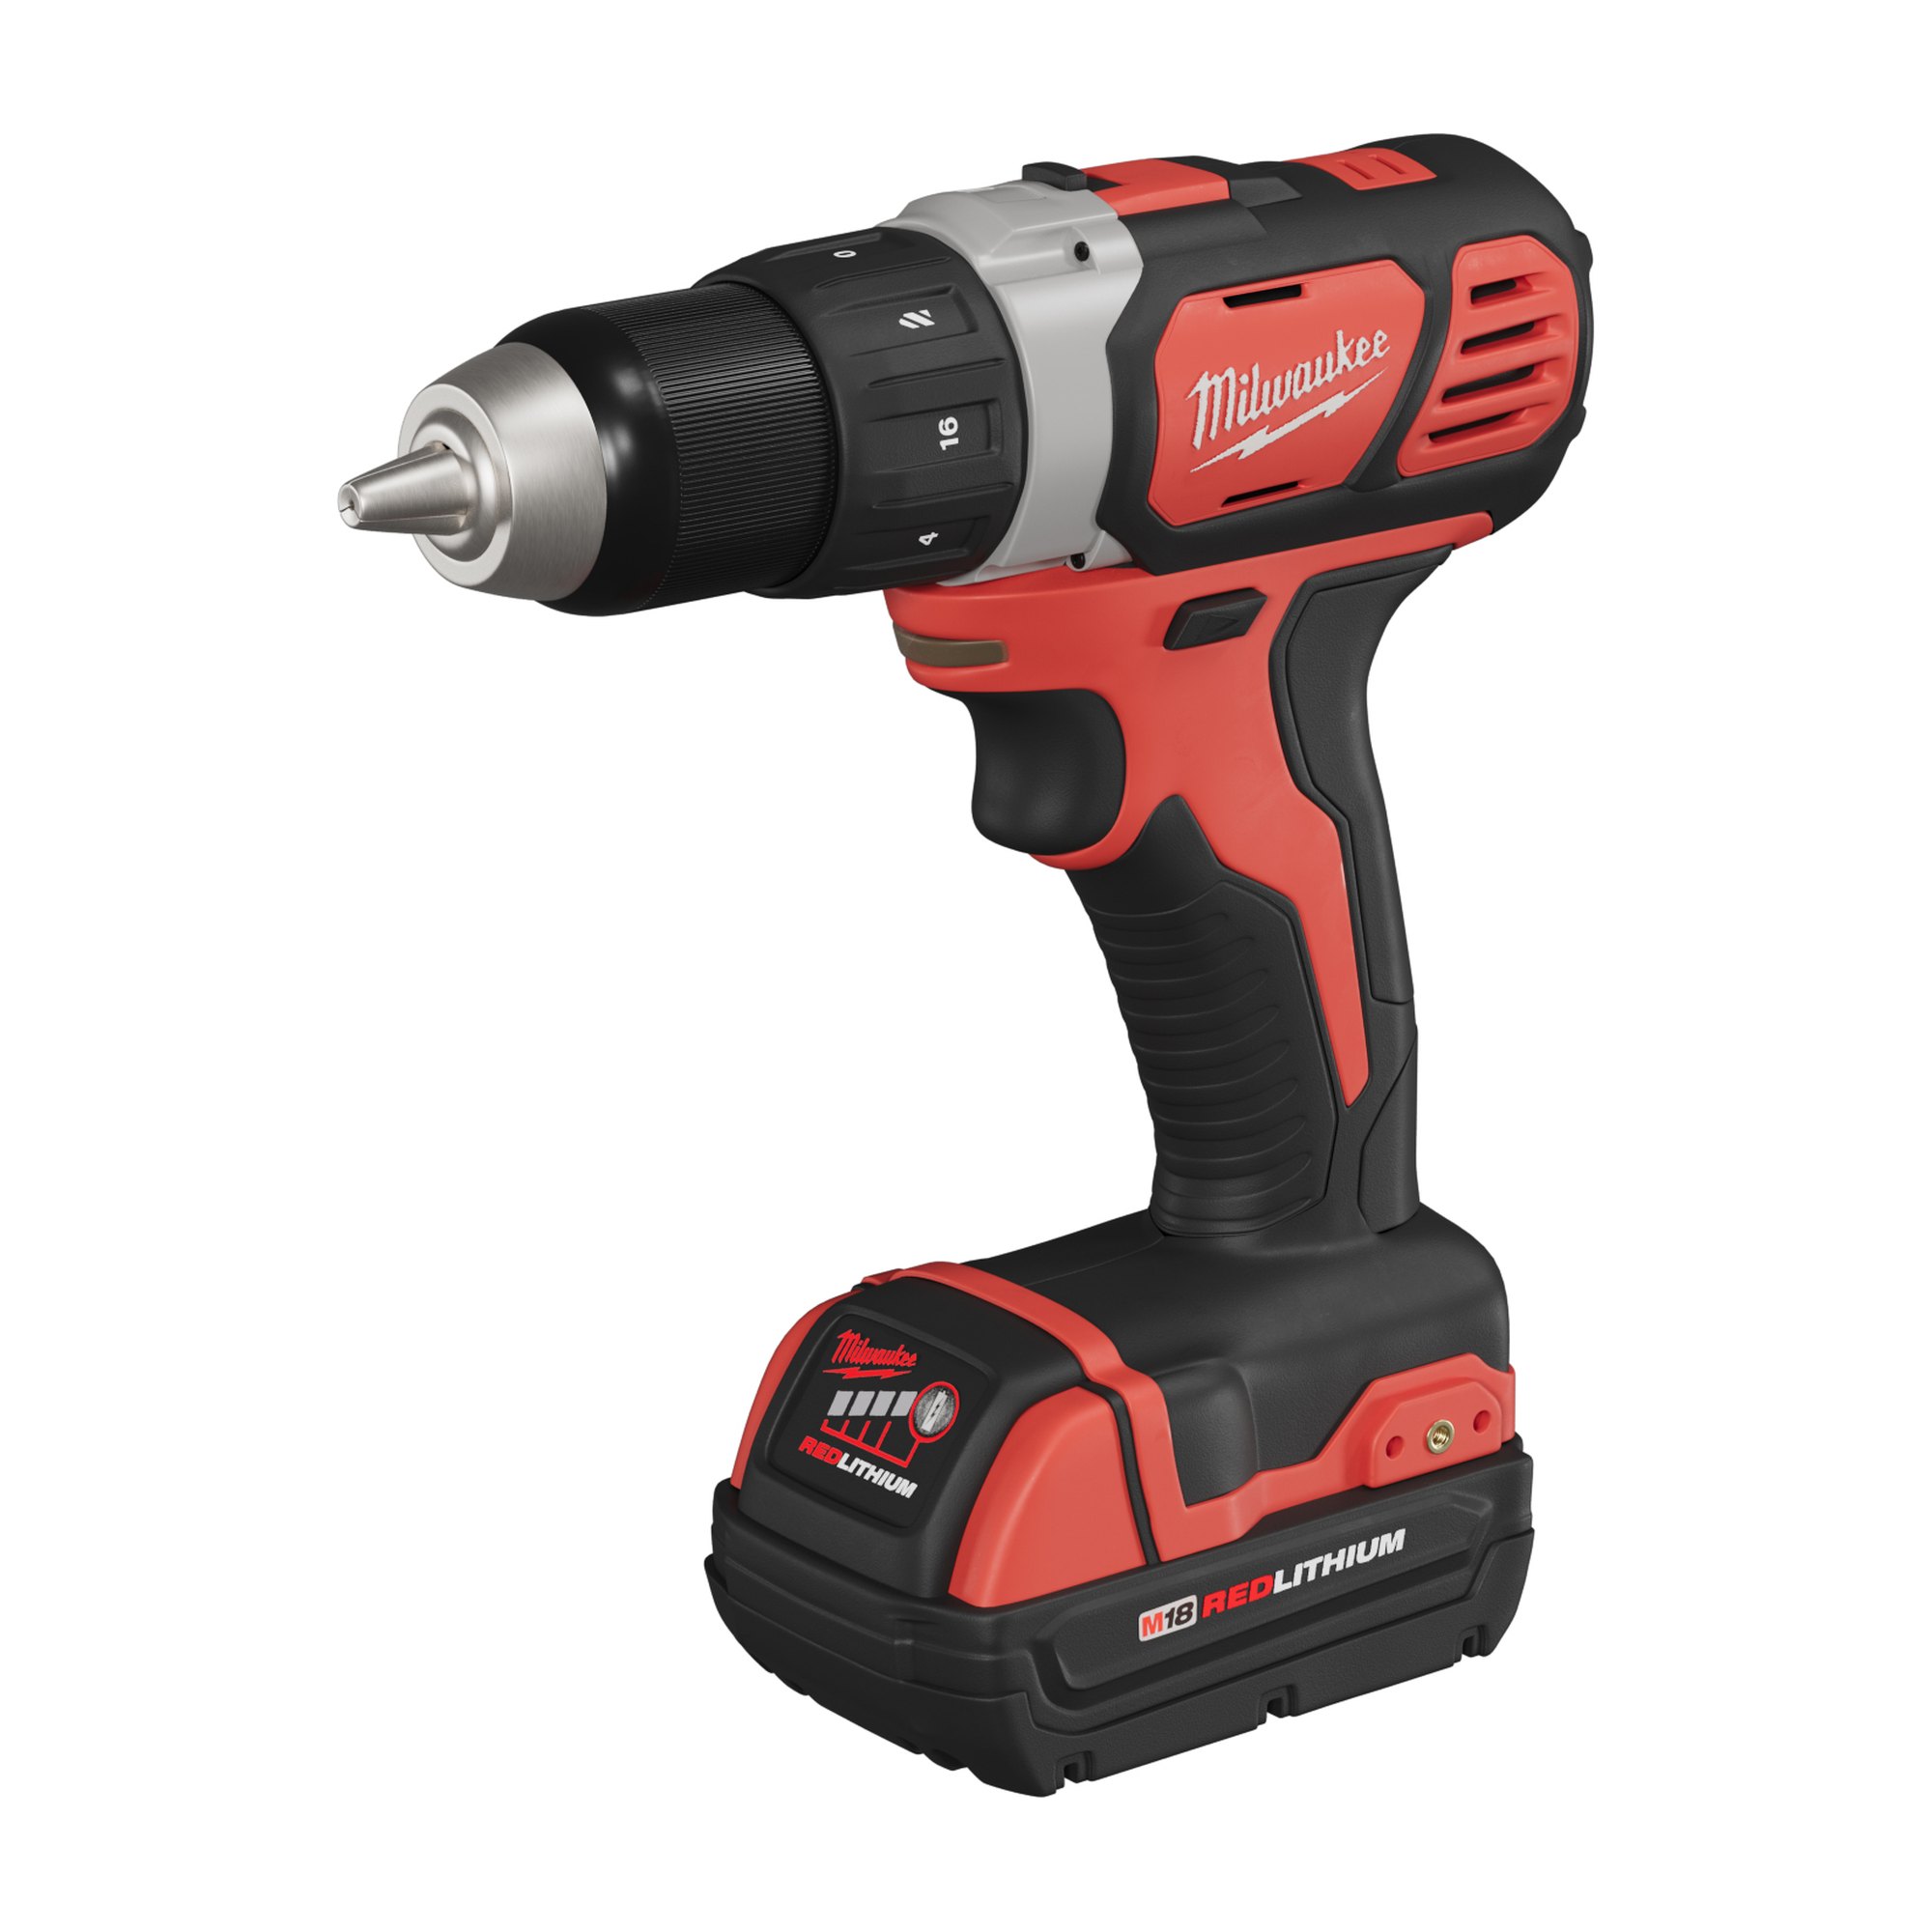
Cordless drill. This one began with a single catalogue photo. The render shows the drill from an angle that photo never had, and that’s a quiet advantage of a model: once it exists, any camera position is free. Here the realism is mostly material contrast. Matte rubber on the grip, shinier plastic on the housing, bare metal at the chuck, all meeting on one object just as they do on the real tool.
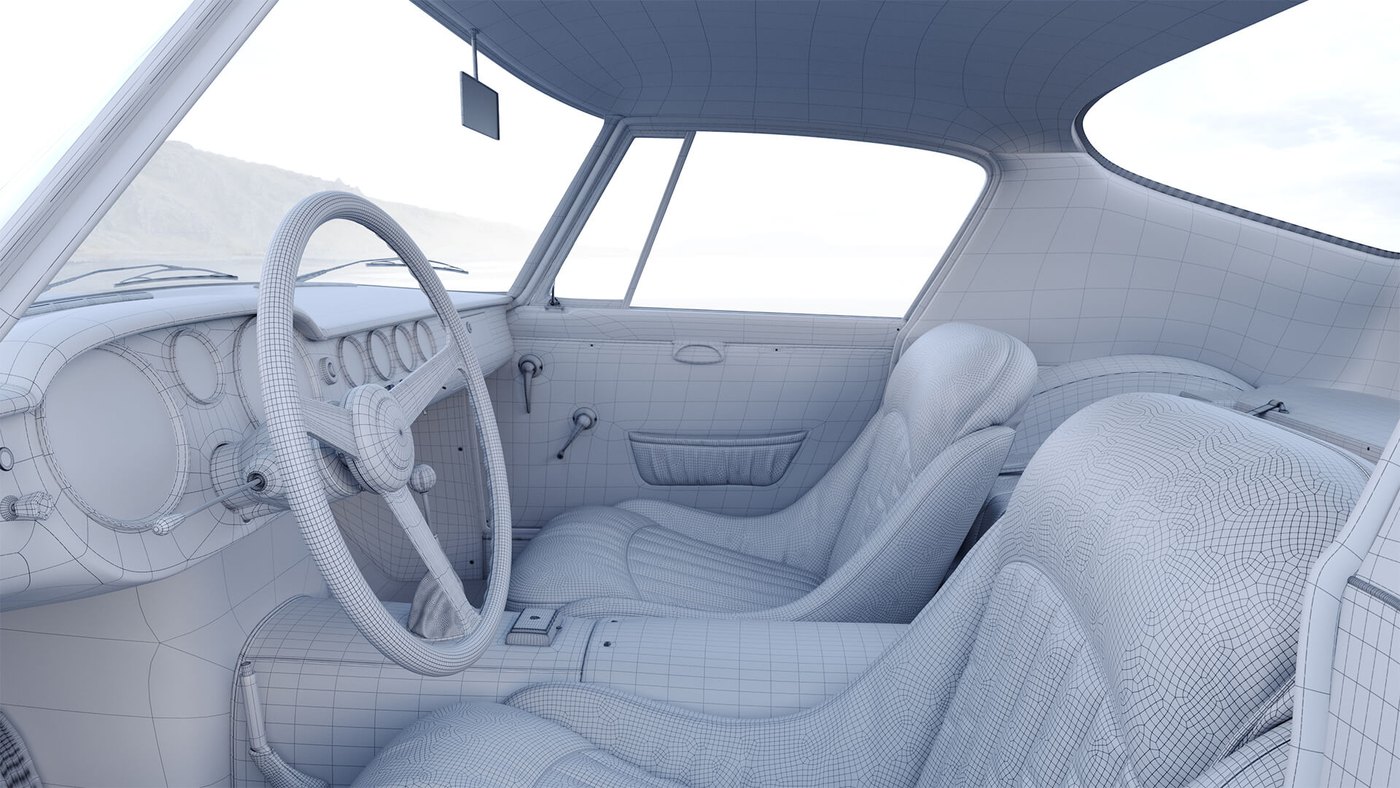
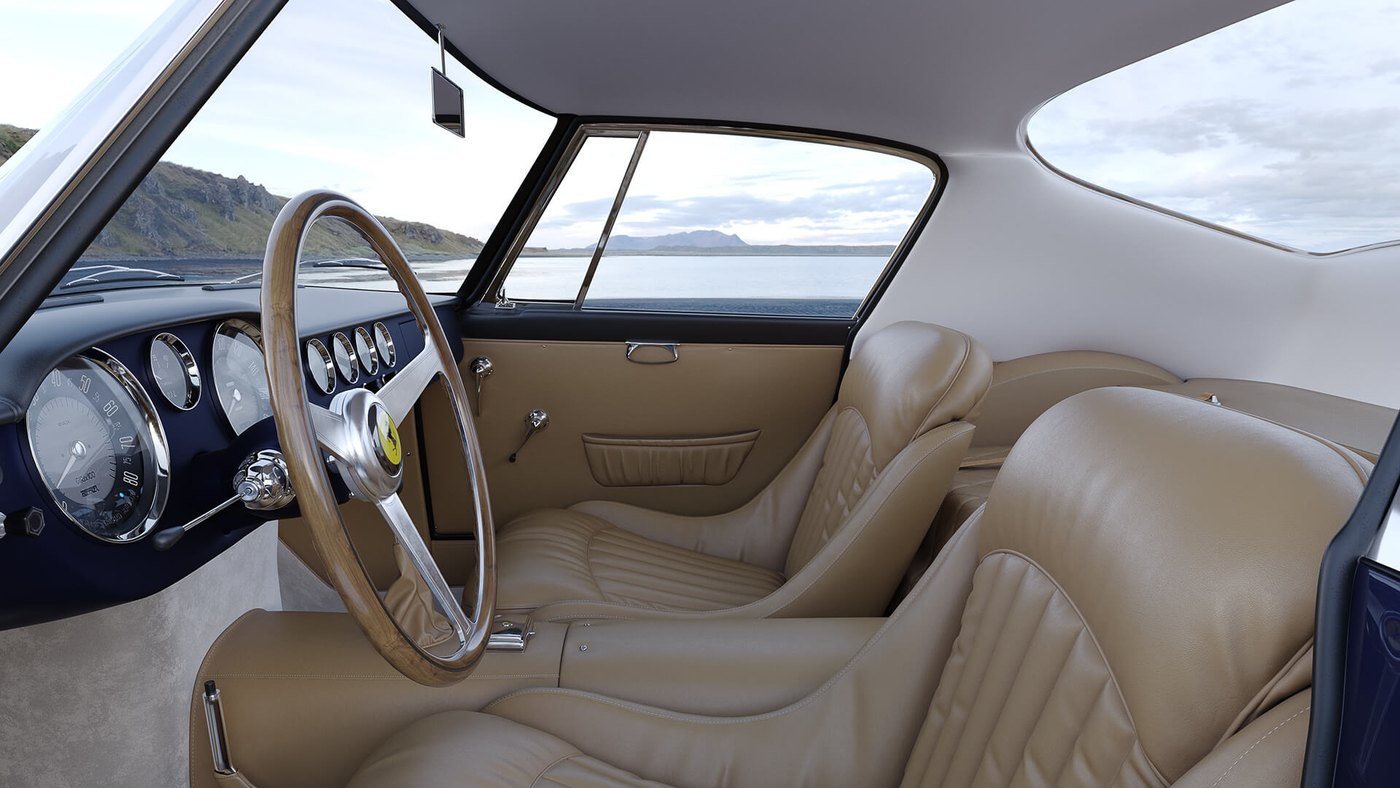
Car interior. This pair shows where photorealism really comes from. Look at the wireframe first. Stitched seat panels, gauges, steering wheel, door trim: the shape is complete, and yet nobody would take it for a car. Below it you get the same geometry from the same camera. Only materials and light were added, tan leather with soft creases, a wooden wheel rim, chrome round each gauge, and a coastline outside whose colours turn up in the cabin’s reflections.
Why a render looks fake: the tells to check
The checklist we run before anything leaves the studio. If you are reviewing renders from a supplier, this is a useful thing to review against.
| What you see | What is actually wrong |
|---|---|
| The object looks pasted onto the background | No contact shadow, or the scene light and the object light do not match |
| Surfaces look like plastic whatever they are meant to be | One uniform roughness value with no variation |
| Edges look computer sharp | No bevel, so no highlight along the edge |
| The image feels flat and lifeless | Missing bounce light, or nothing in the environment to reflect |
| Whites look burnt out | No tone mapping on the highlights |
| Fabric or cable looks stiff | Simulated too rigidly, or not simulated at all |
| Everything is suspiciously clean | No dust, no wear, no fingerprints |
| The grain looks digital and even | Render noise left in rather than real grain added |
Photorealistic render engines and software
Any engine in this table can produce photoreal results. You pick between them for workflow and speed, since all of them are capable.
| Engine | Type | Usually chosen for |
|---|---|---|
| V-Ray | CPU and GPU | The industry workhorse for product and architecture |
| Corona | CPU | Interiors, forgiving defaults, easy to learn |
| Cycles in Blender | CPU and GPU | Free, capable, the common entry point |
| Arnold | CPU and GPU | Film and animation pipelines |
| Redshift and Octane | GPU | Speed, motion graphics, heavy iteration |
| KeyShot | CPU and GPU | Fast product visuals straight from CAD |
| Unreal Engine | Real time | Configurators and interactive work rather than stills |
The honest summary: an experienced artist gets a photoreal image out of free Blender, and a beginner gets an obviously fake one out of the most expensive licence on the market. The wider tool comparison is in our roundup of 3D modeling software, and if the modeling and rendering distinction is still fuzzy, this piece separates them.
Photorealistic rendering cost and timing
Two costs sit behind every photoreal image: the artist hours and the render hours. They trade against each other, which is why quotes vary so widely.
- Model. About a day for a simple part, two to three days for a typical product, three to five for a complex one and one to two weeks for a watch with its movement. This is the one time cost.
- Materials and lighting. Usually the day where the image is actually won or lost.
- Render time. Minutes per frame on a modern GPU for a product still, hours if there is glass, liquid or caustics. Render farms exist so deadlines survive this.
- Post production. Grading, grain, small composite fixes. Never skip it, it is often the last ten percent of realism.
Our published prices: a silo image on white from 1 dollar an image when a catalogue runs as a batch, an image with a scene around it from 120 dollars, a colour change on an existing model for 1 dollar, and a full set for one product from 360, delivered in 3 to 5 days. Simple images take about two days, complex ones up to five. The stage by stage version of how a project runs is in the 10 stages of a rendering project, and how this compares against booking a photographer is in product photography cost.

When photorealism is not the goal
Chasing realism when the job does not need it wastes budget.
- Exploded views and technical illustration. Clarity beats realism. A clean flat style communicates assembly better than an accurate one.
- Concept and design review. A rough grey clay render answers form questions faster and lets people critique shape instead of lighting.
- Interactive 3D on a product page. Real time budgets cap what is possible, and a model that loads fast beats a beautiful one that does not. For the broader craft around photorealism, every shot type and every stage, see what is 3D rendering.
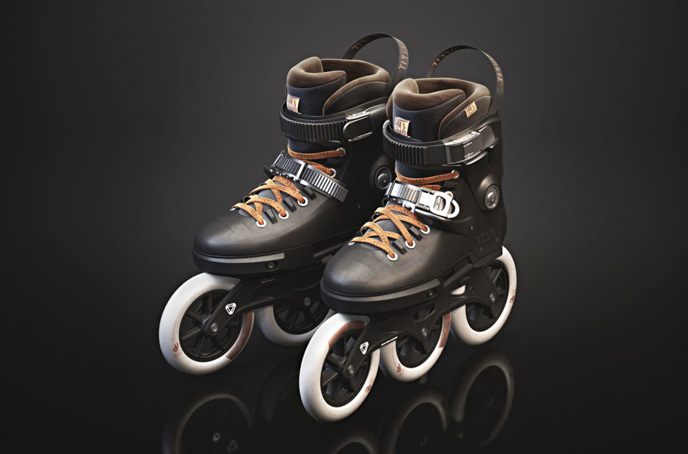
If you have a product that needs images at this level, send the model or the CAD file, the materials list and a couple of references you like. We will tell you what is achievable and what it takes. The service details are on our product visualization services page.
Frequently asked questions

Ian Diev
Content Writer, Editor
Ian loves writing about innovative 3D technologies and their impact on architecture and design. In his spare time, he makes indie music, watches obscure movies, and cooks culinary masterpieces for friends.