
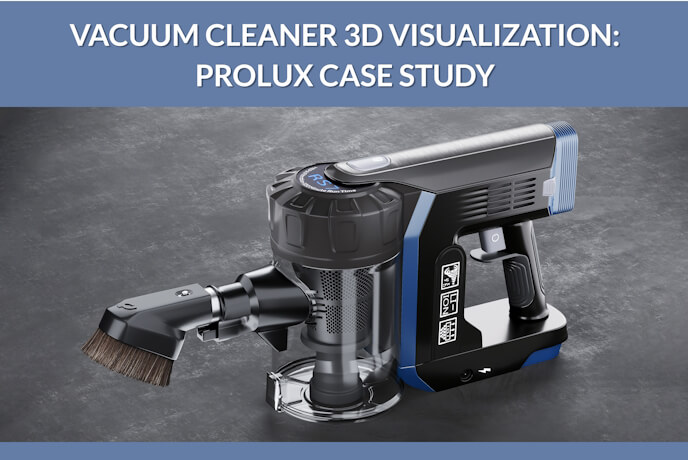
Vacuum Cleaner 3D Visualization for Product Launch: Case Study
While the product is in the design phase, there is no better way to start advertising it than with photorealistic 3D rendering. GreatVacs, a renowned retailer of cleaning appliances, is well aware of this fact. The company’s founder Dustin Chaffin reached out to us for CGI services in March 2021. Since then, we’ve been collaborating on vacuum cleaner 3D visualization for various lines of his products.
To give you a better idea of what goes into creating CGI for such businesses, our 3D modeling company prepared a case study on our work with GreatVacs. It focuses on the production of 3D visuals for one of the new vacuum cleaners the company is about to launch. Read on to discover the details of our workflow and see the results of this 3D visualization project!
#1. Scope of Work
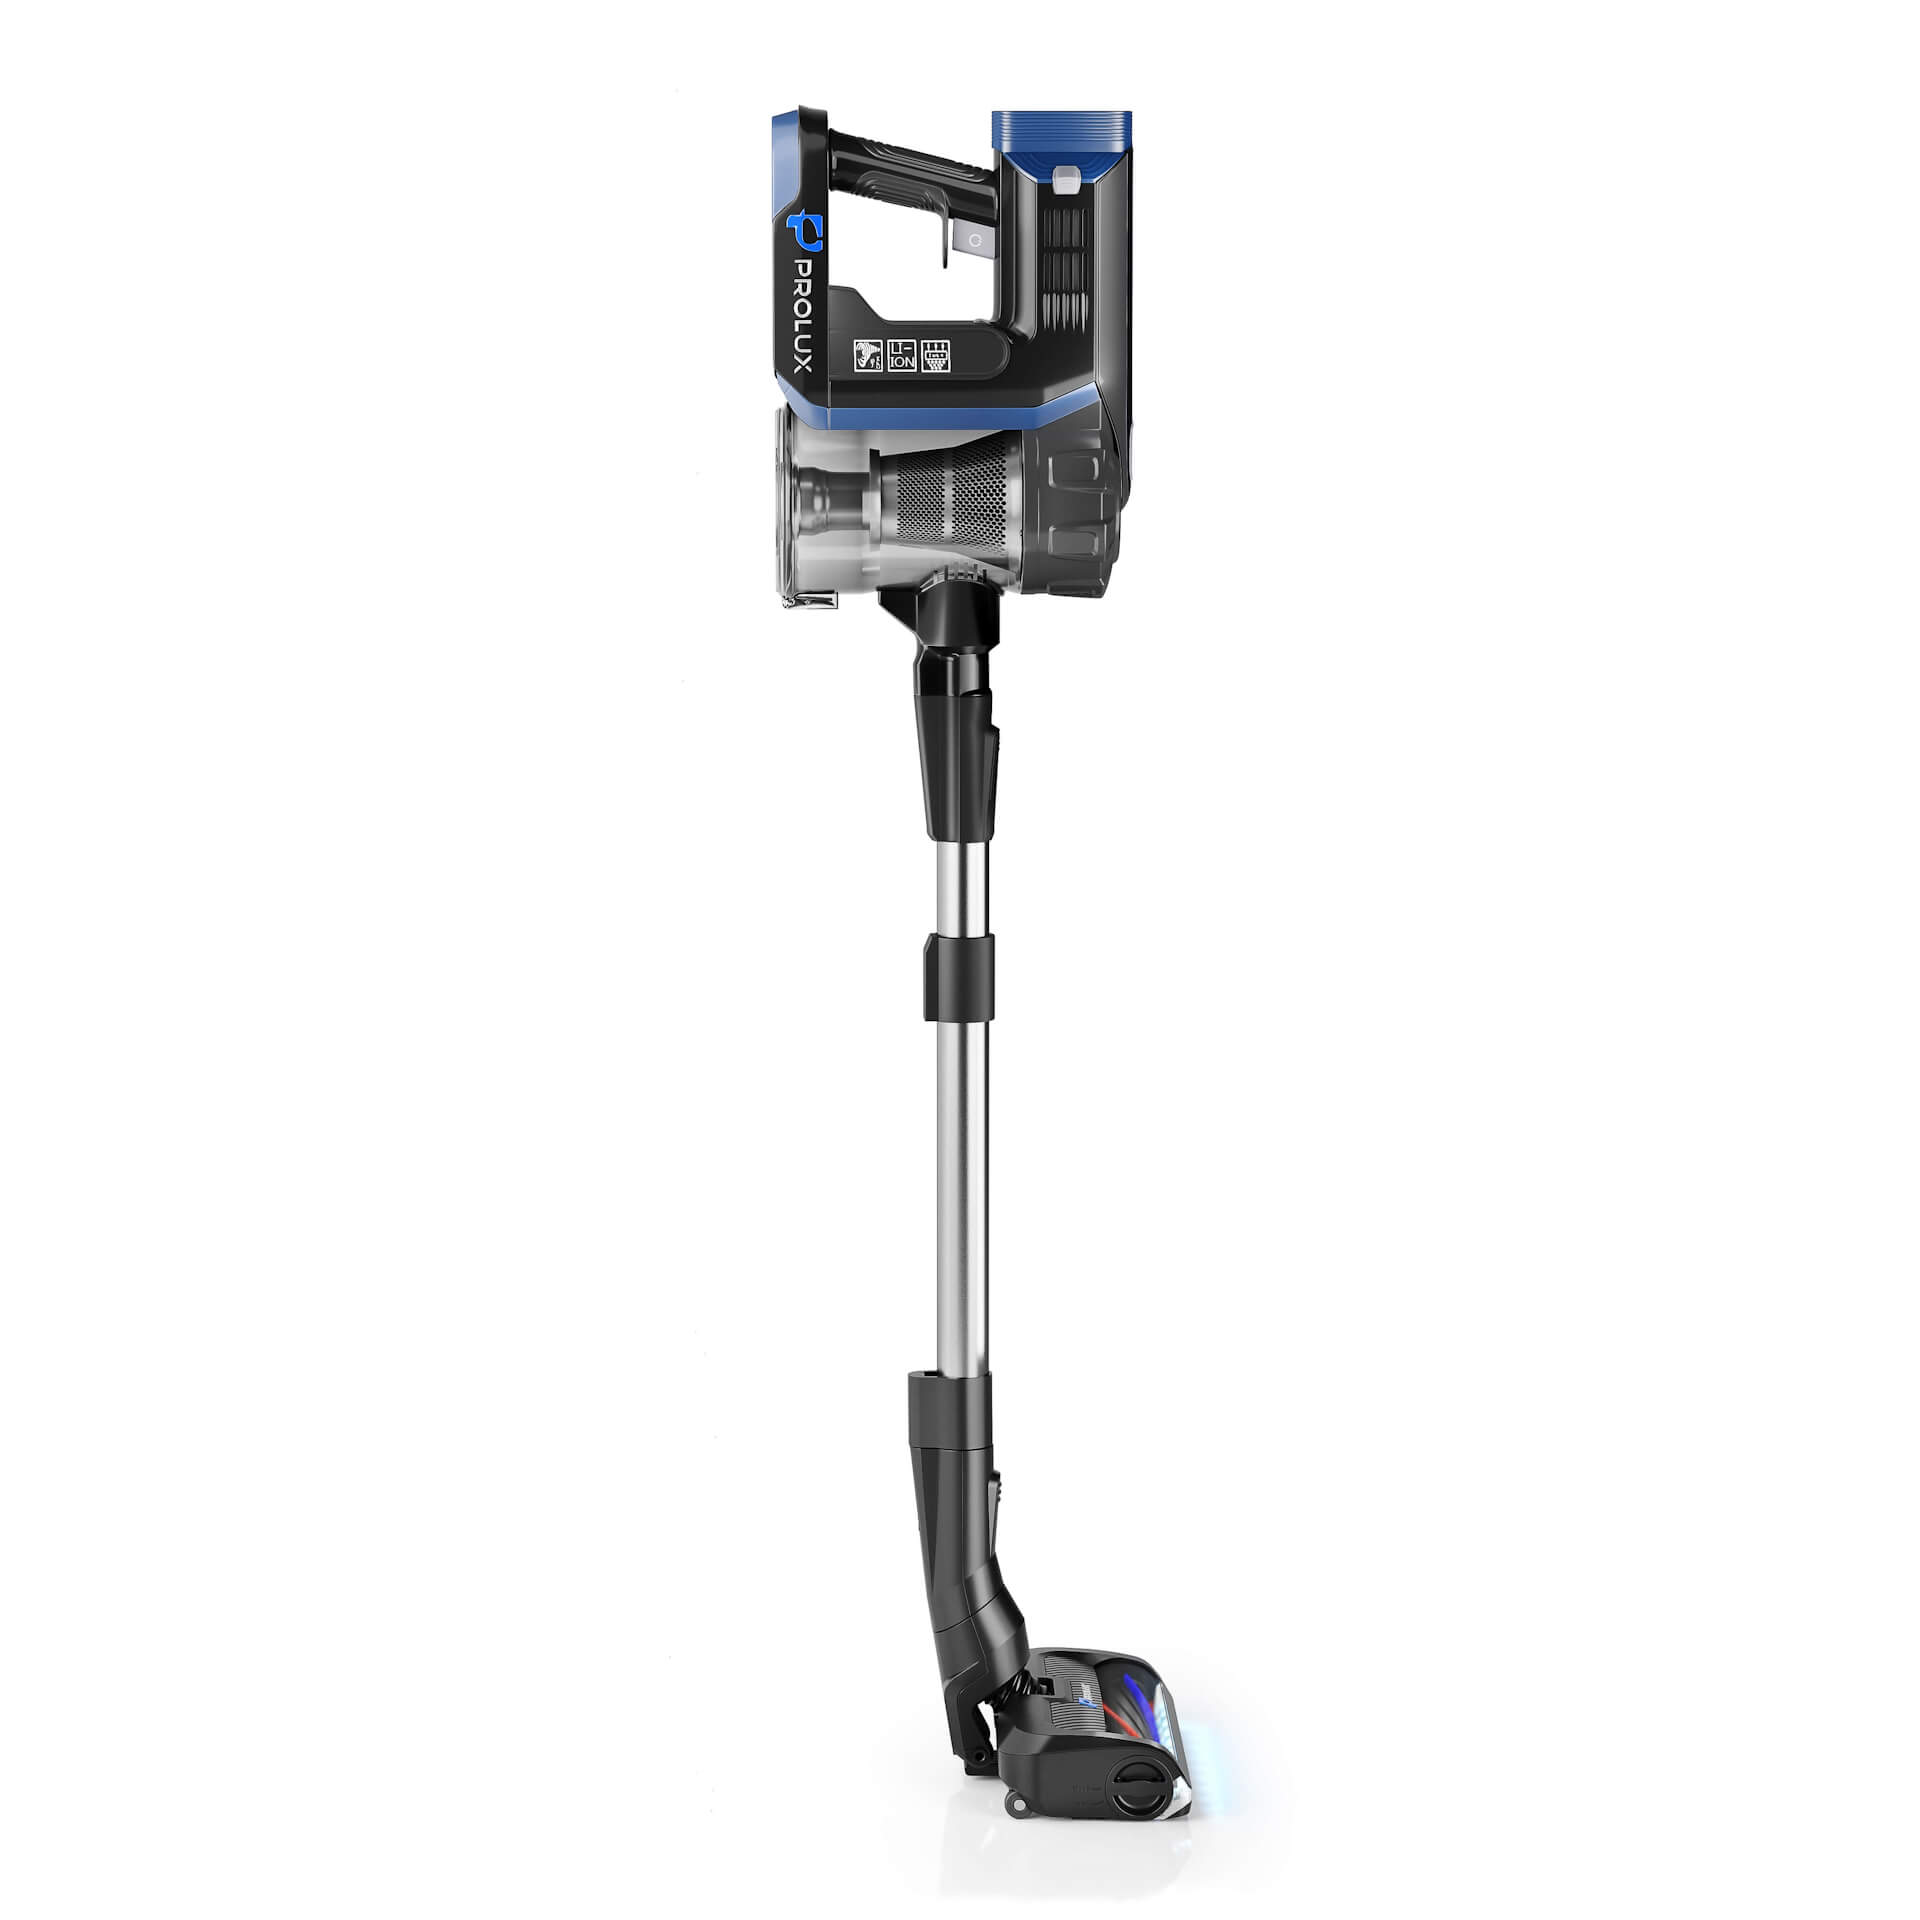
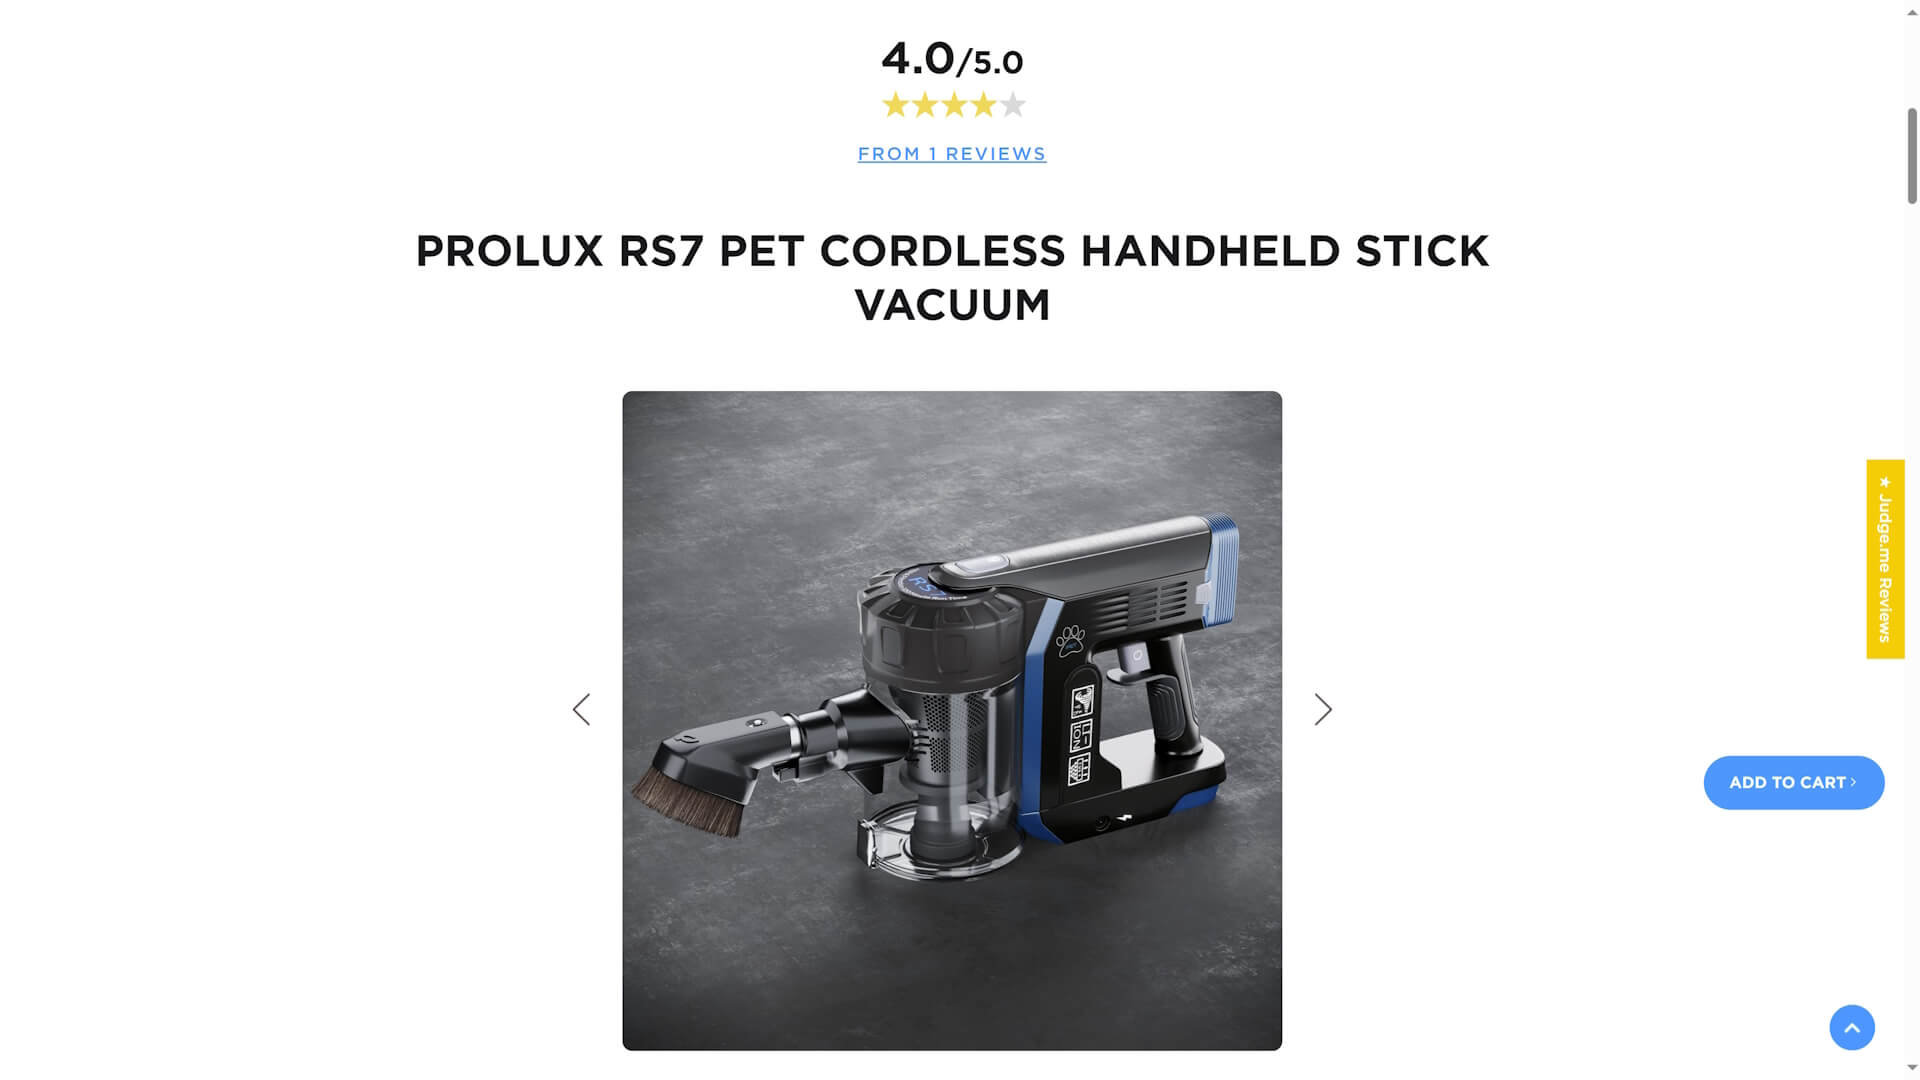
Our studio was tasked with creating 3D visuals for the Prolux RS7 Stick Vacuum Cleaner. The scope of work for this 3D visualization included:
- 3D modeling of the product;
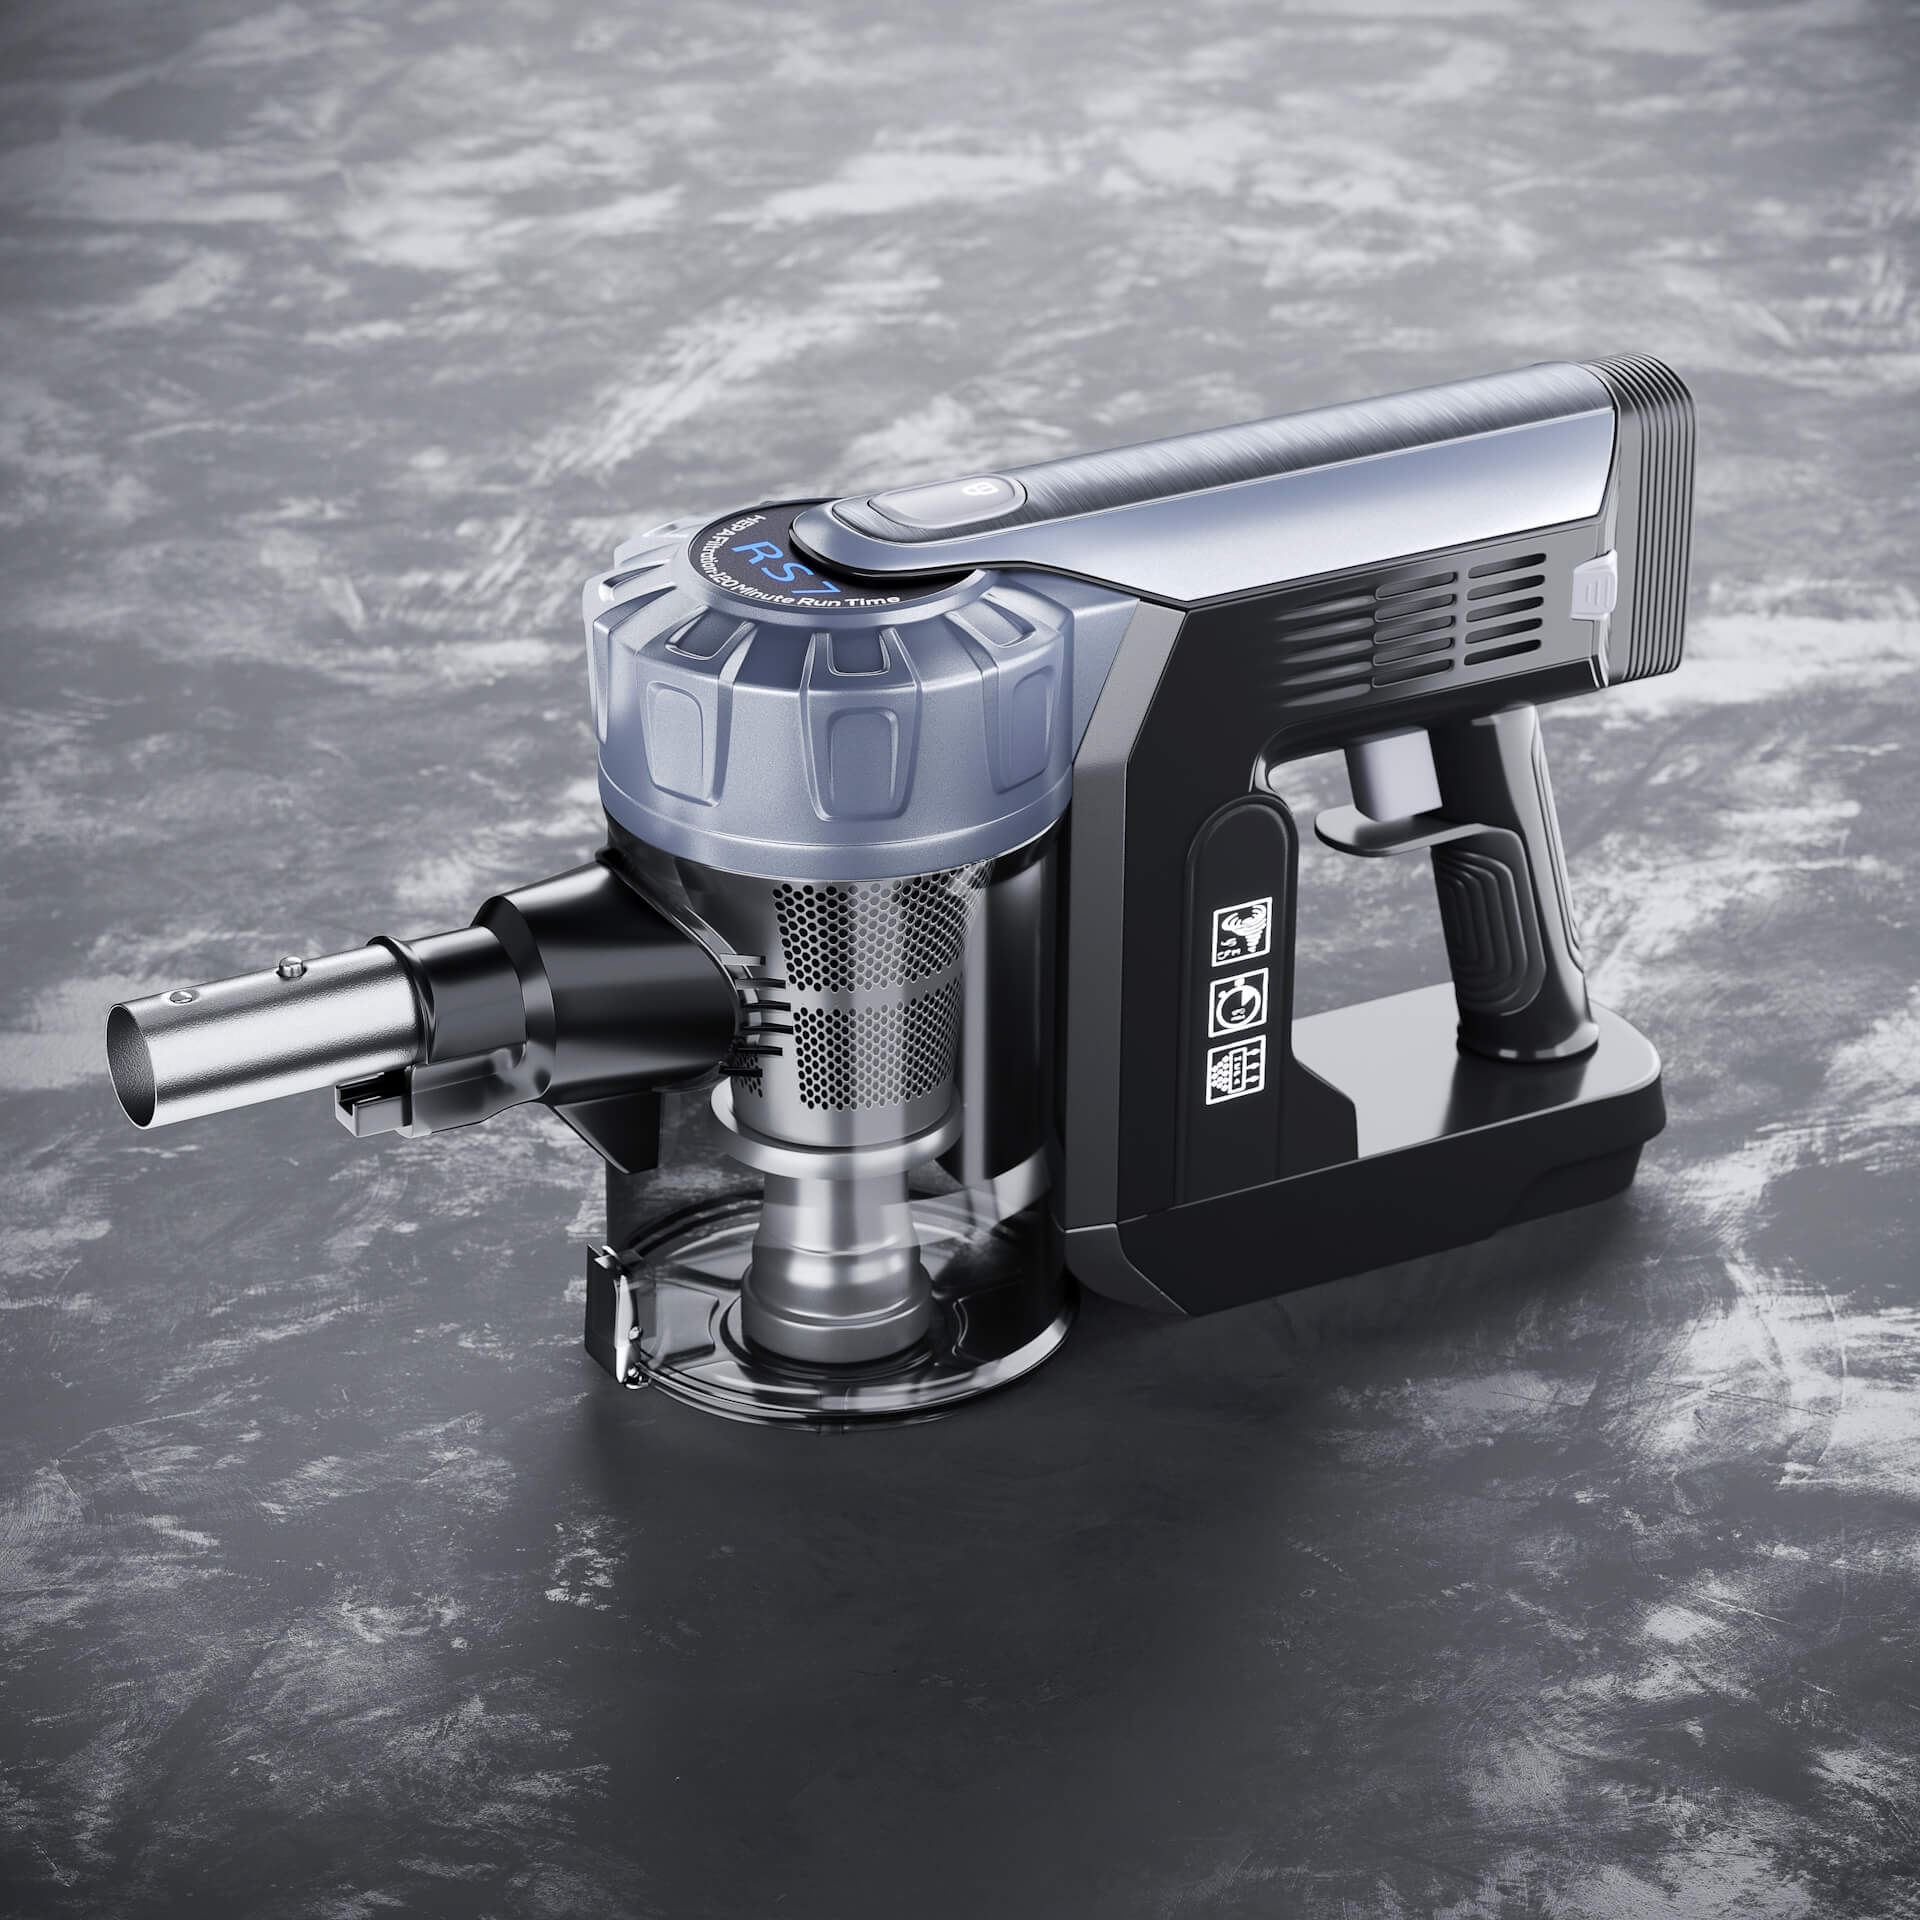
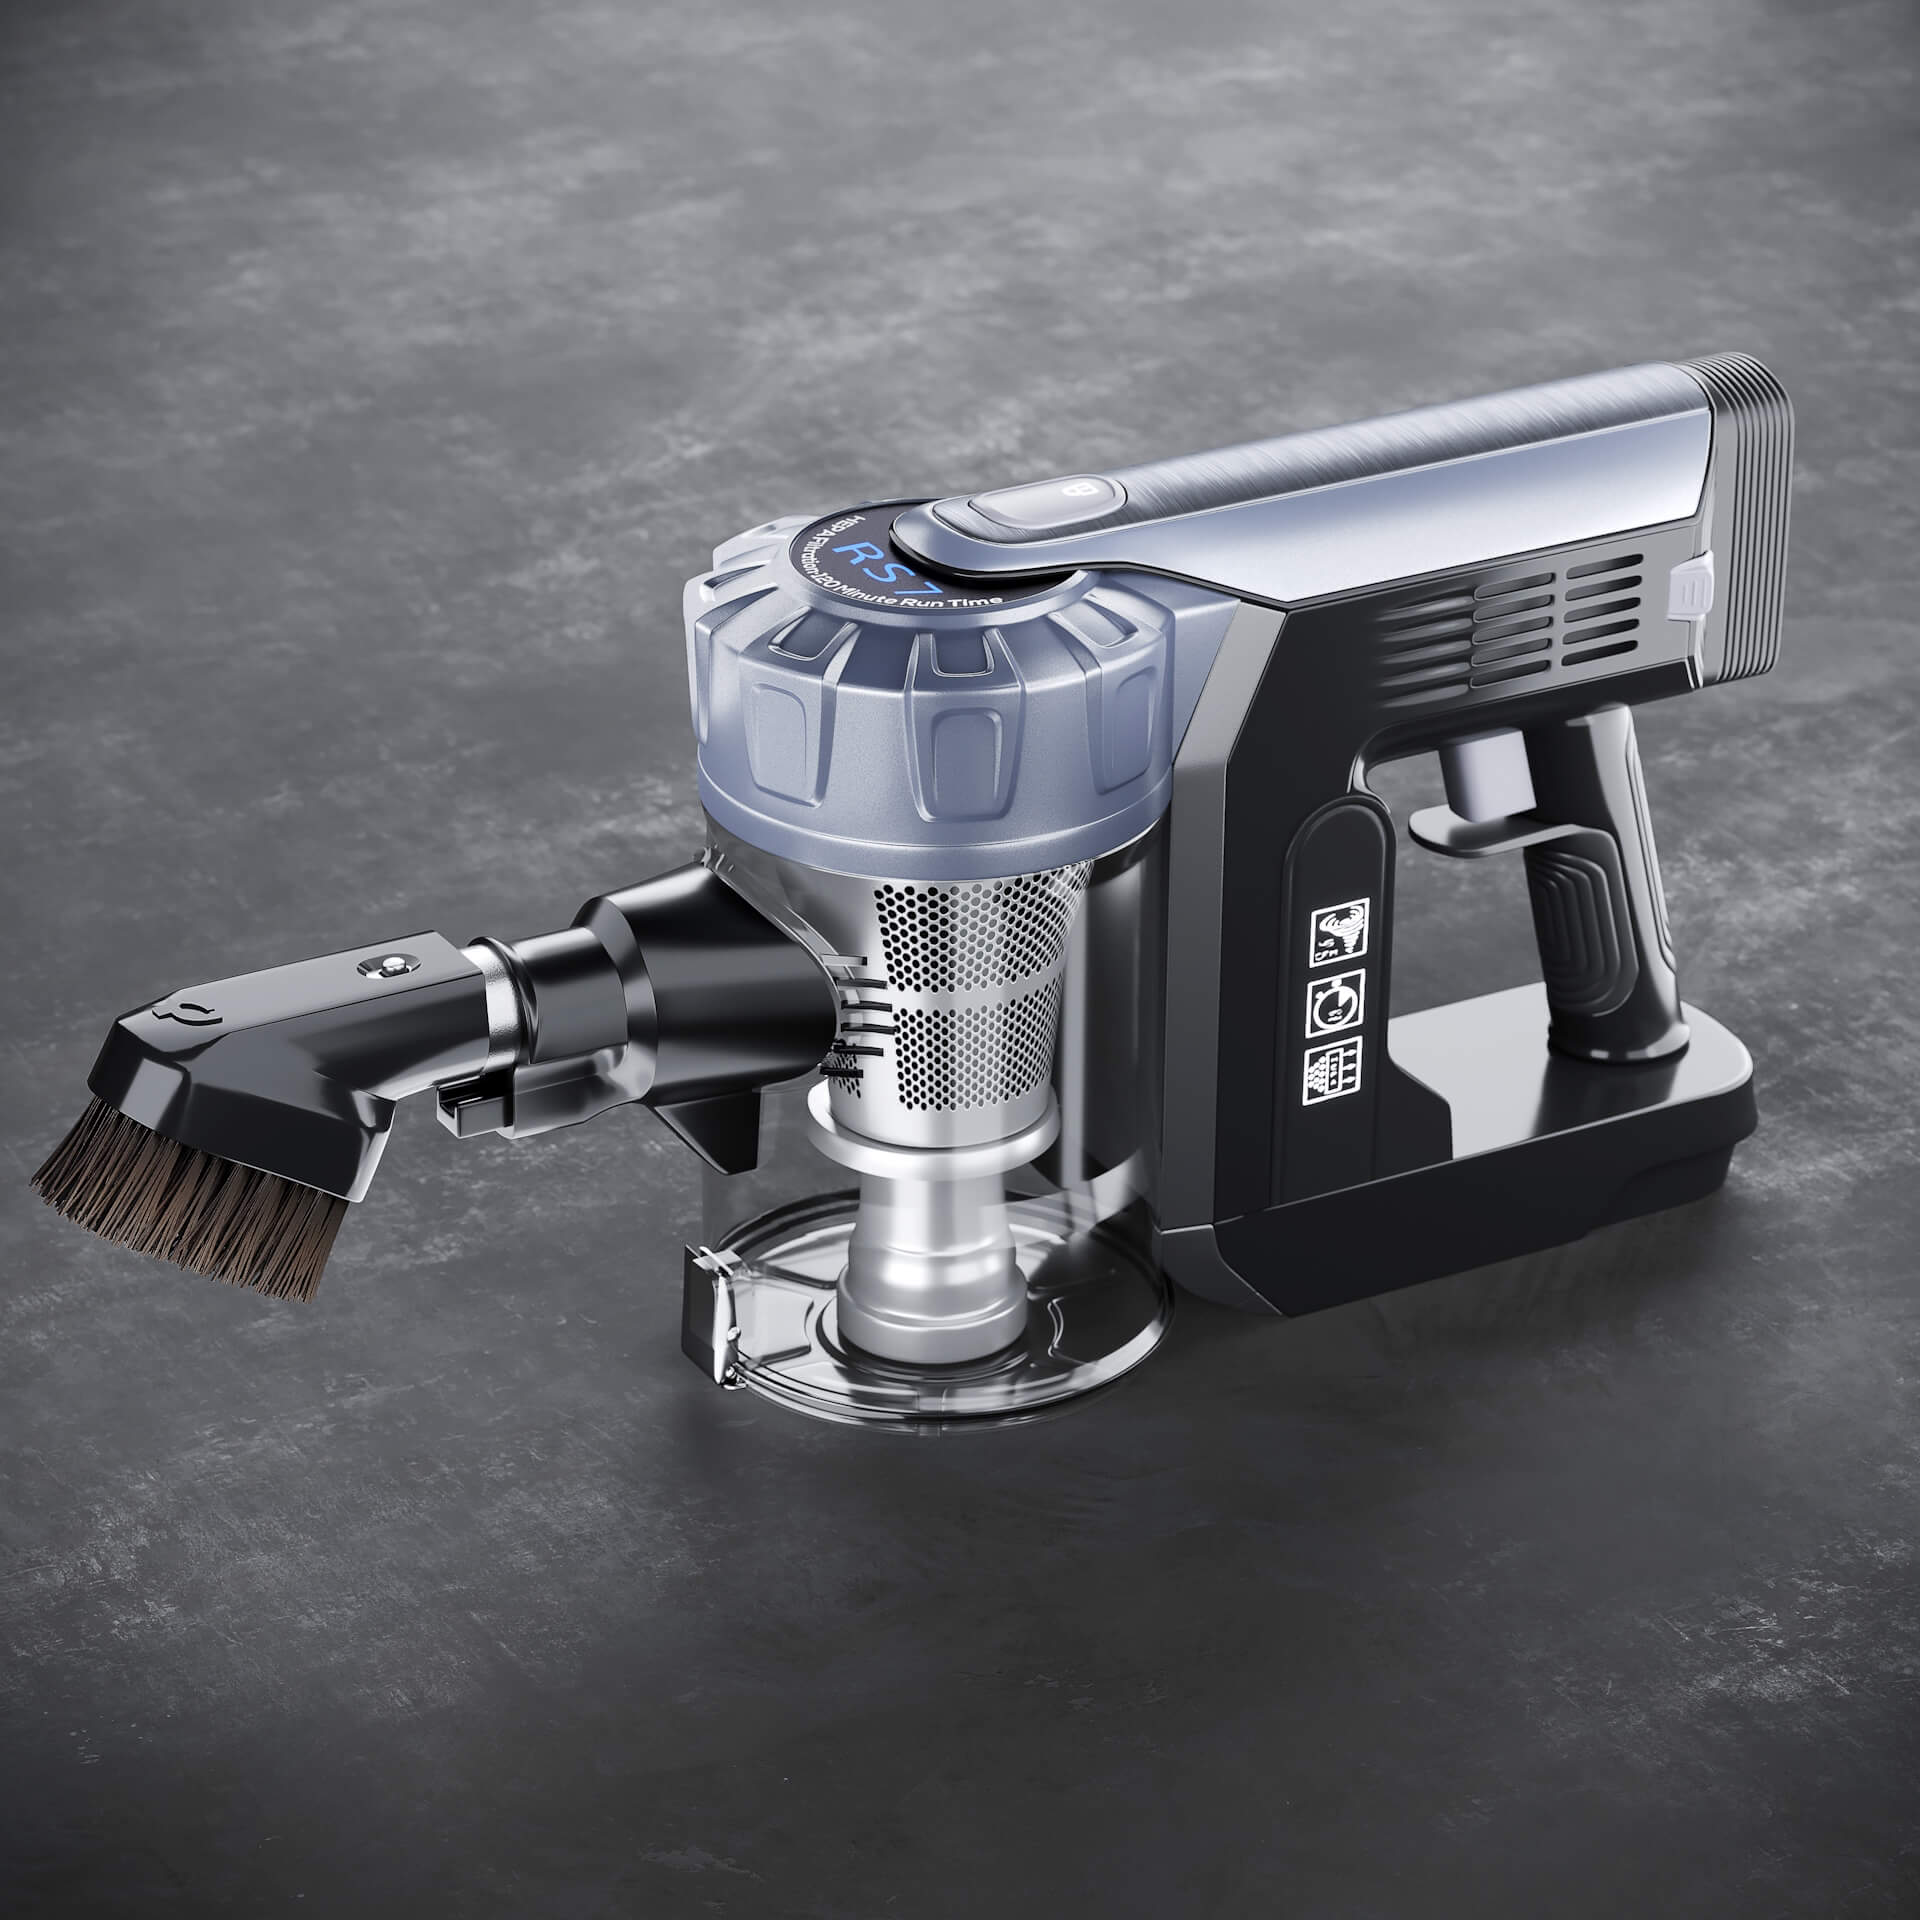
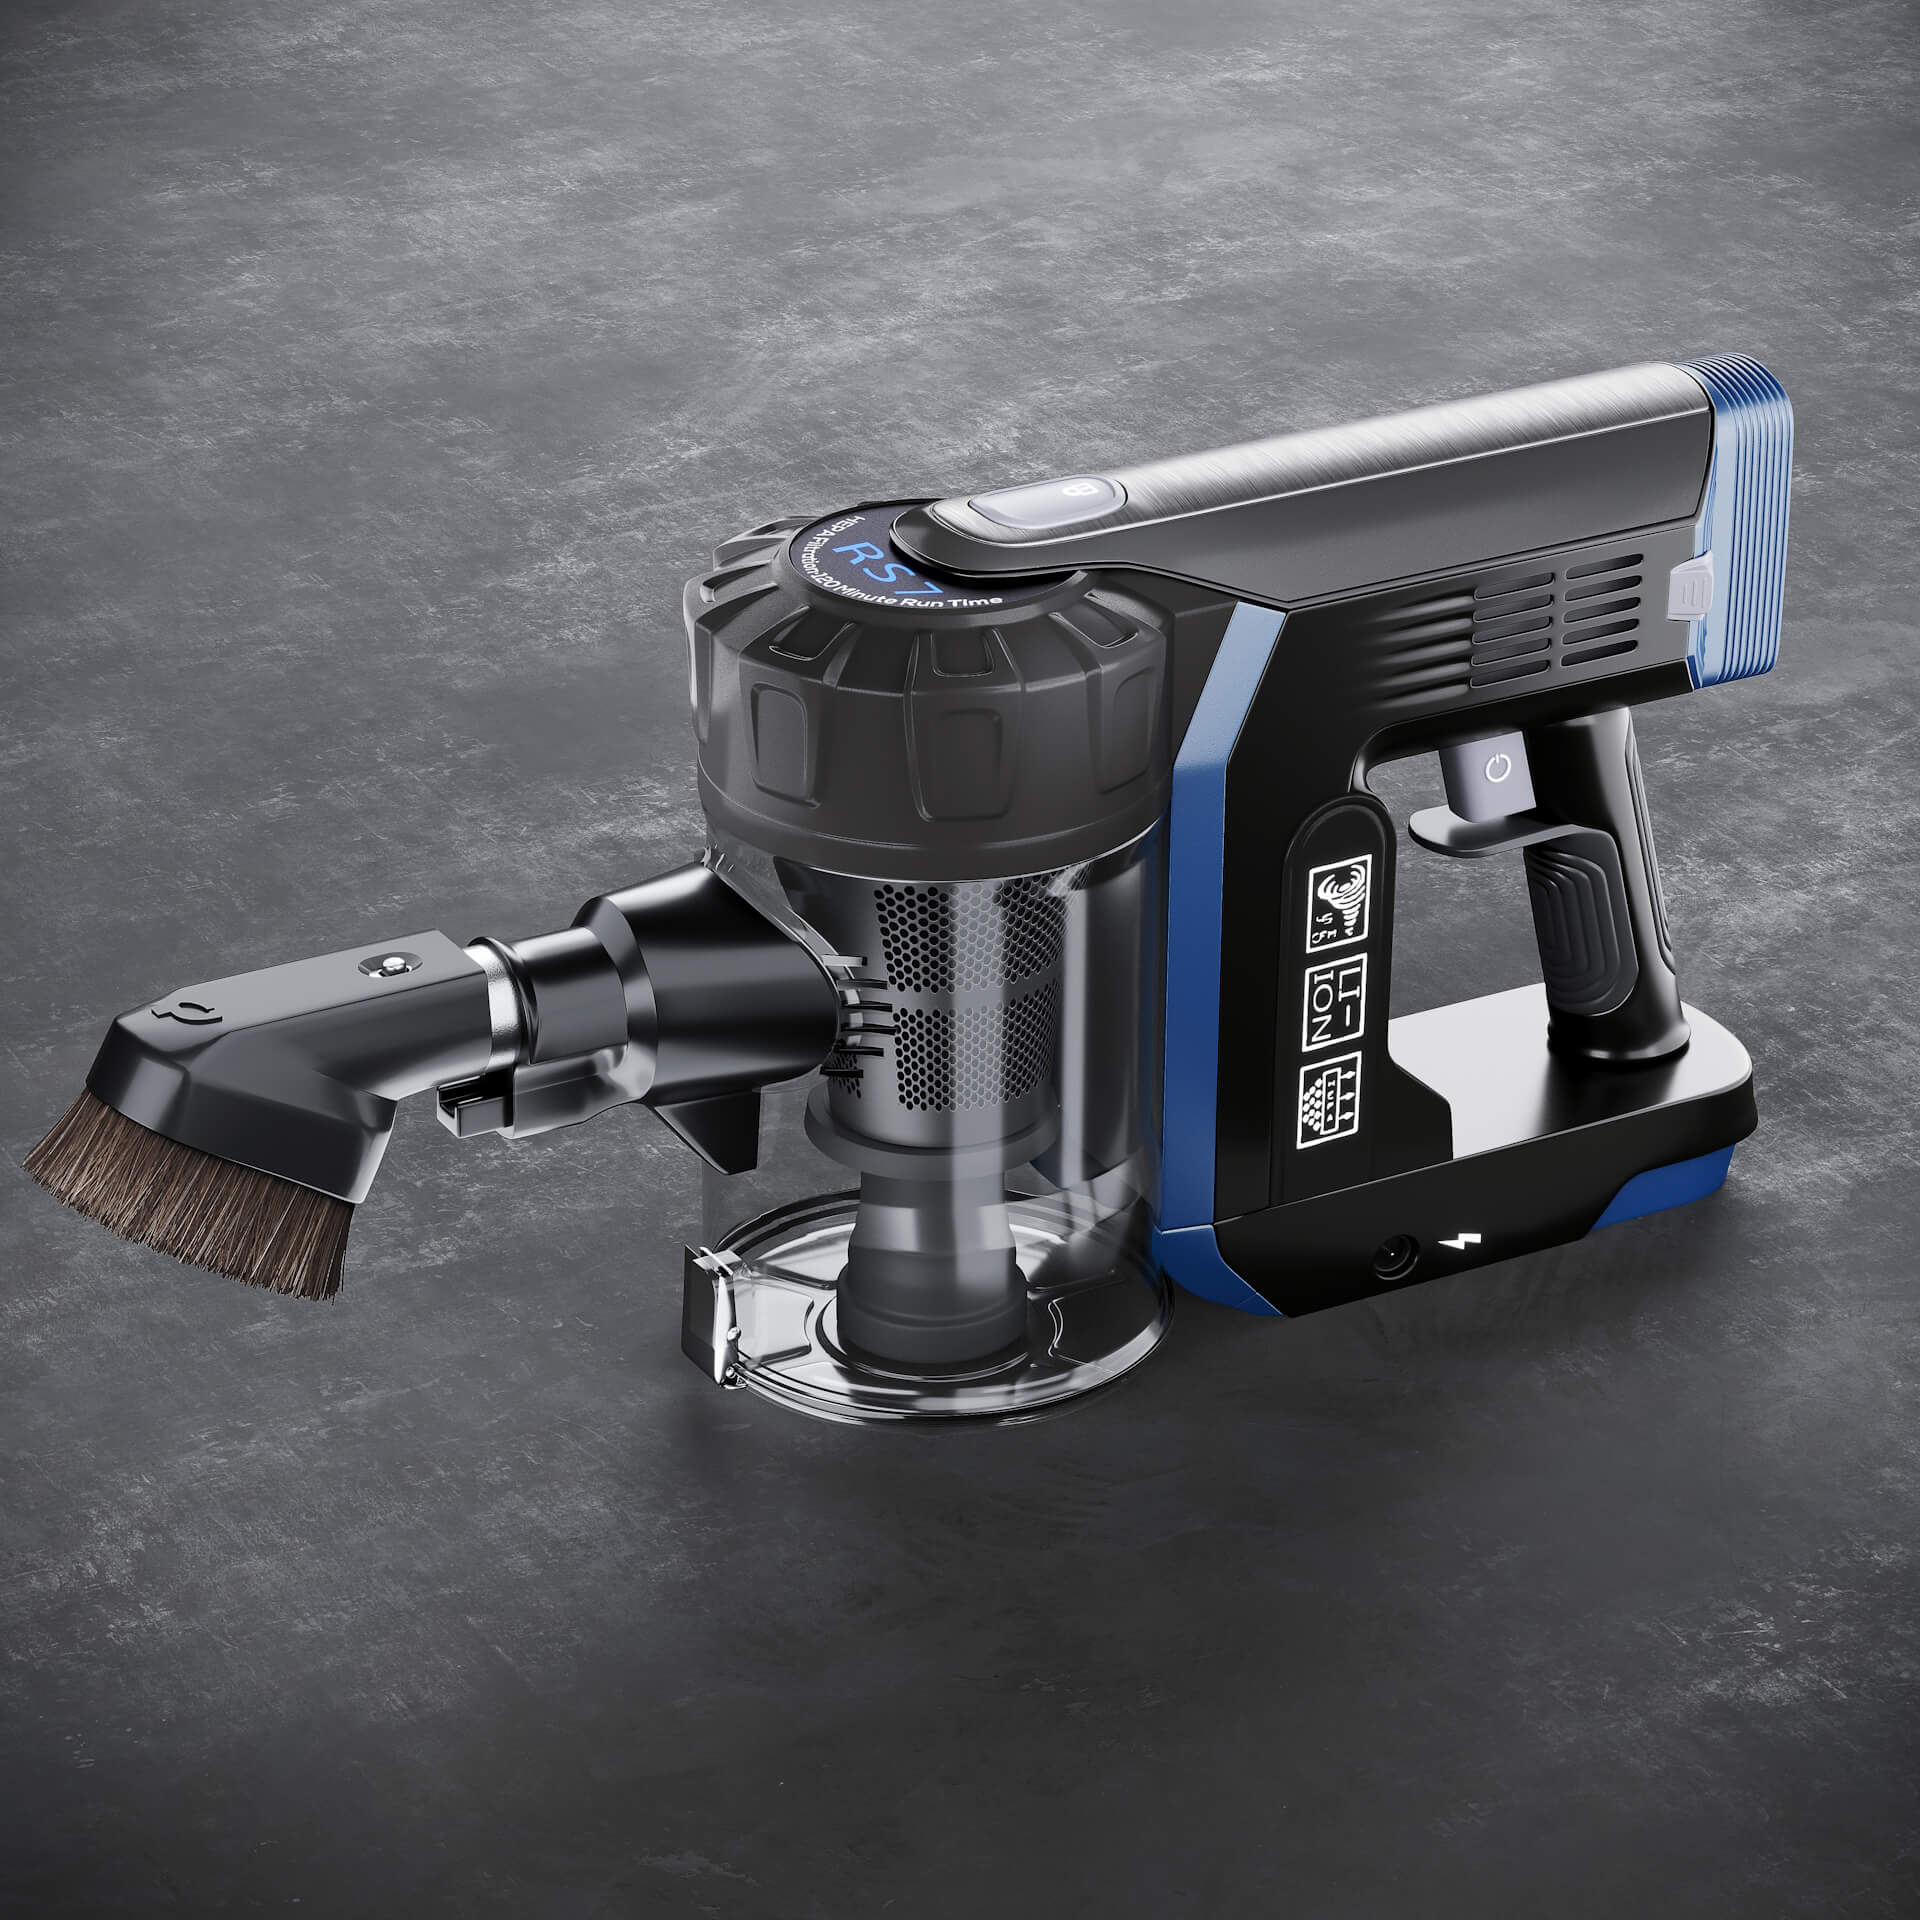
- making three silo renderings demonstrating the vacuum cleaner from different angles;
- creating three lifestyle CG images showcasing the product in the context of a stylish interior;
- producing a 3D animation of the Prolux RS7 in use.
The imagery had to be in 4K, 300 dpi quality, and the animated video had to be a 12-second clip in FullHD.
What’s more, this project serves as a perfect illustration of 3D digital prototyping. After we had created the main images, Dustin asked if we could experiment with the colors of the vacuum cleaner. This way, he wanted to see which design solution would work best. So, by utilizing 3D, GreatVacs didn’t need to create physical prototypes with different coloring options, thus saving money and time.
Before we get into the process of creating the imagery, let’s check out the references our client provided to us.
#2. References
Our client sent us a detailed brief, which included:
- white-background general view photos of the RS7 Vacuum Cleaner prototype;
- сlose-up photos of the product details;
- reference pictures for the lifestyle images;
- explainer videos for each task.
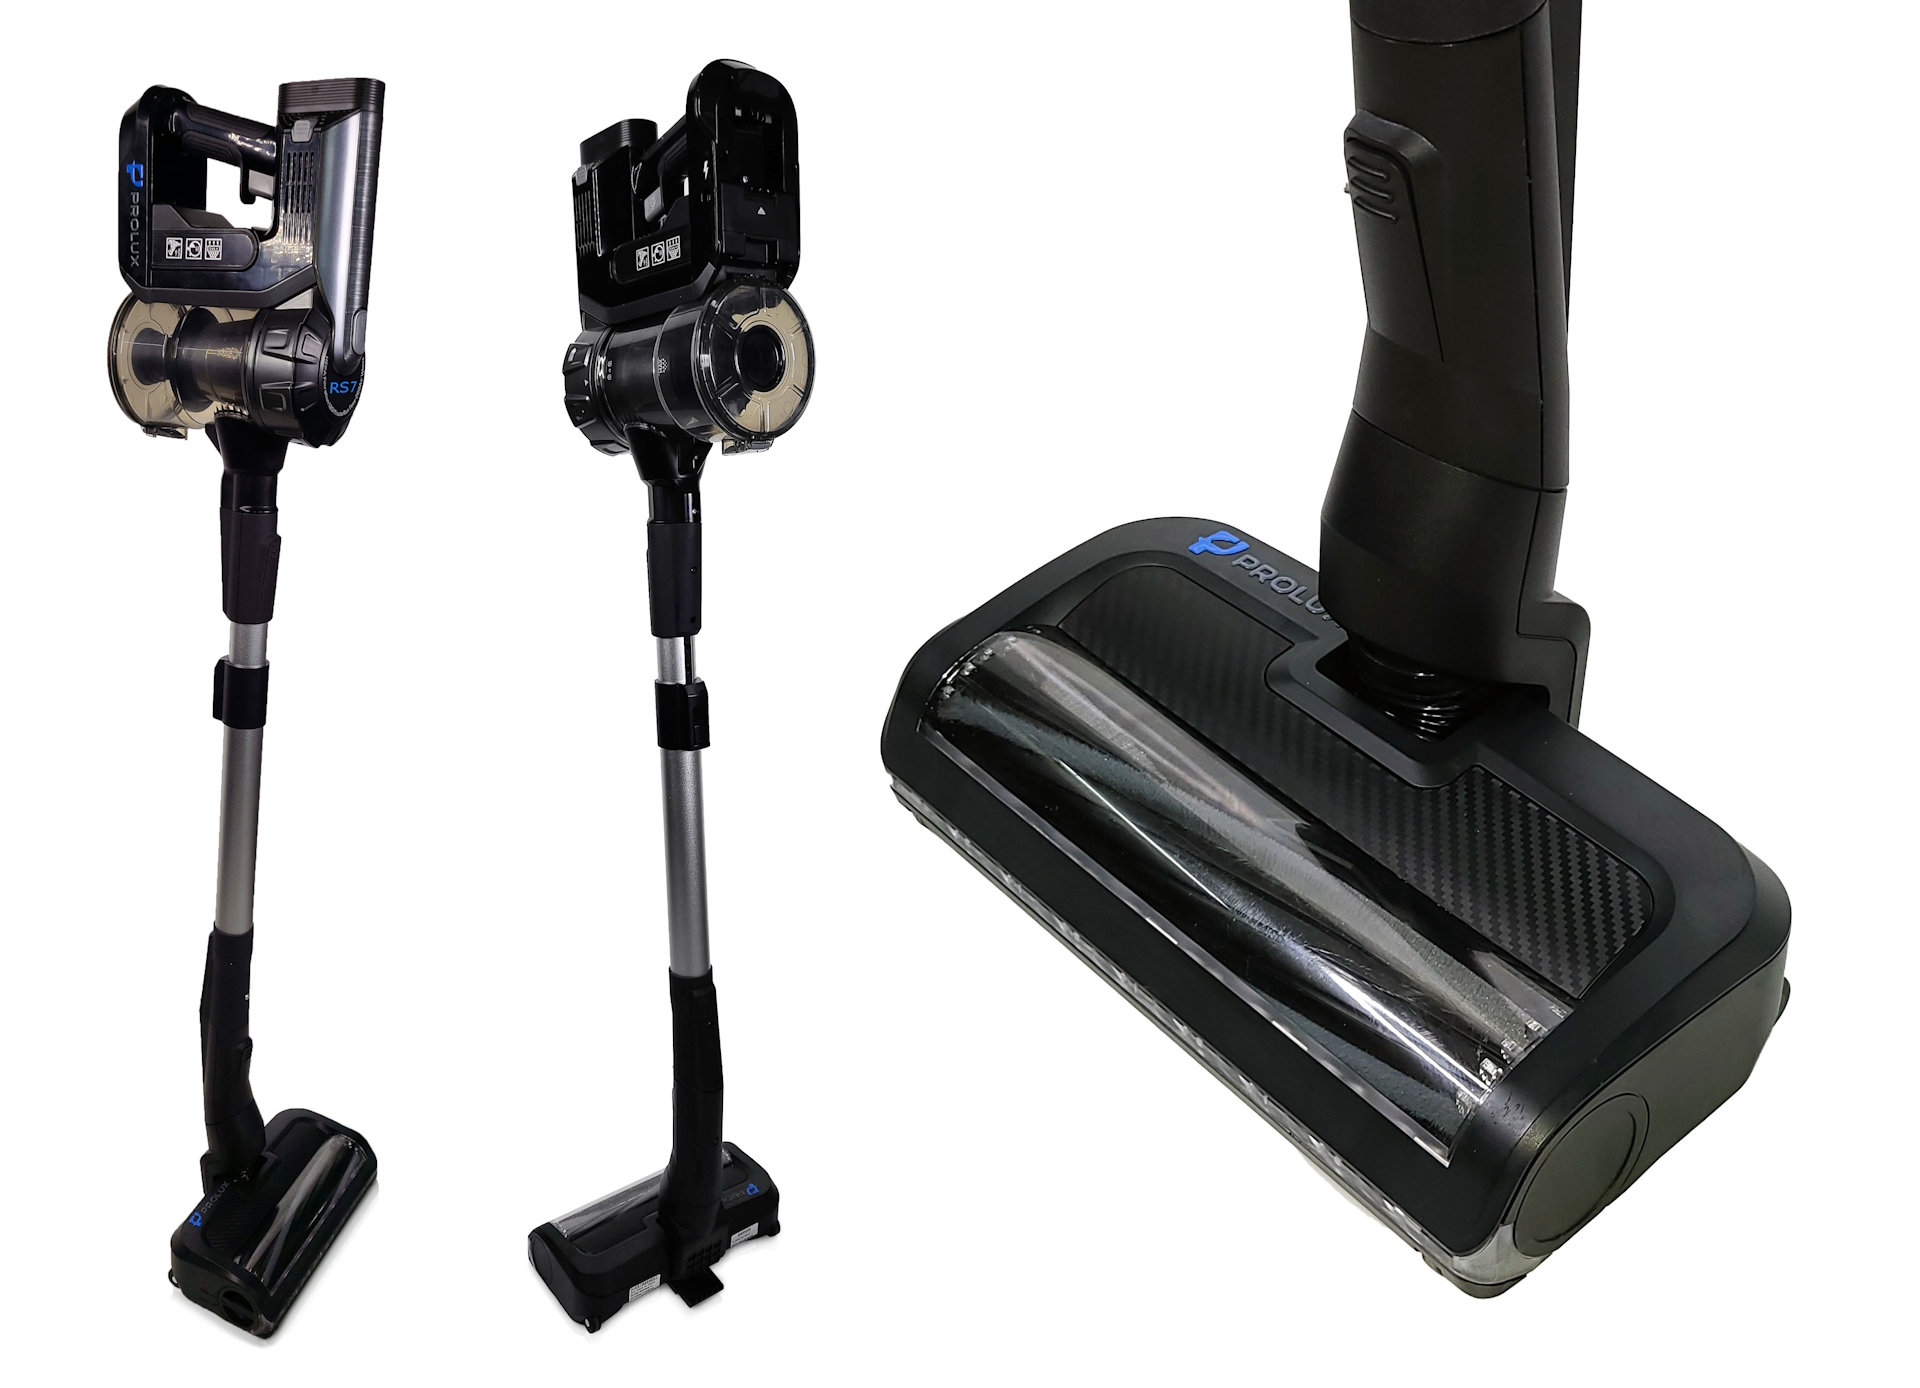
With all the materials at hand, our team was ready to get to work.
#3. Workflow
The first step in the vacuum cleaner 3D visualization project was the 3D modeling and the creation of silo renders. Let’s see what this process involved.
3D Modeling and Silo Renders
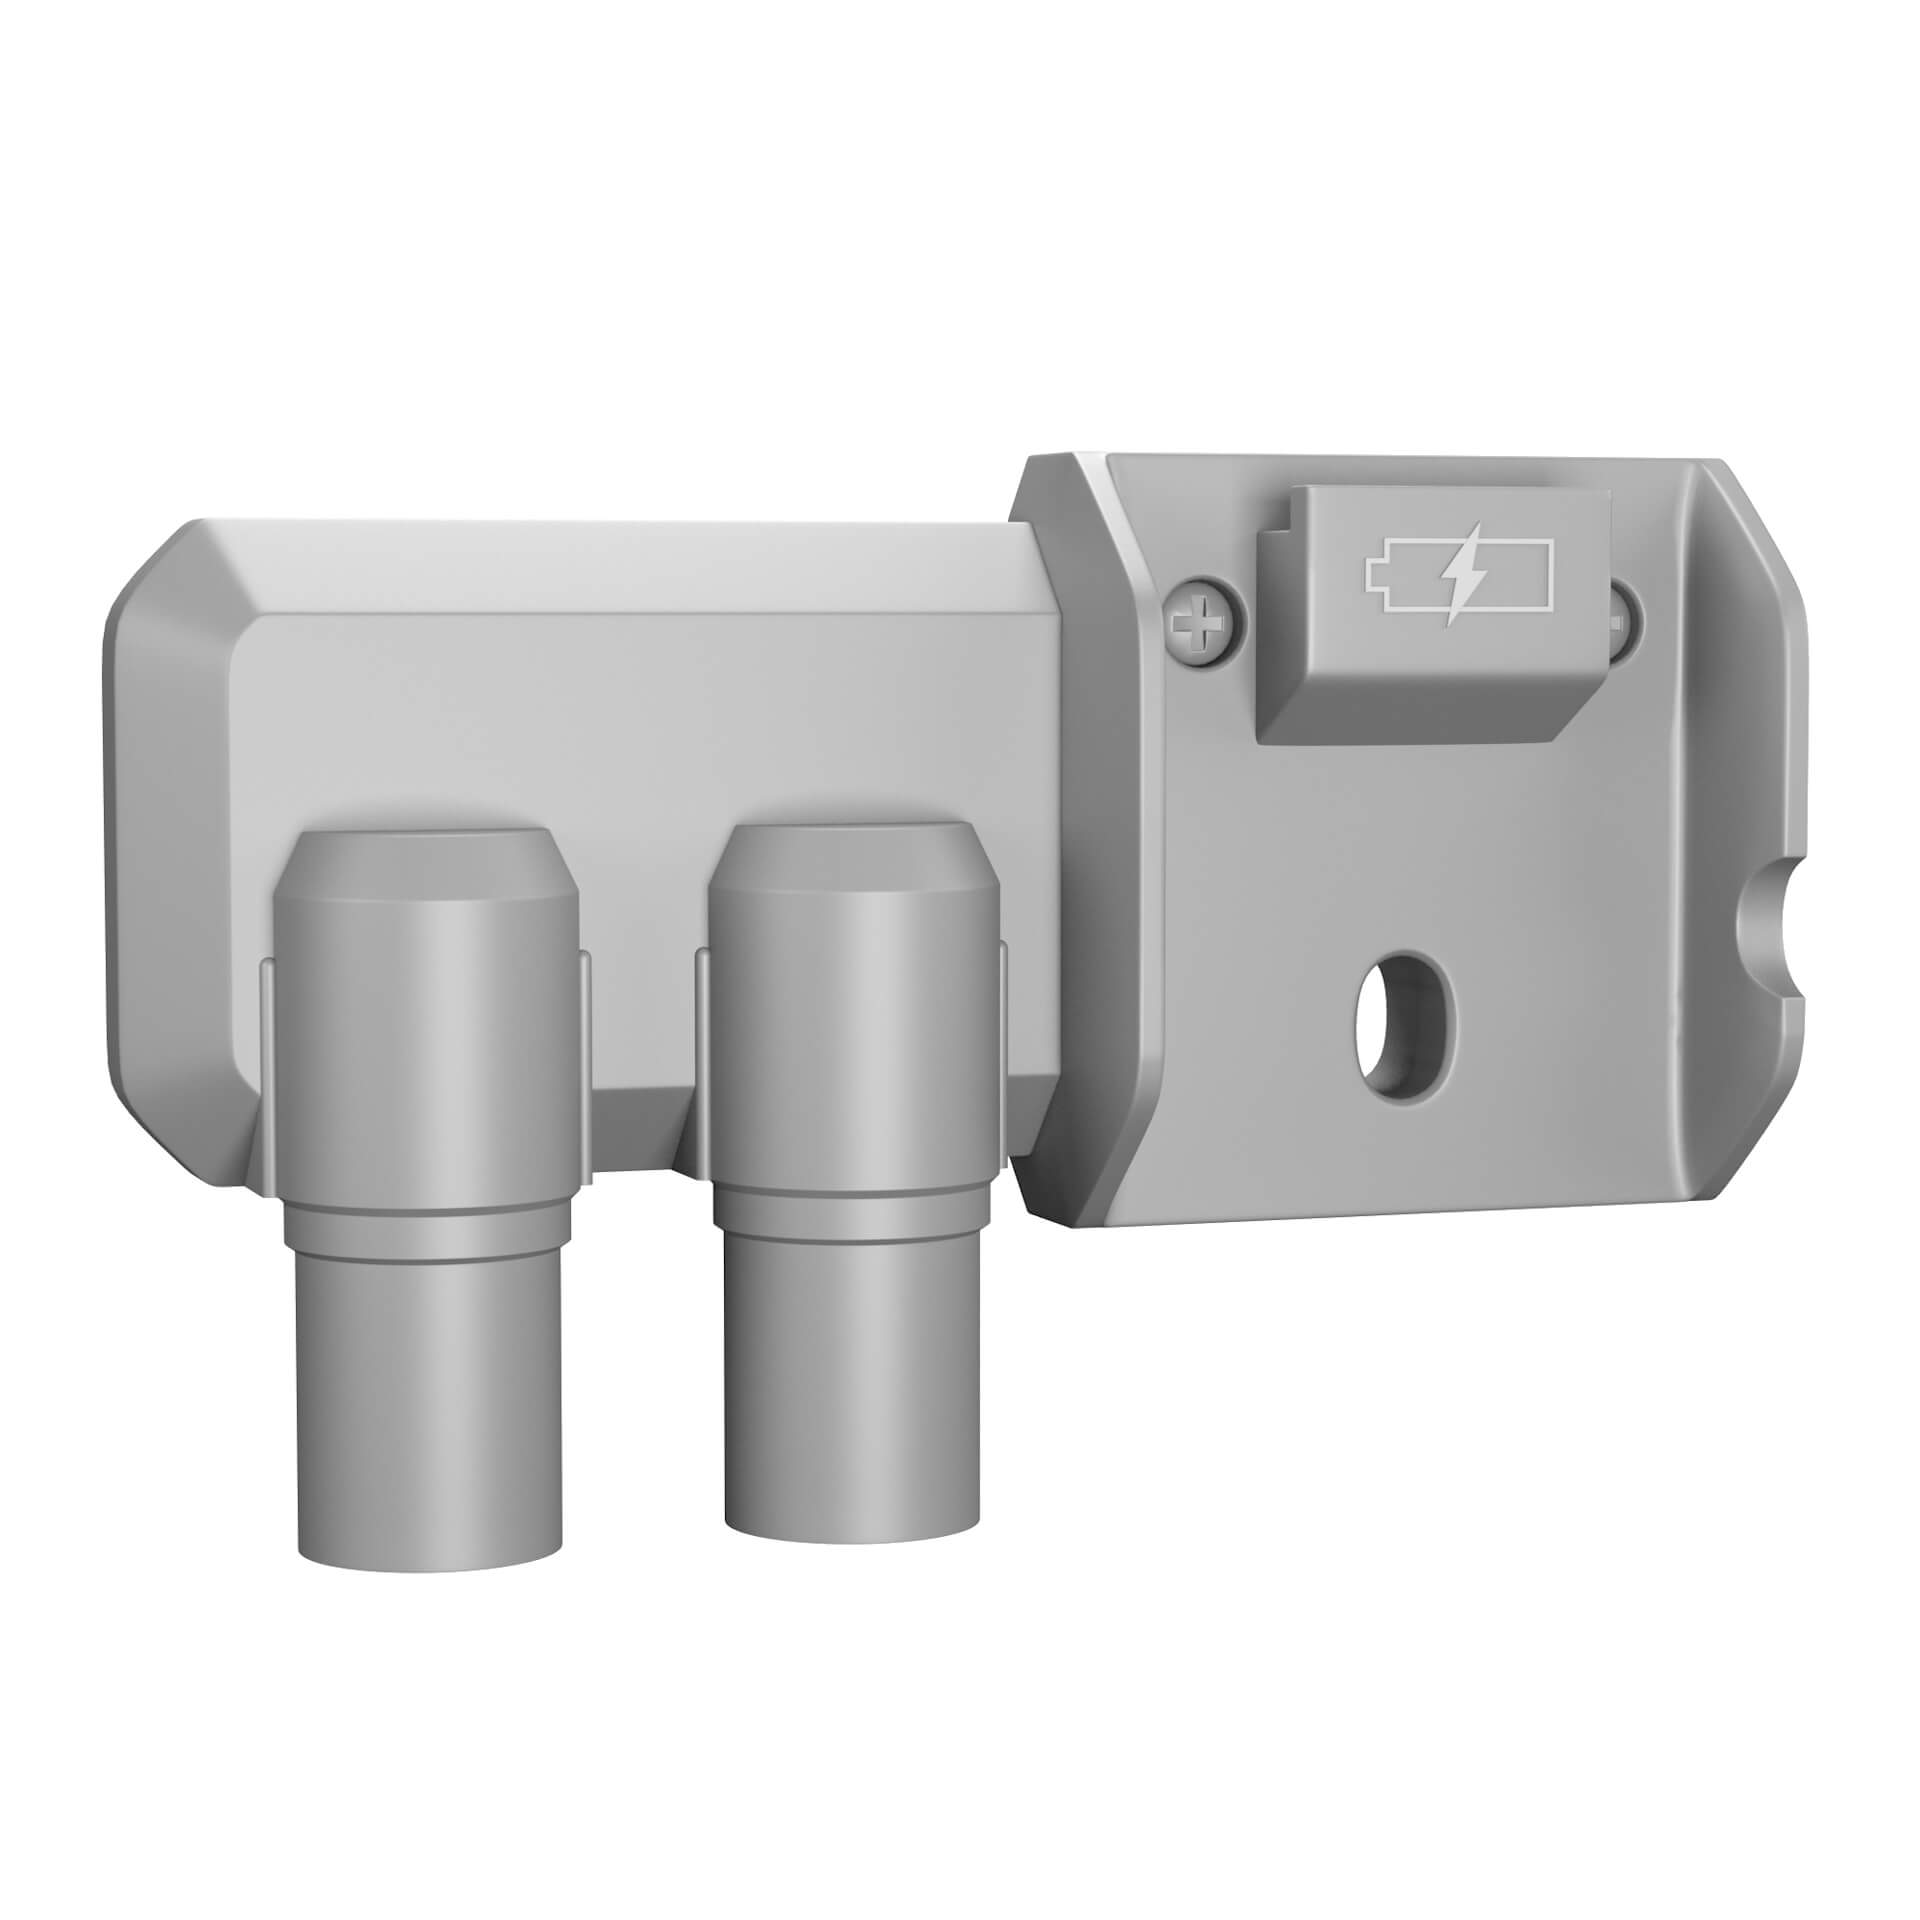
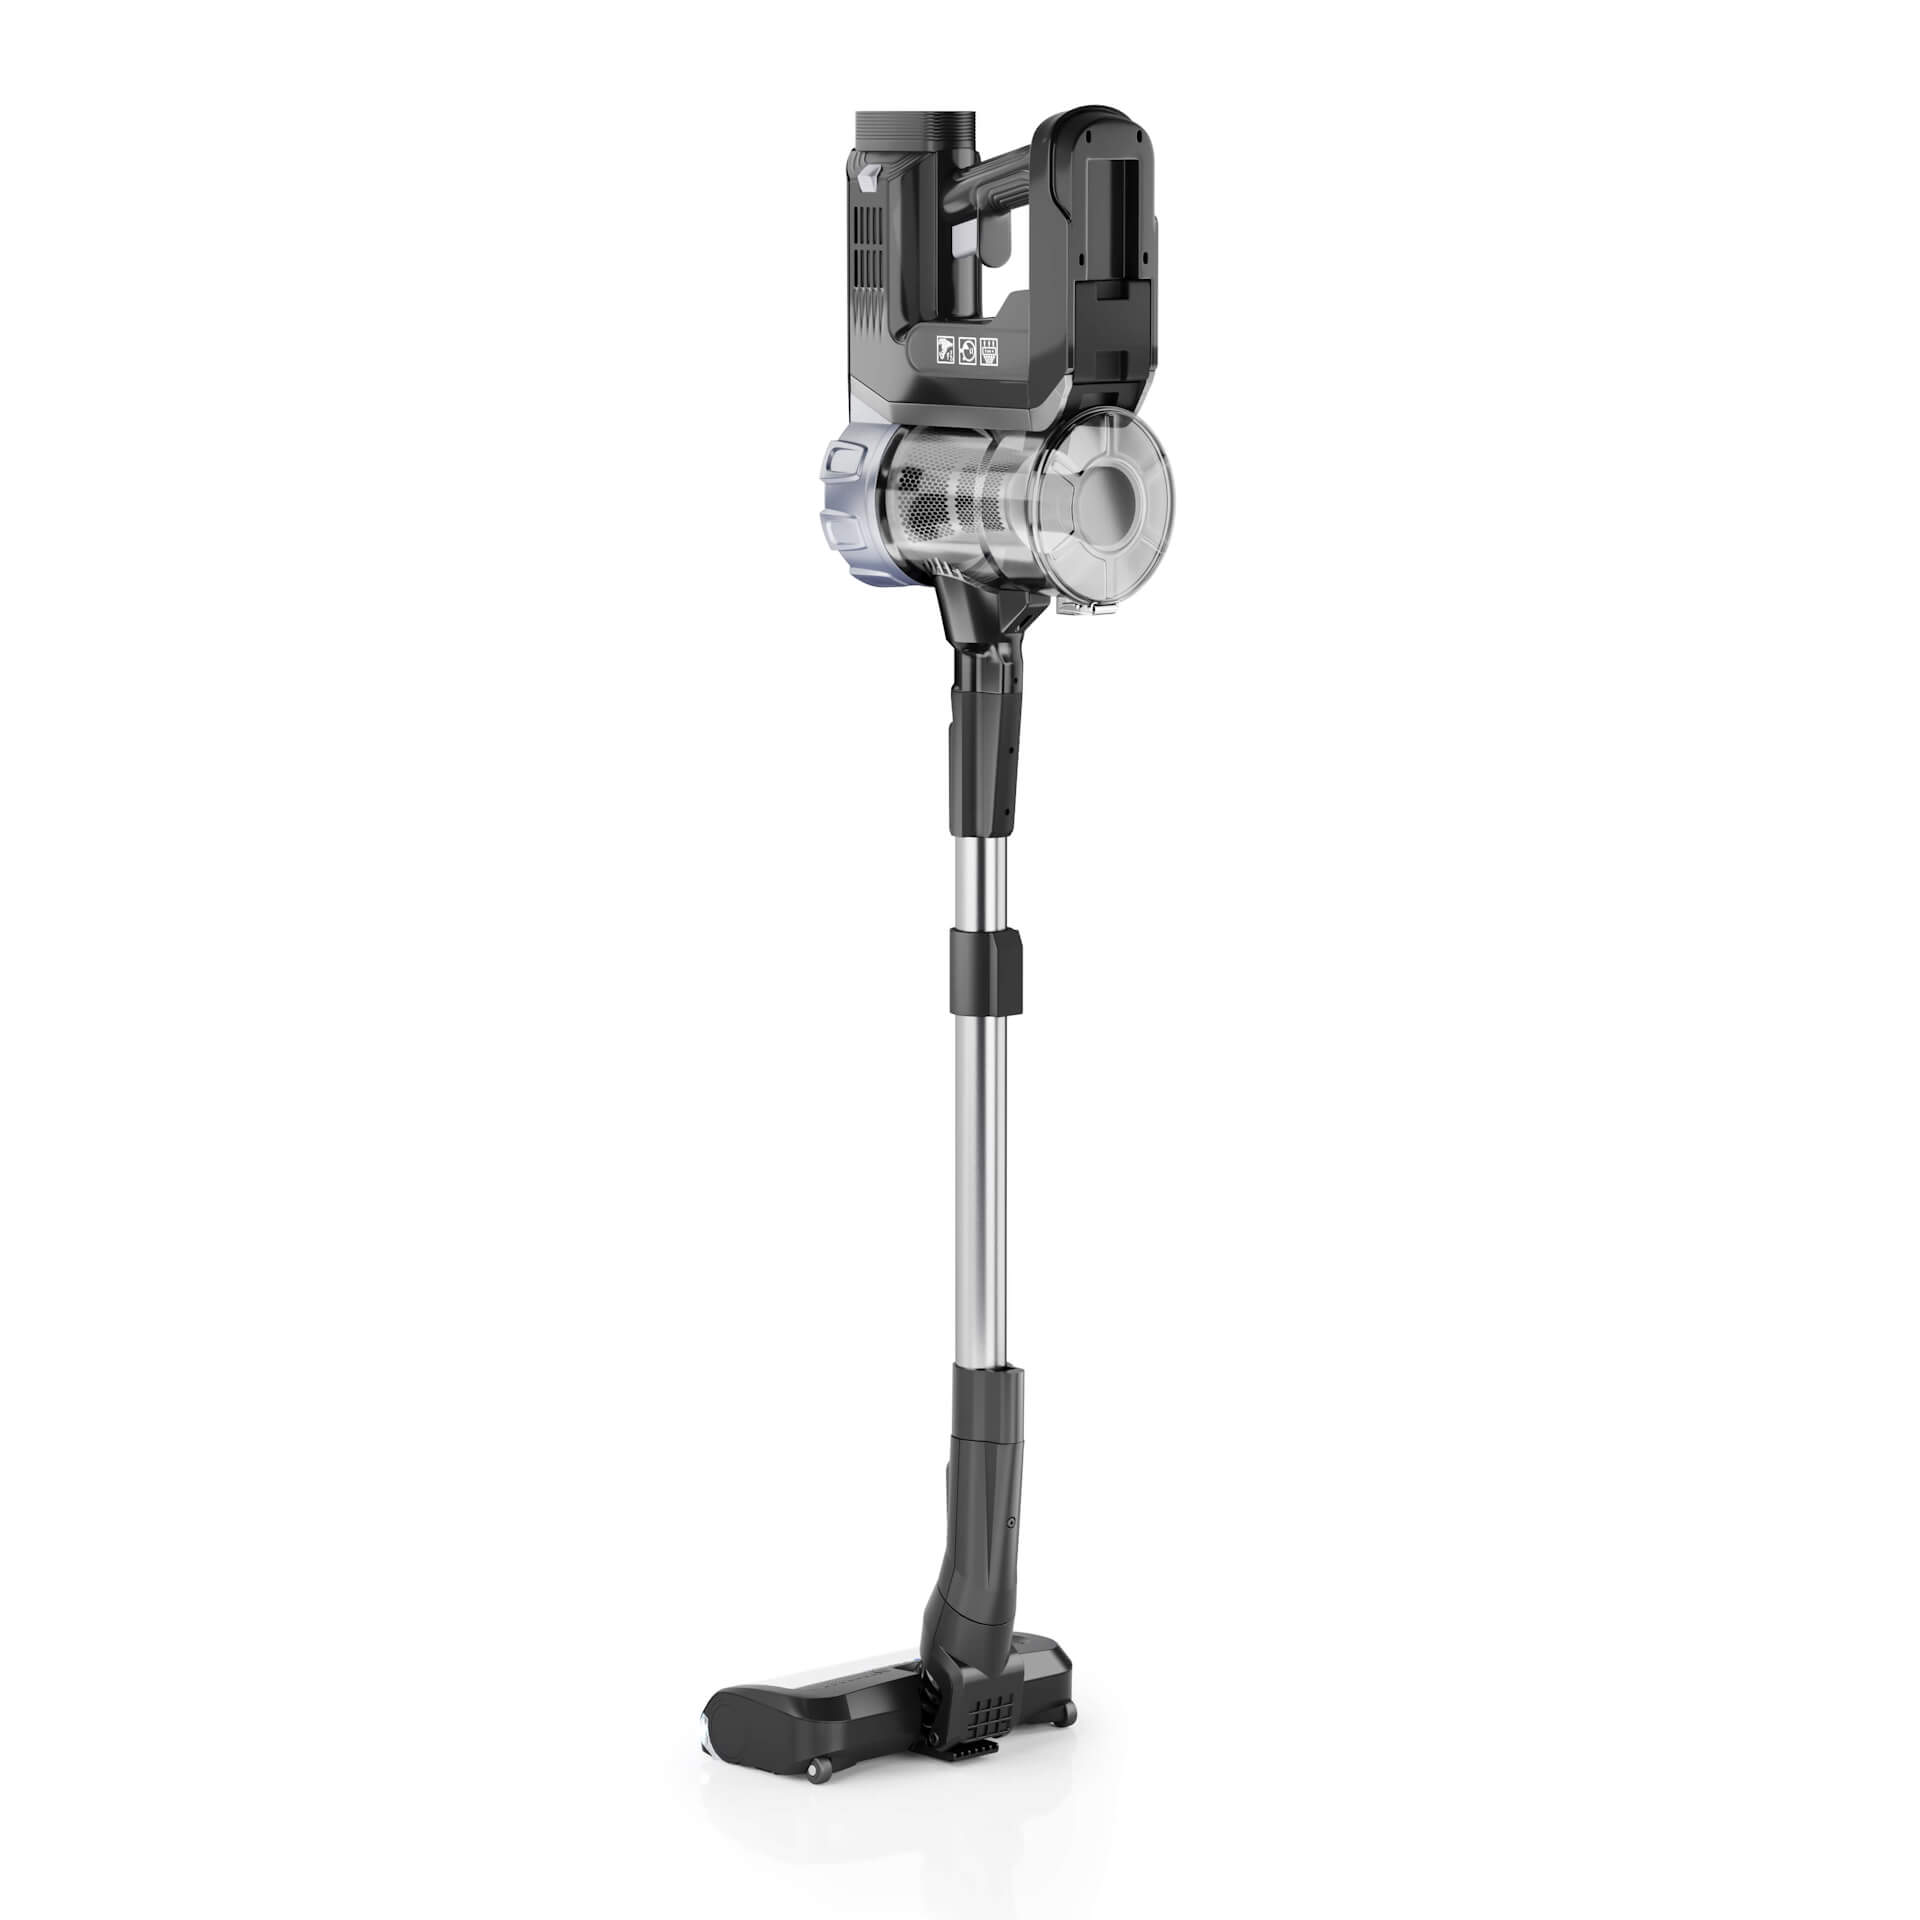
Our 3D artists began by creating the 3D models of the RS7 prototype and the tool caddy and rendering preliminary images for Dustin to approve. As you can see below, these were grayscale renders, with no textures yet. These visuals are used for approving the general shape and proportions of the 3D model.
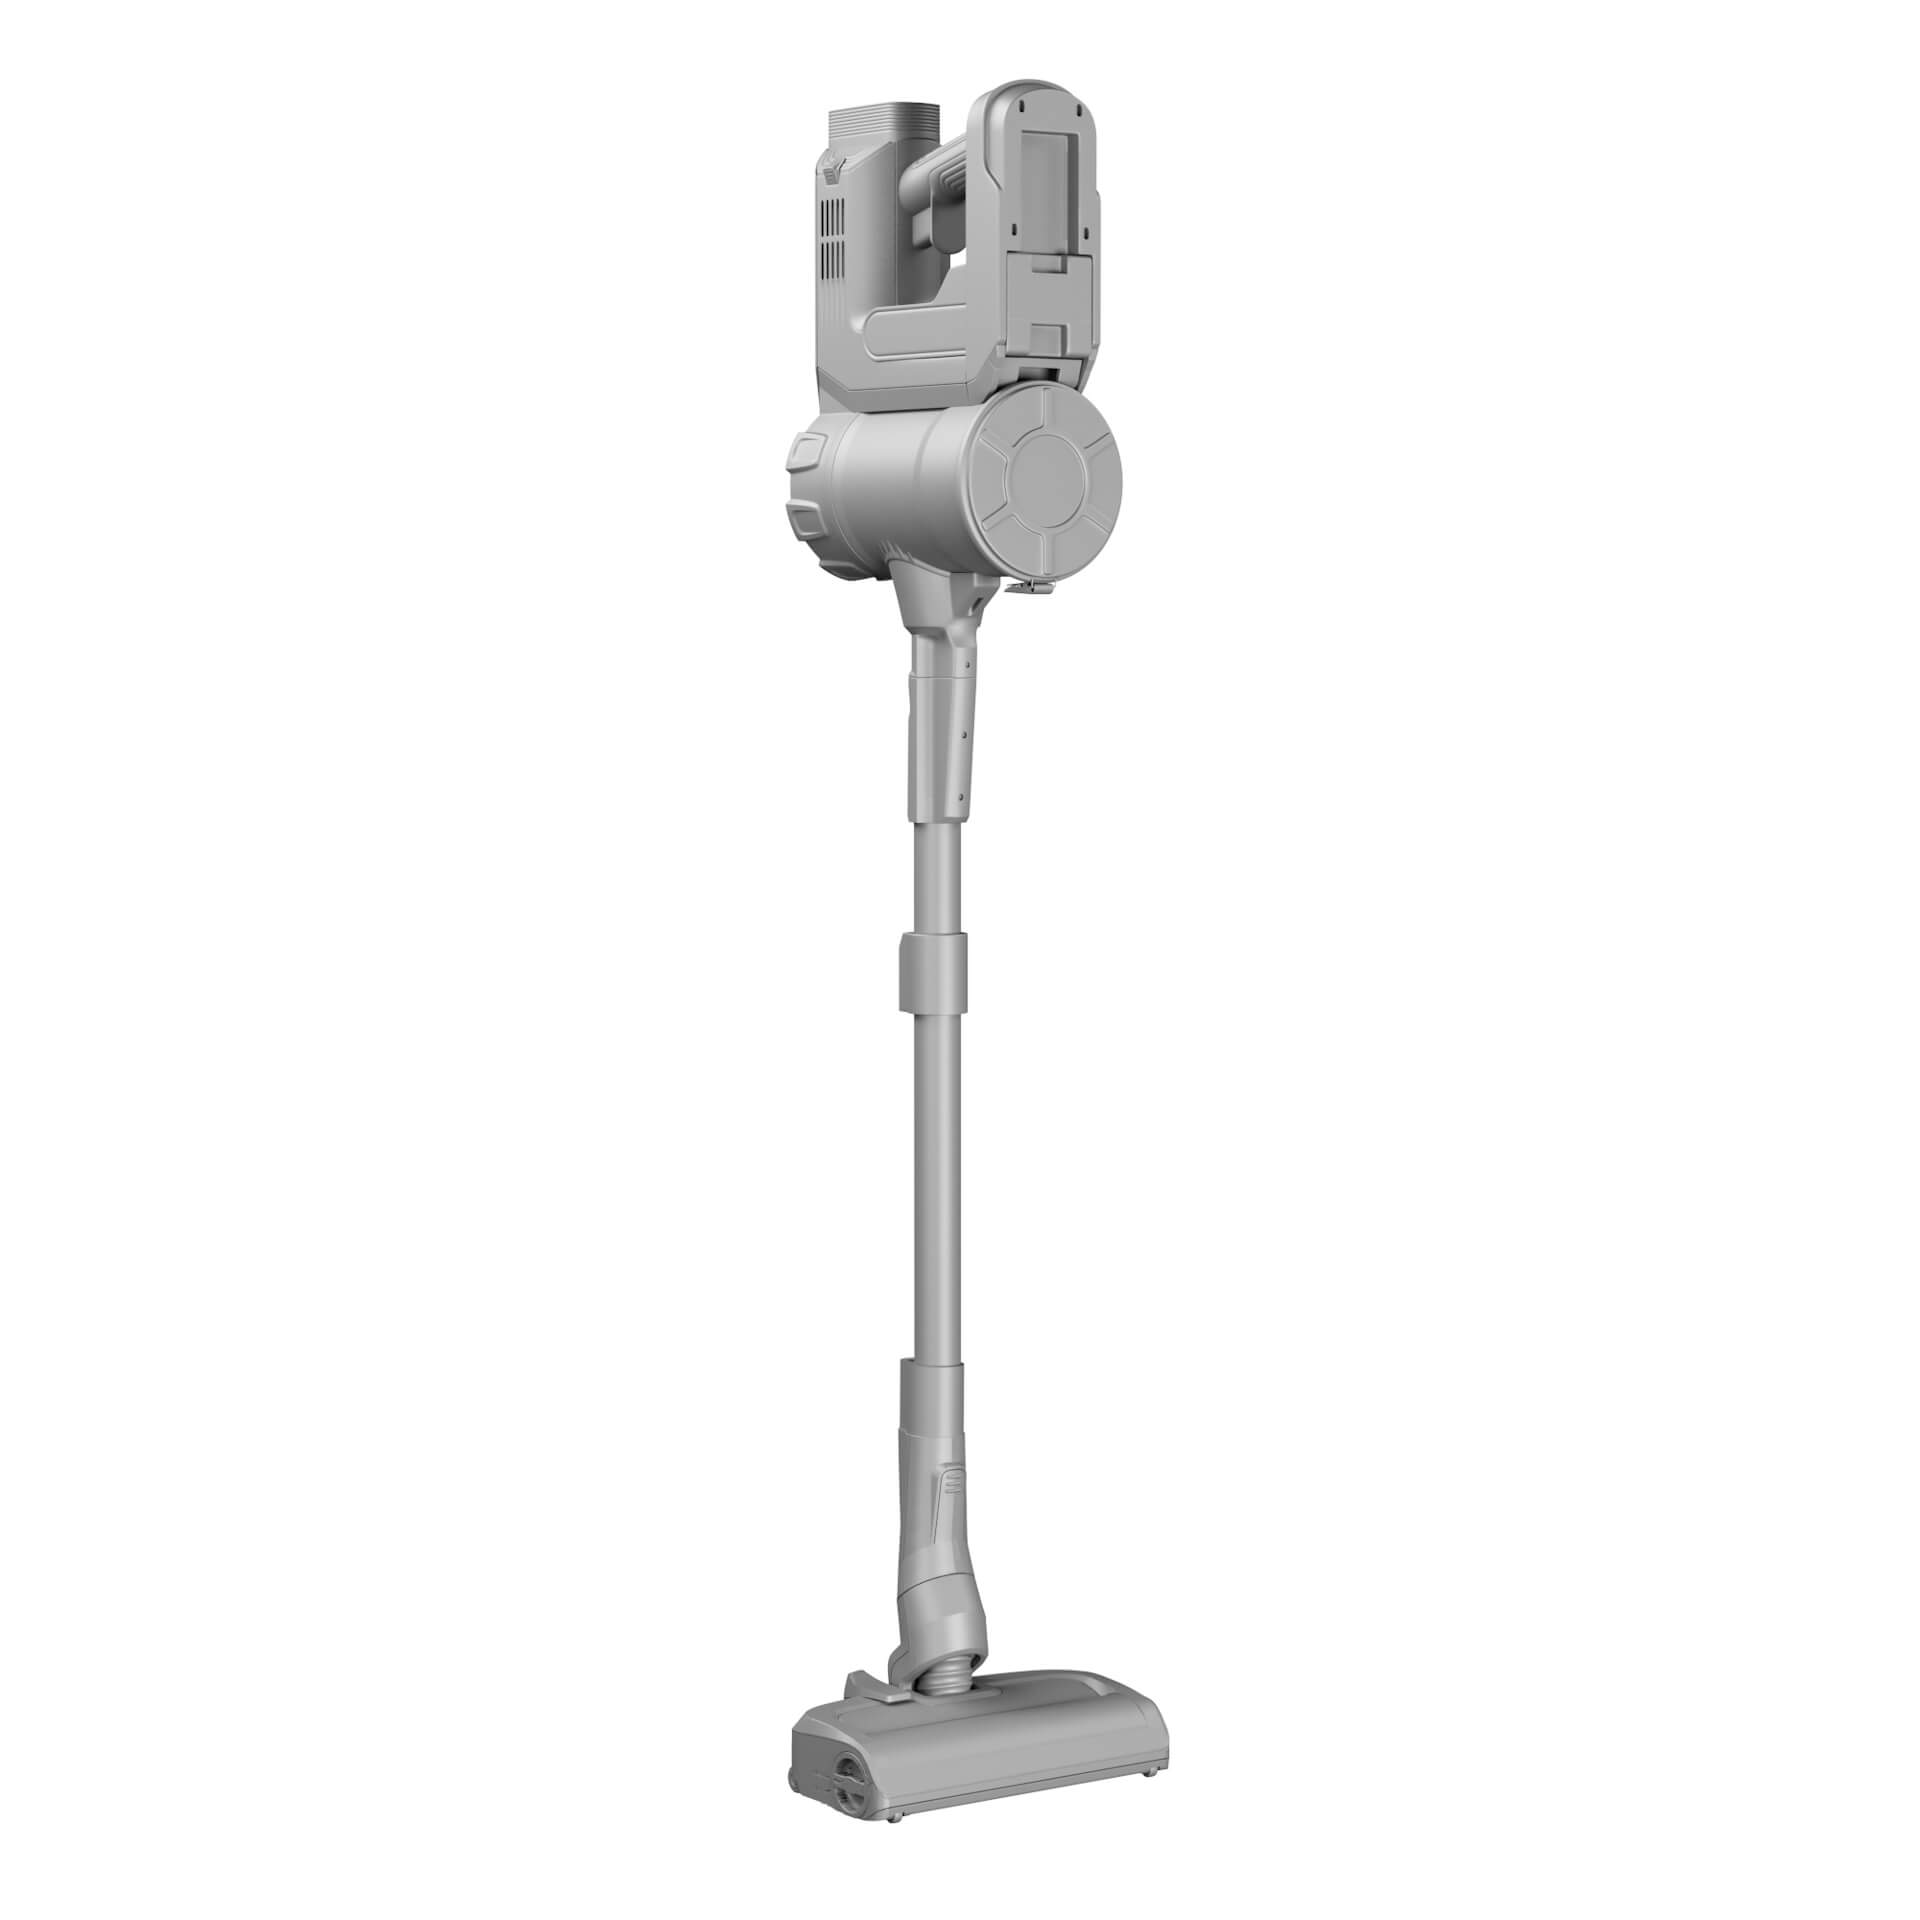
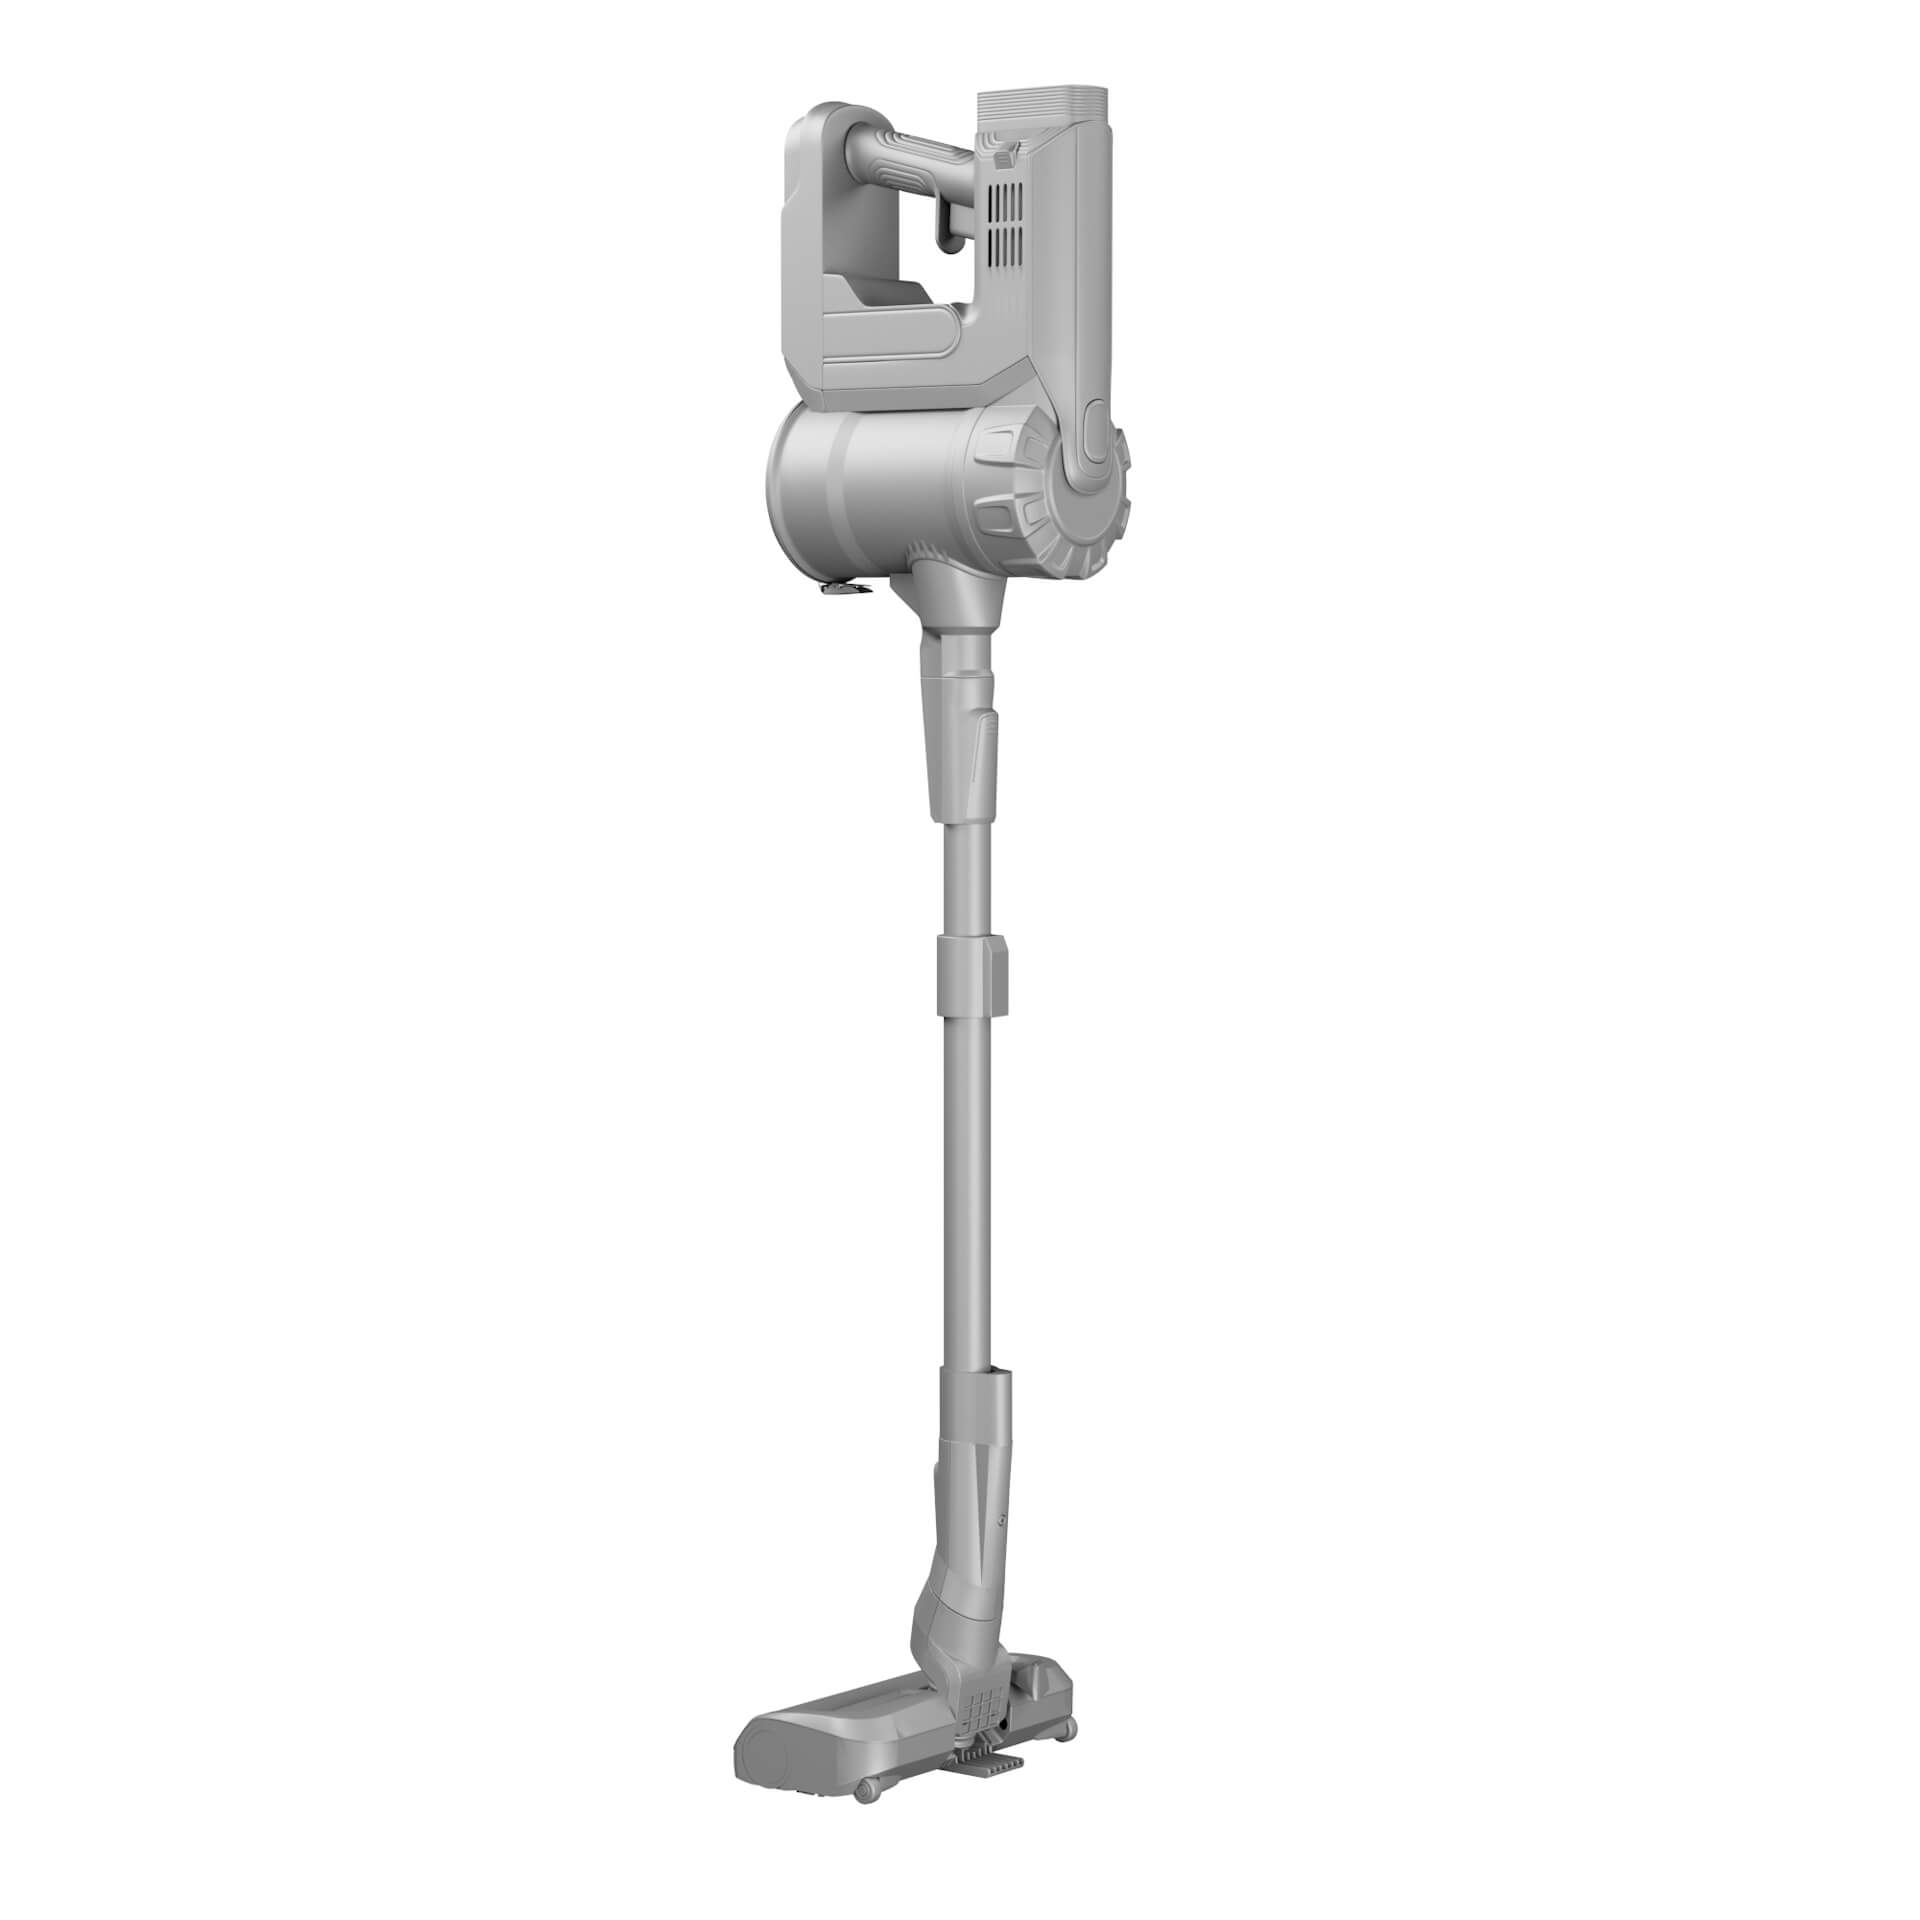
After making a few corrections requested by Dustin, our team applied textures to the vacuum cleaner model.
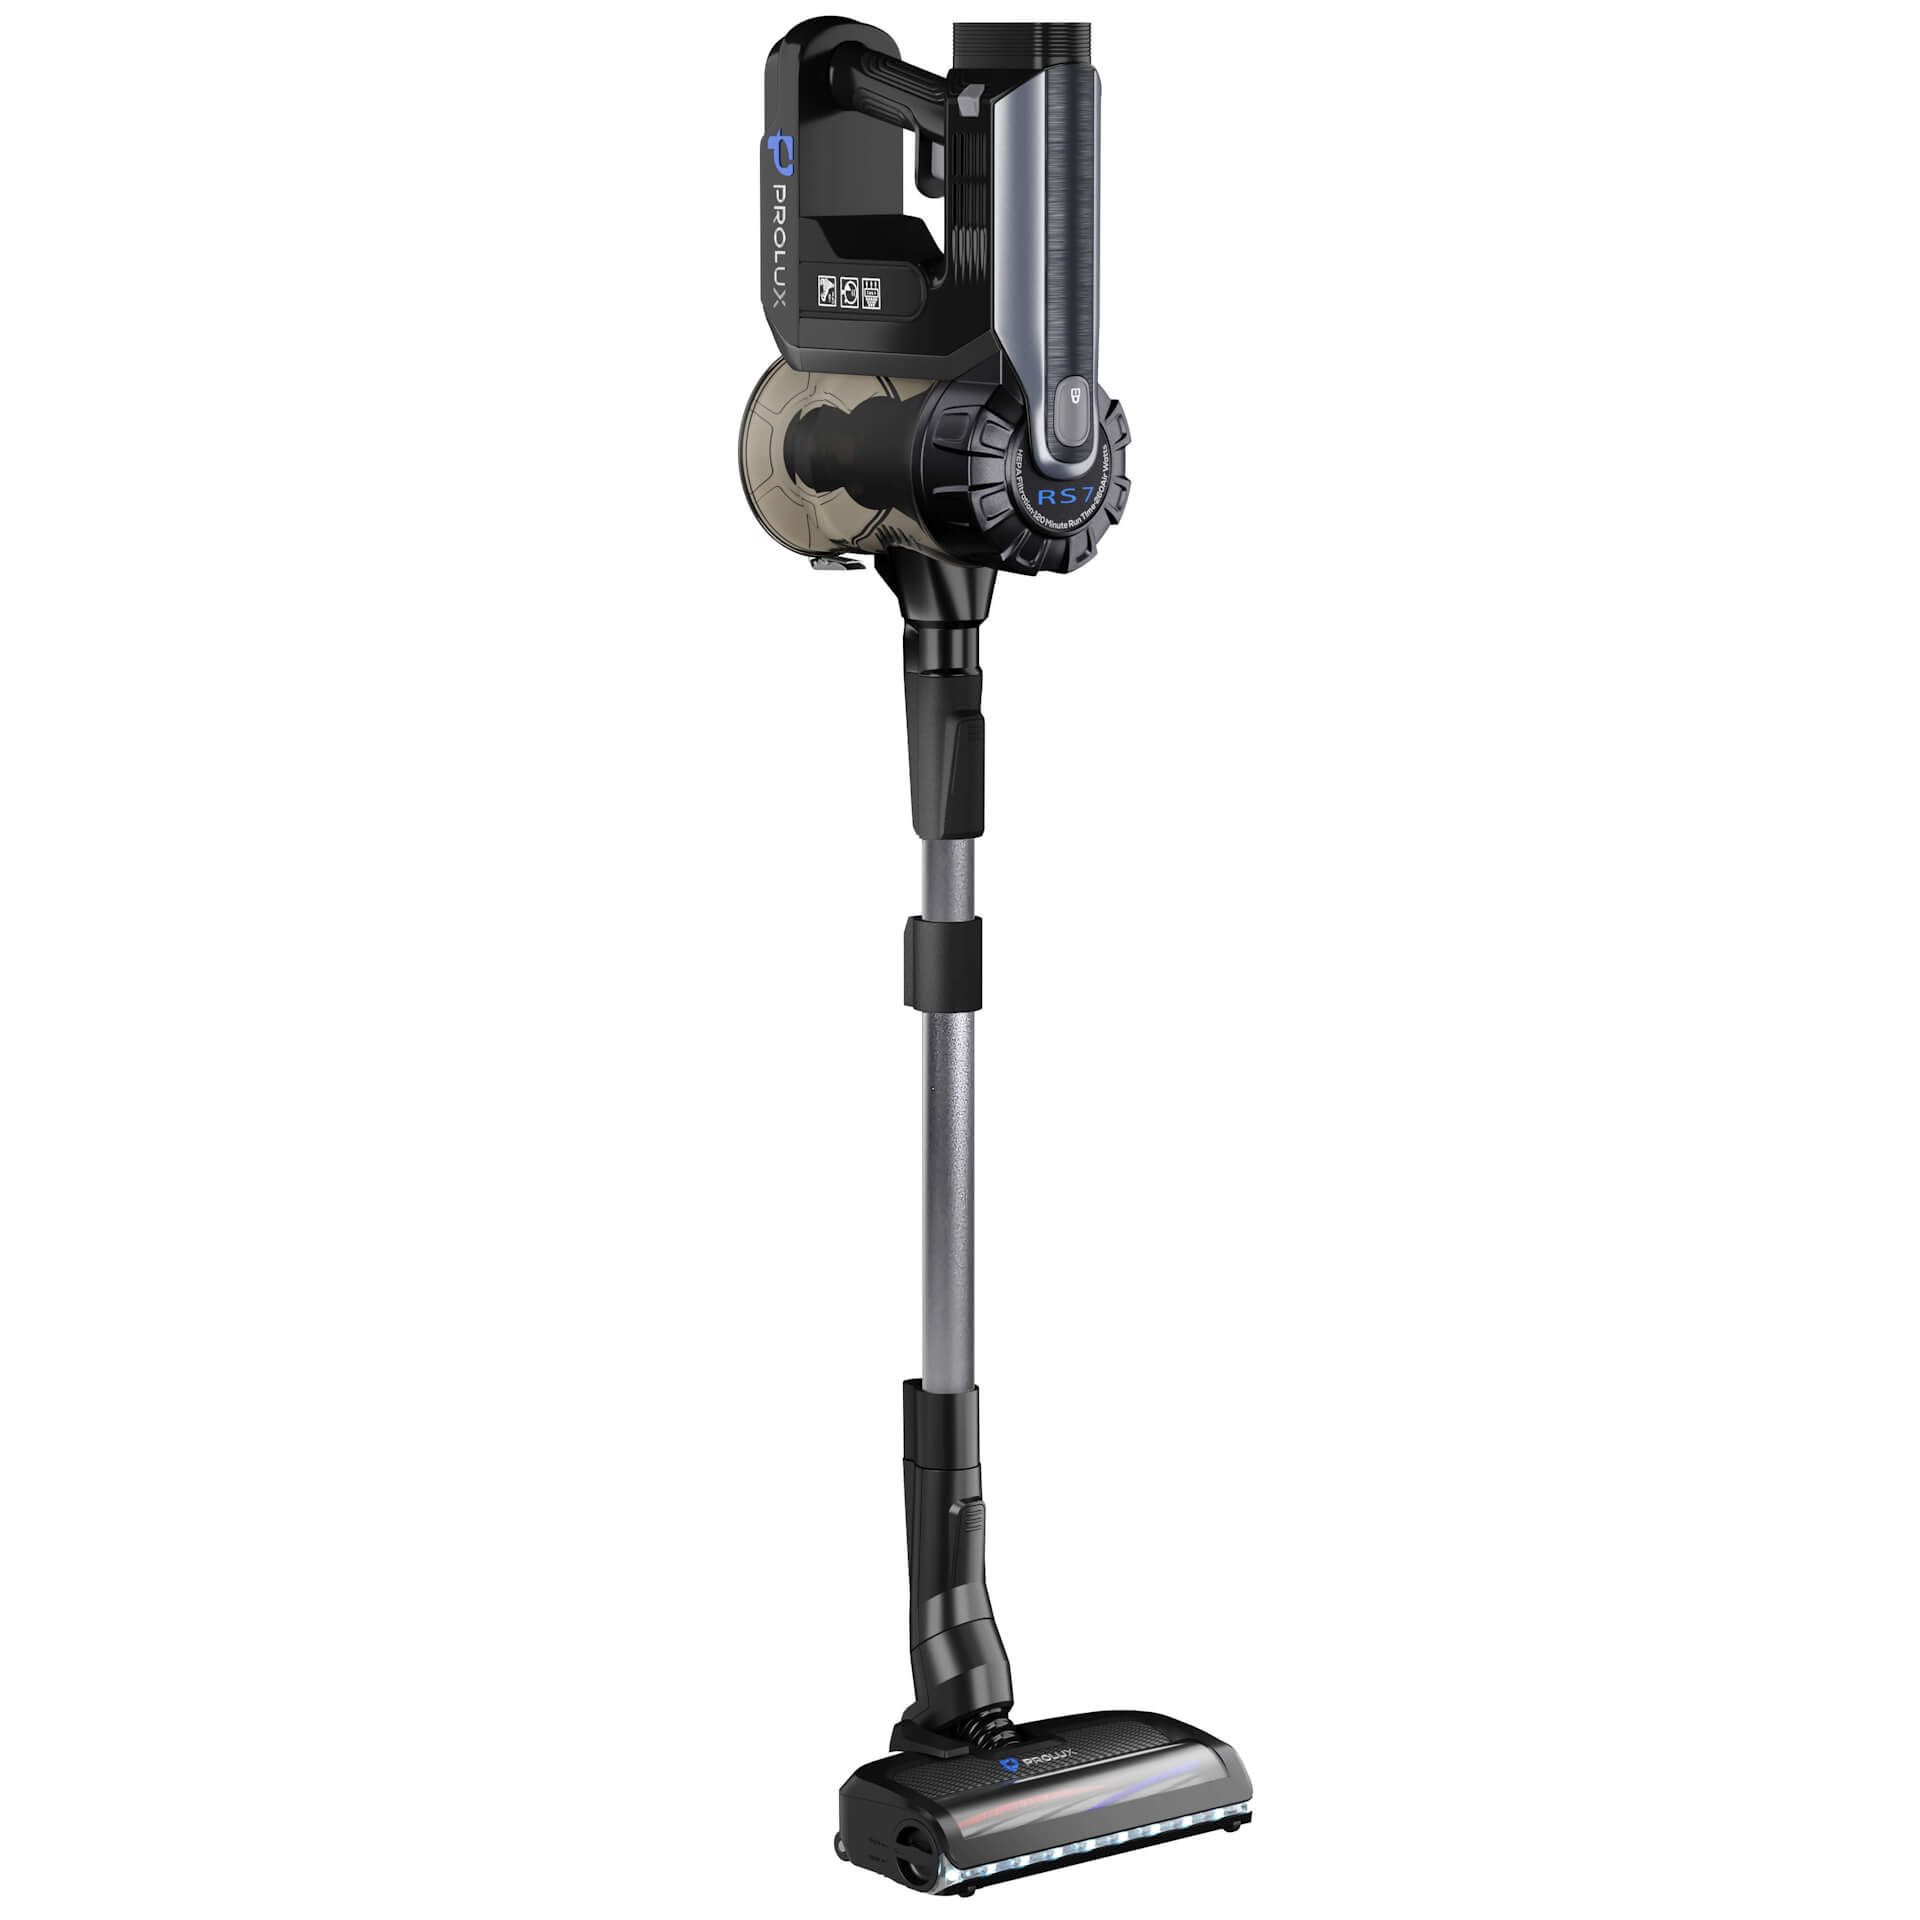
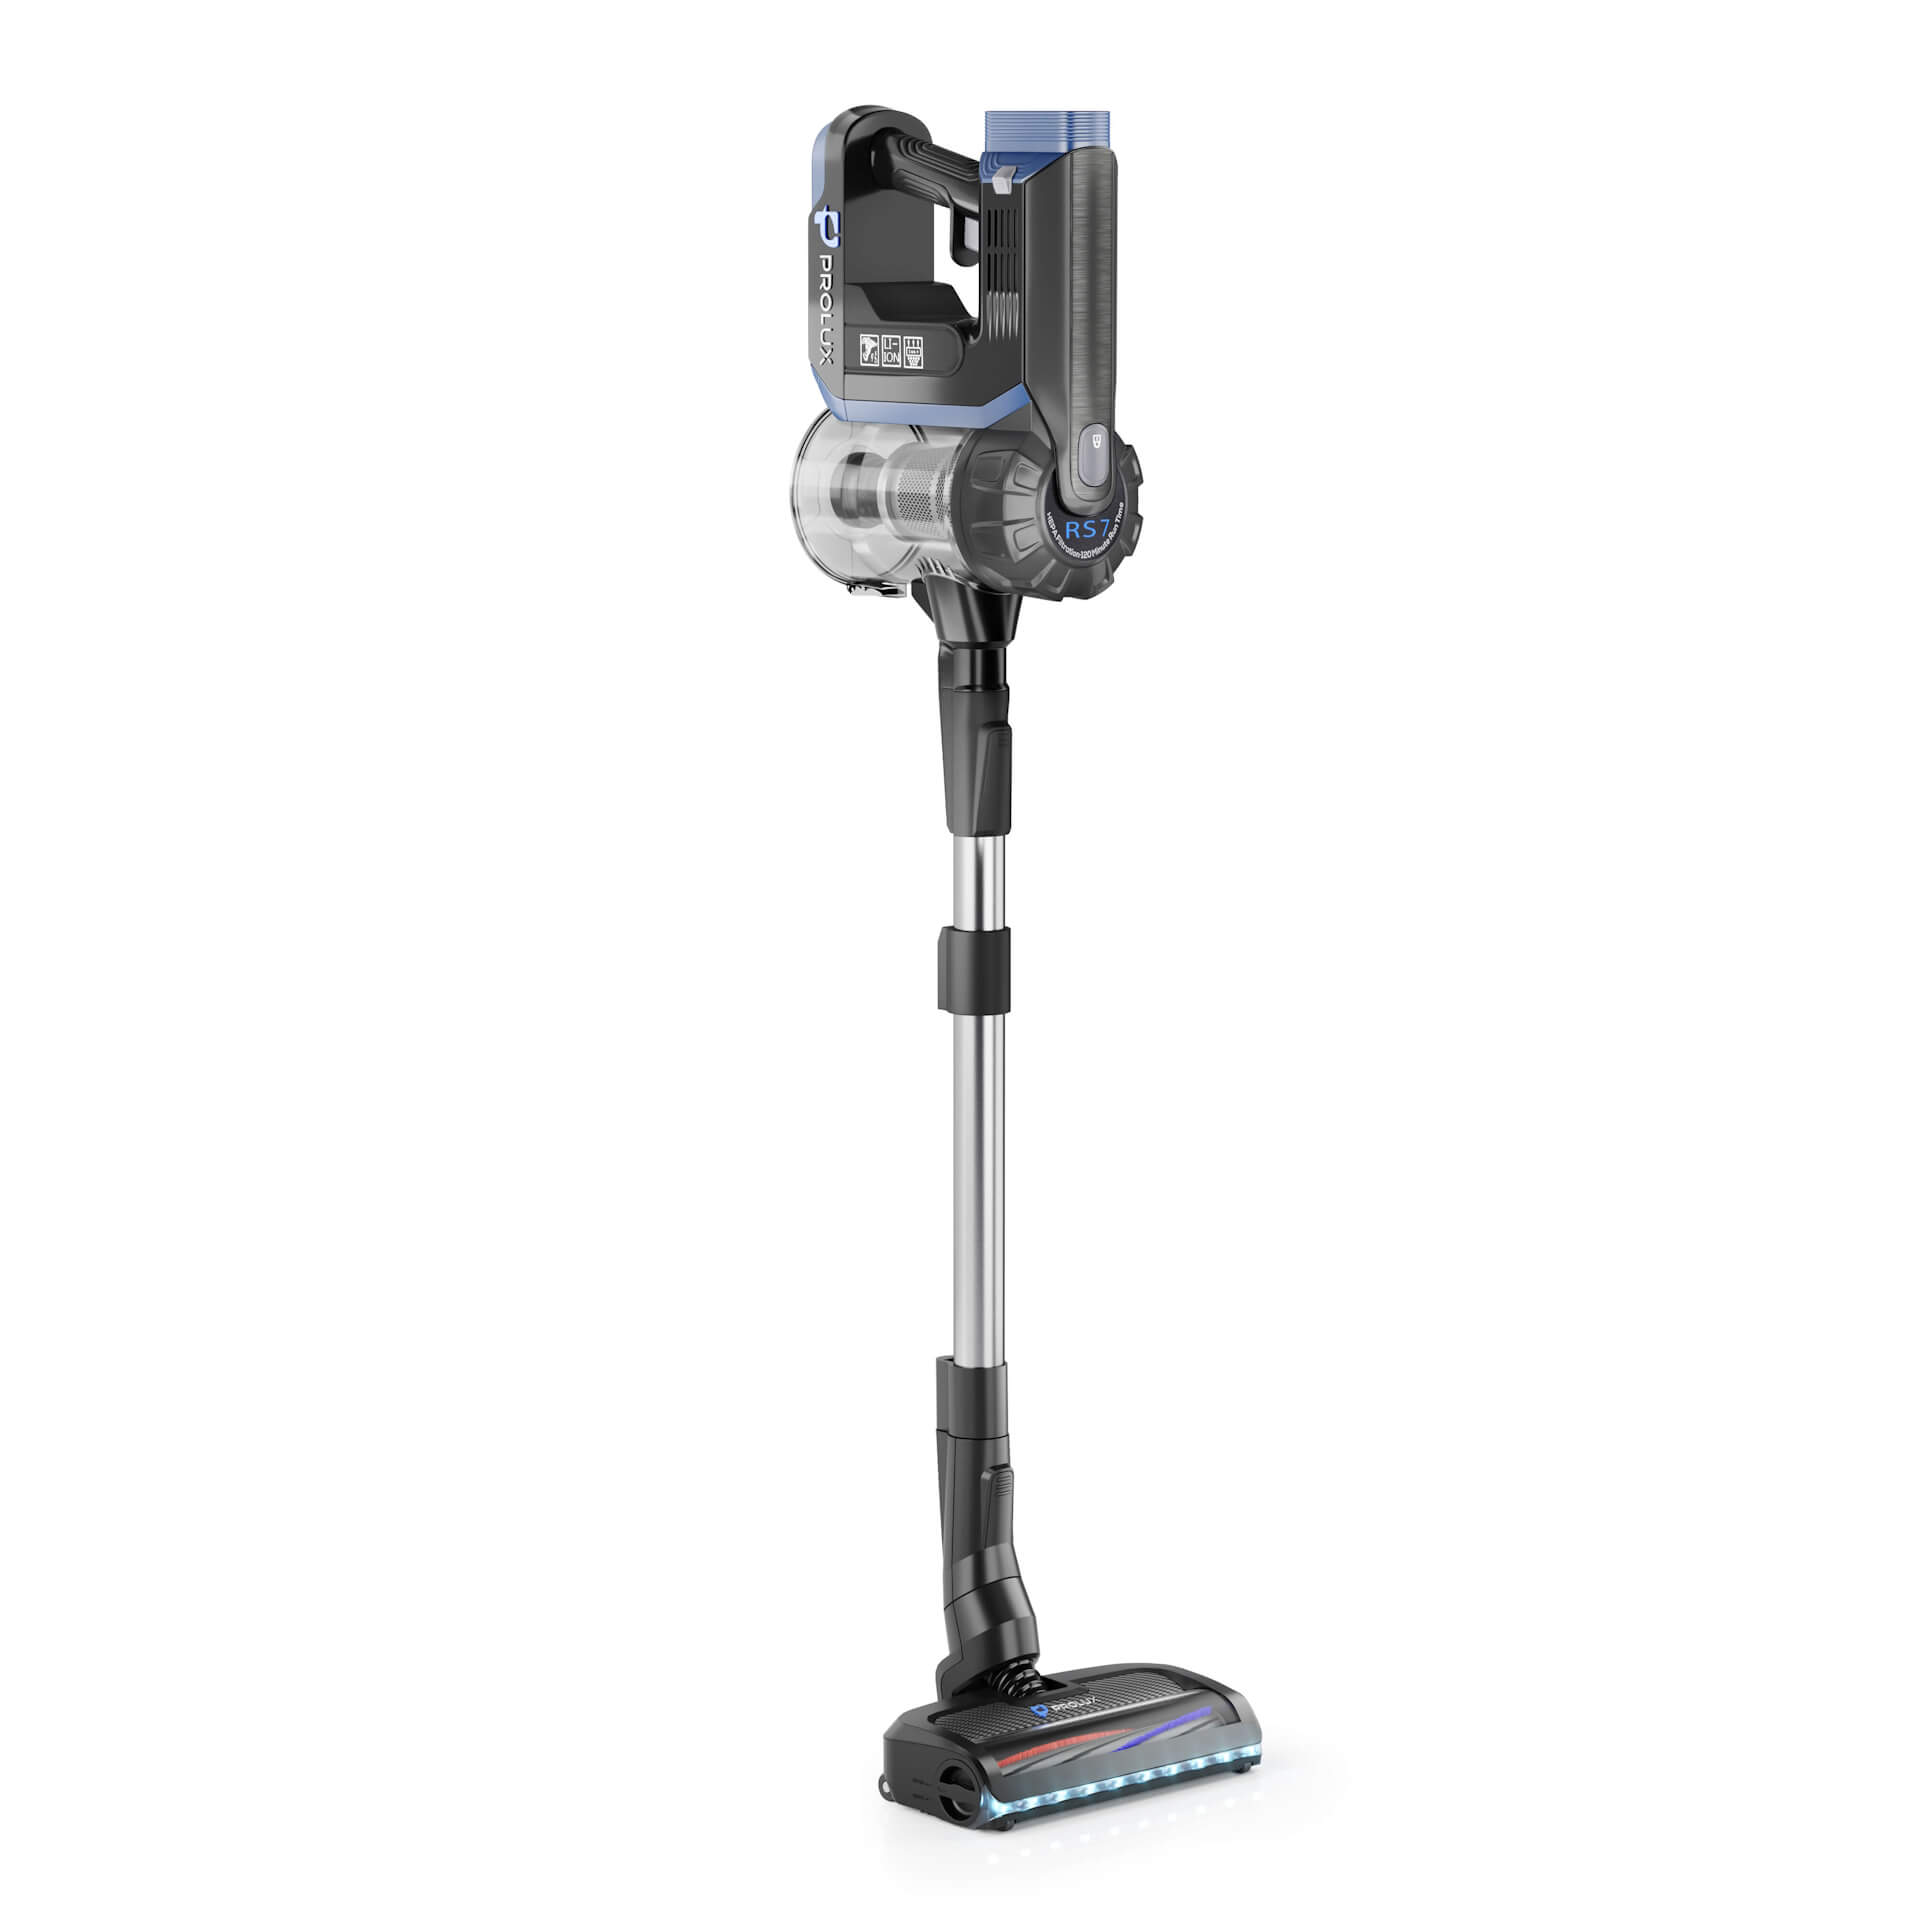
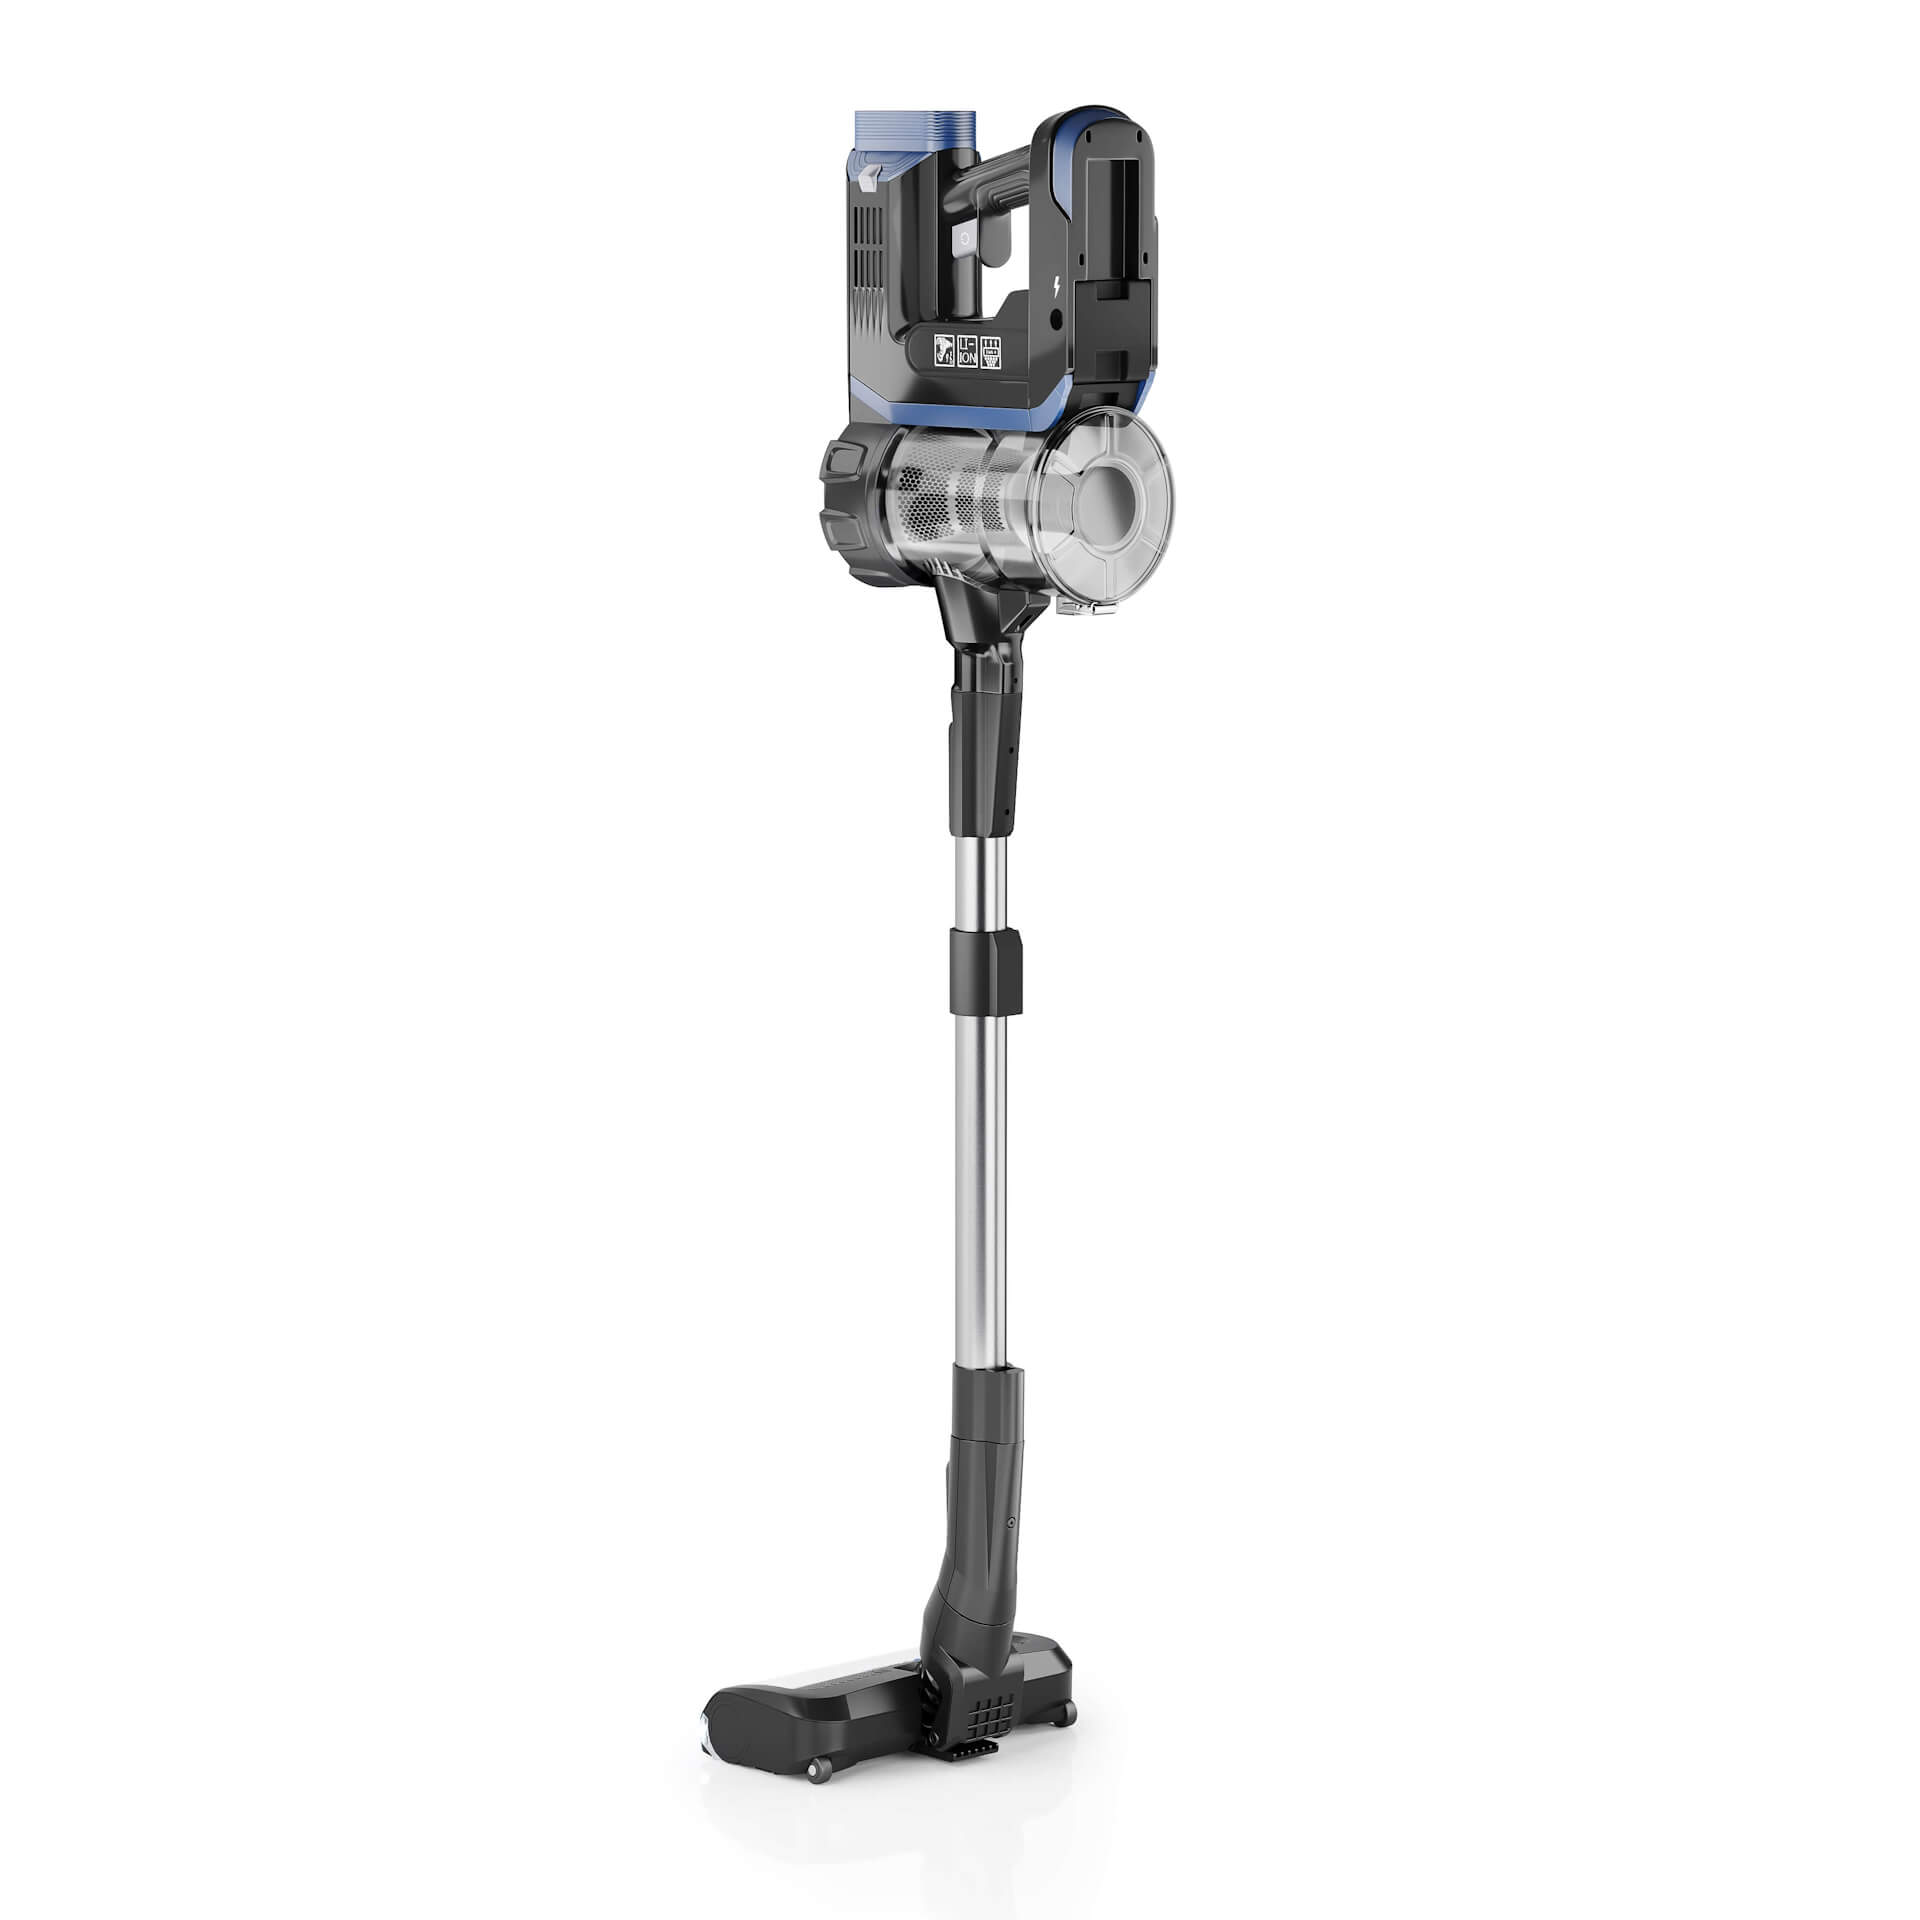
Then, our client asked us to make a series of corrections to the materials and lighting in the renders. It was necessary to make the 3D visualization look as close to the physical prototype as possible. Below, you can see the results of this task.
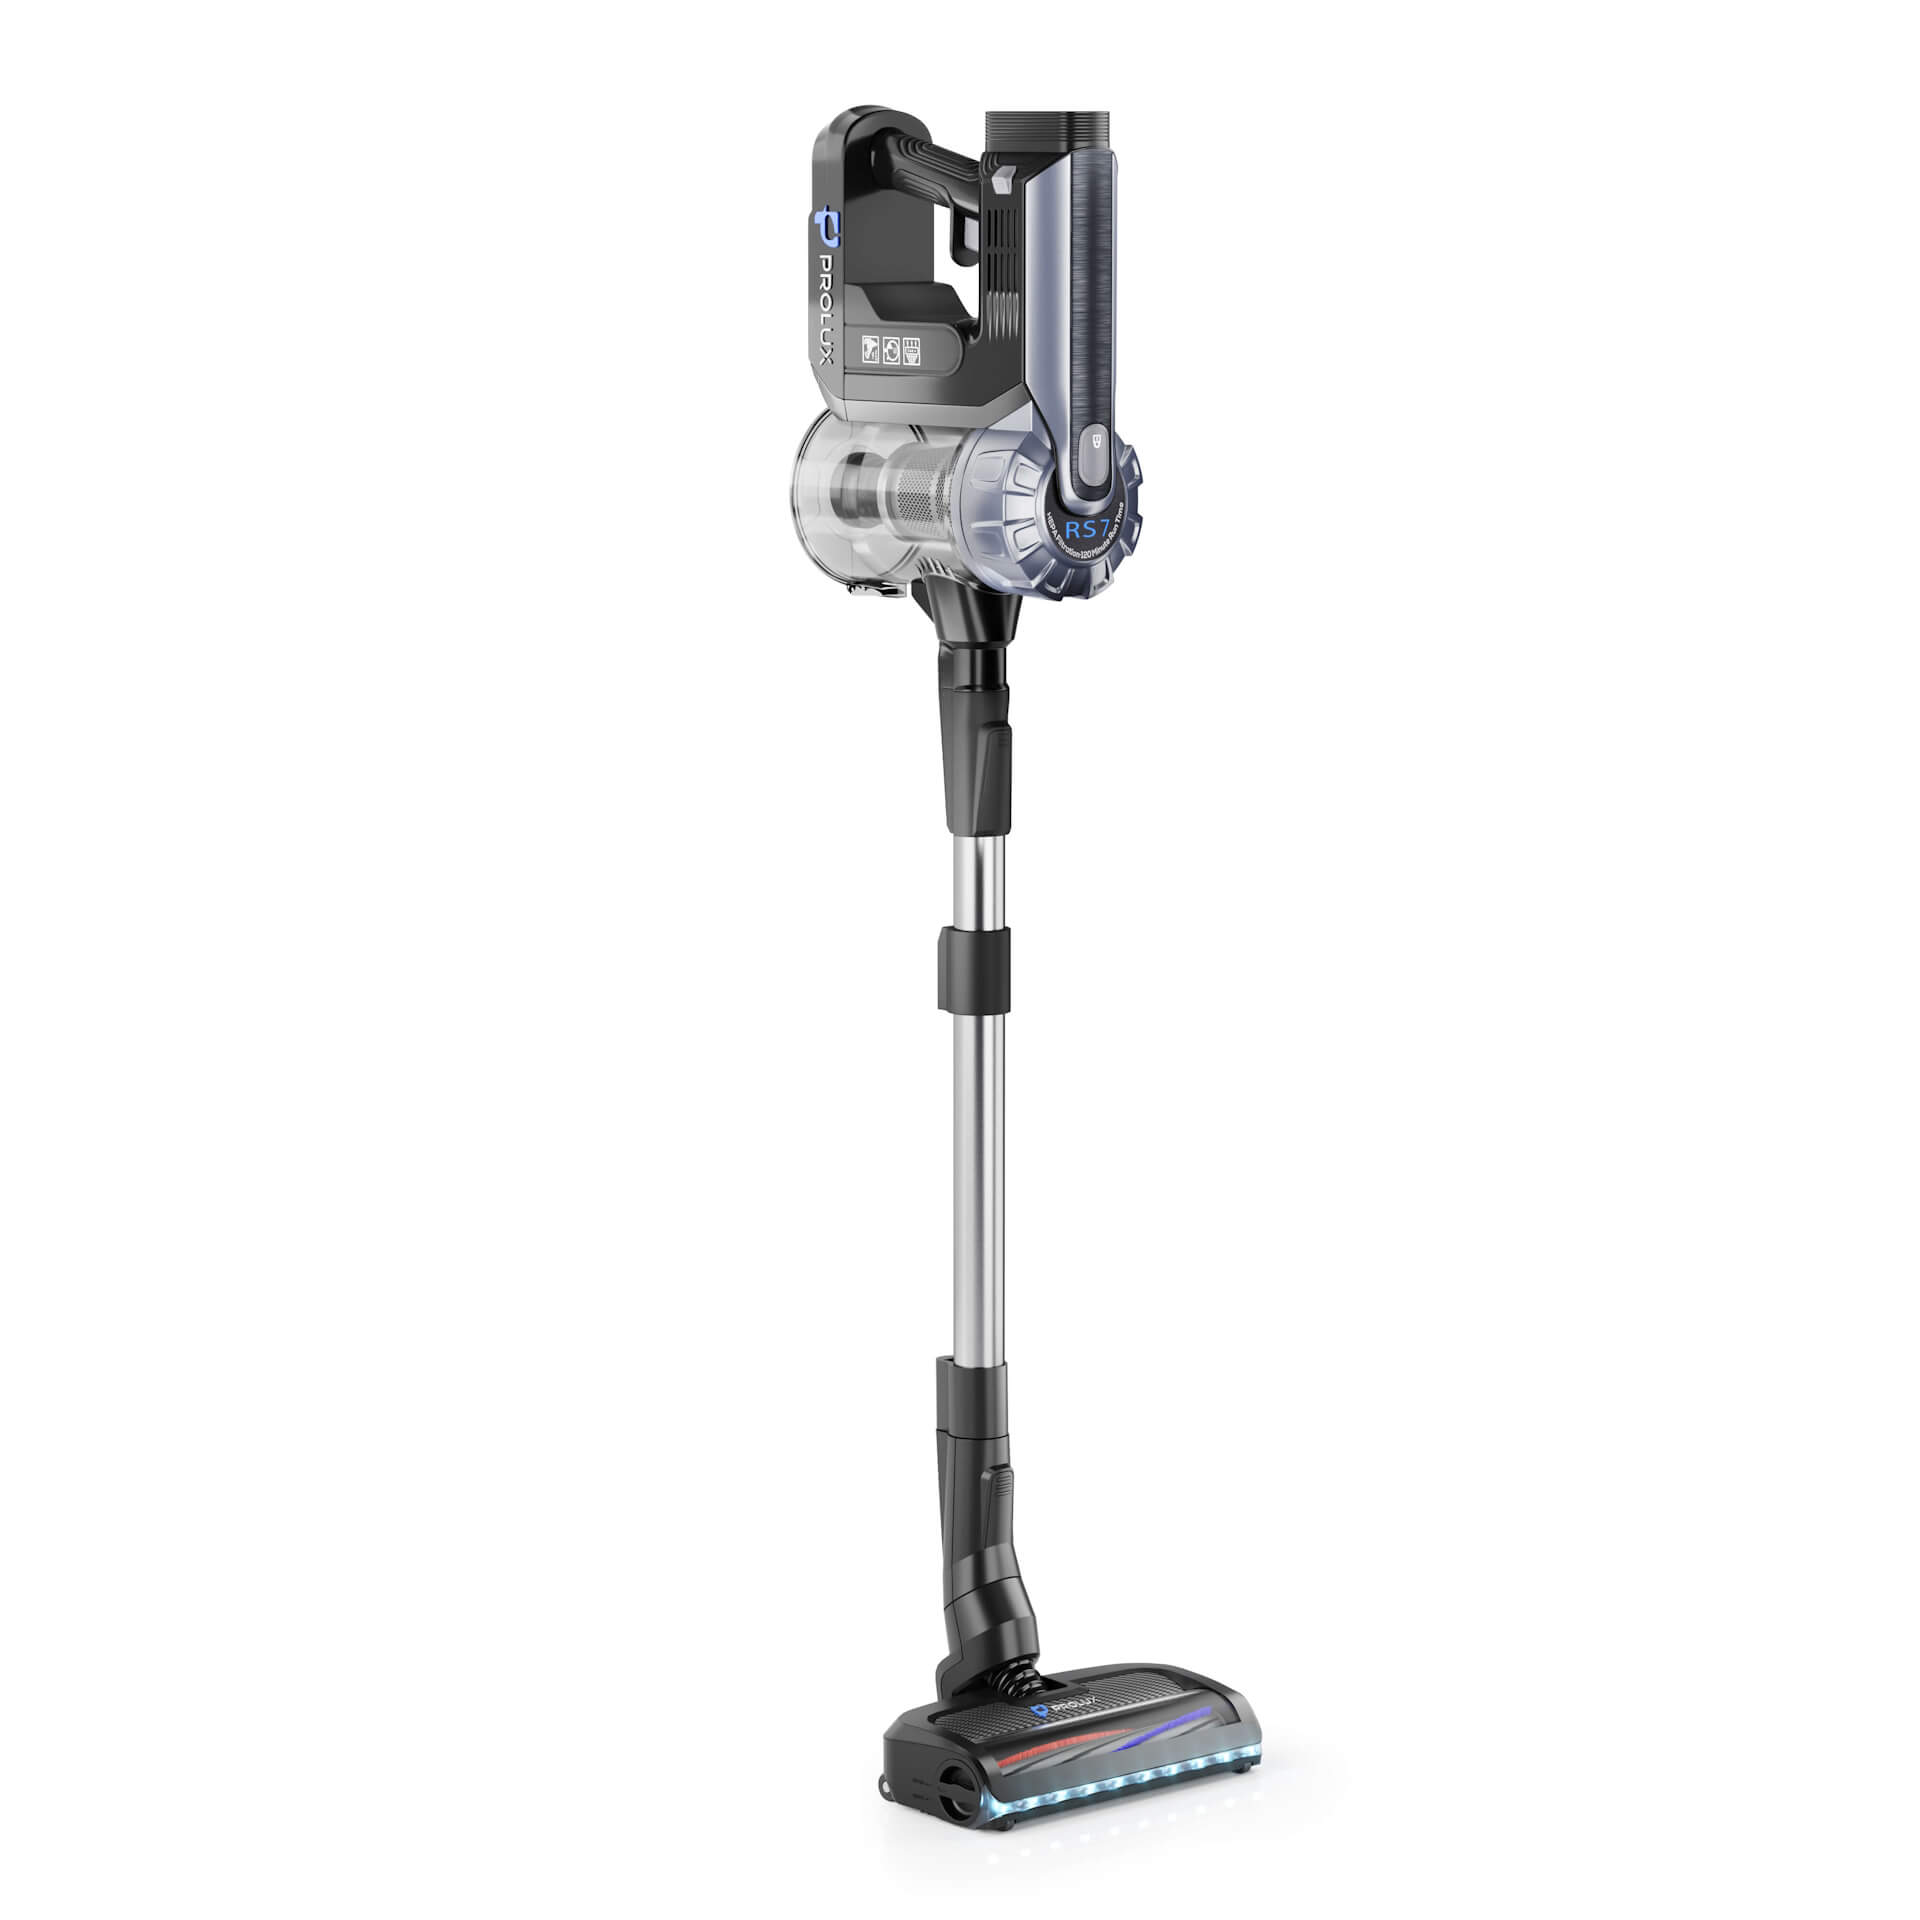
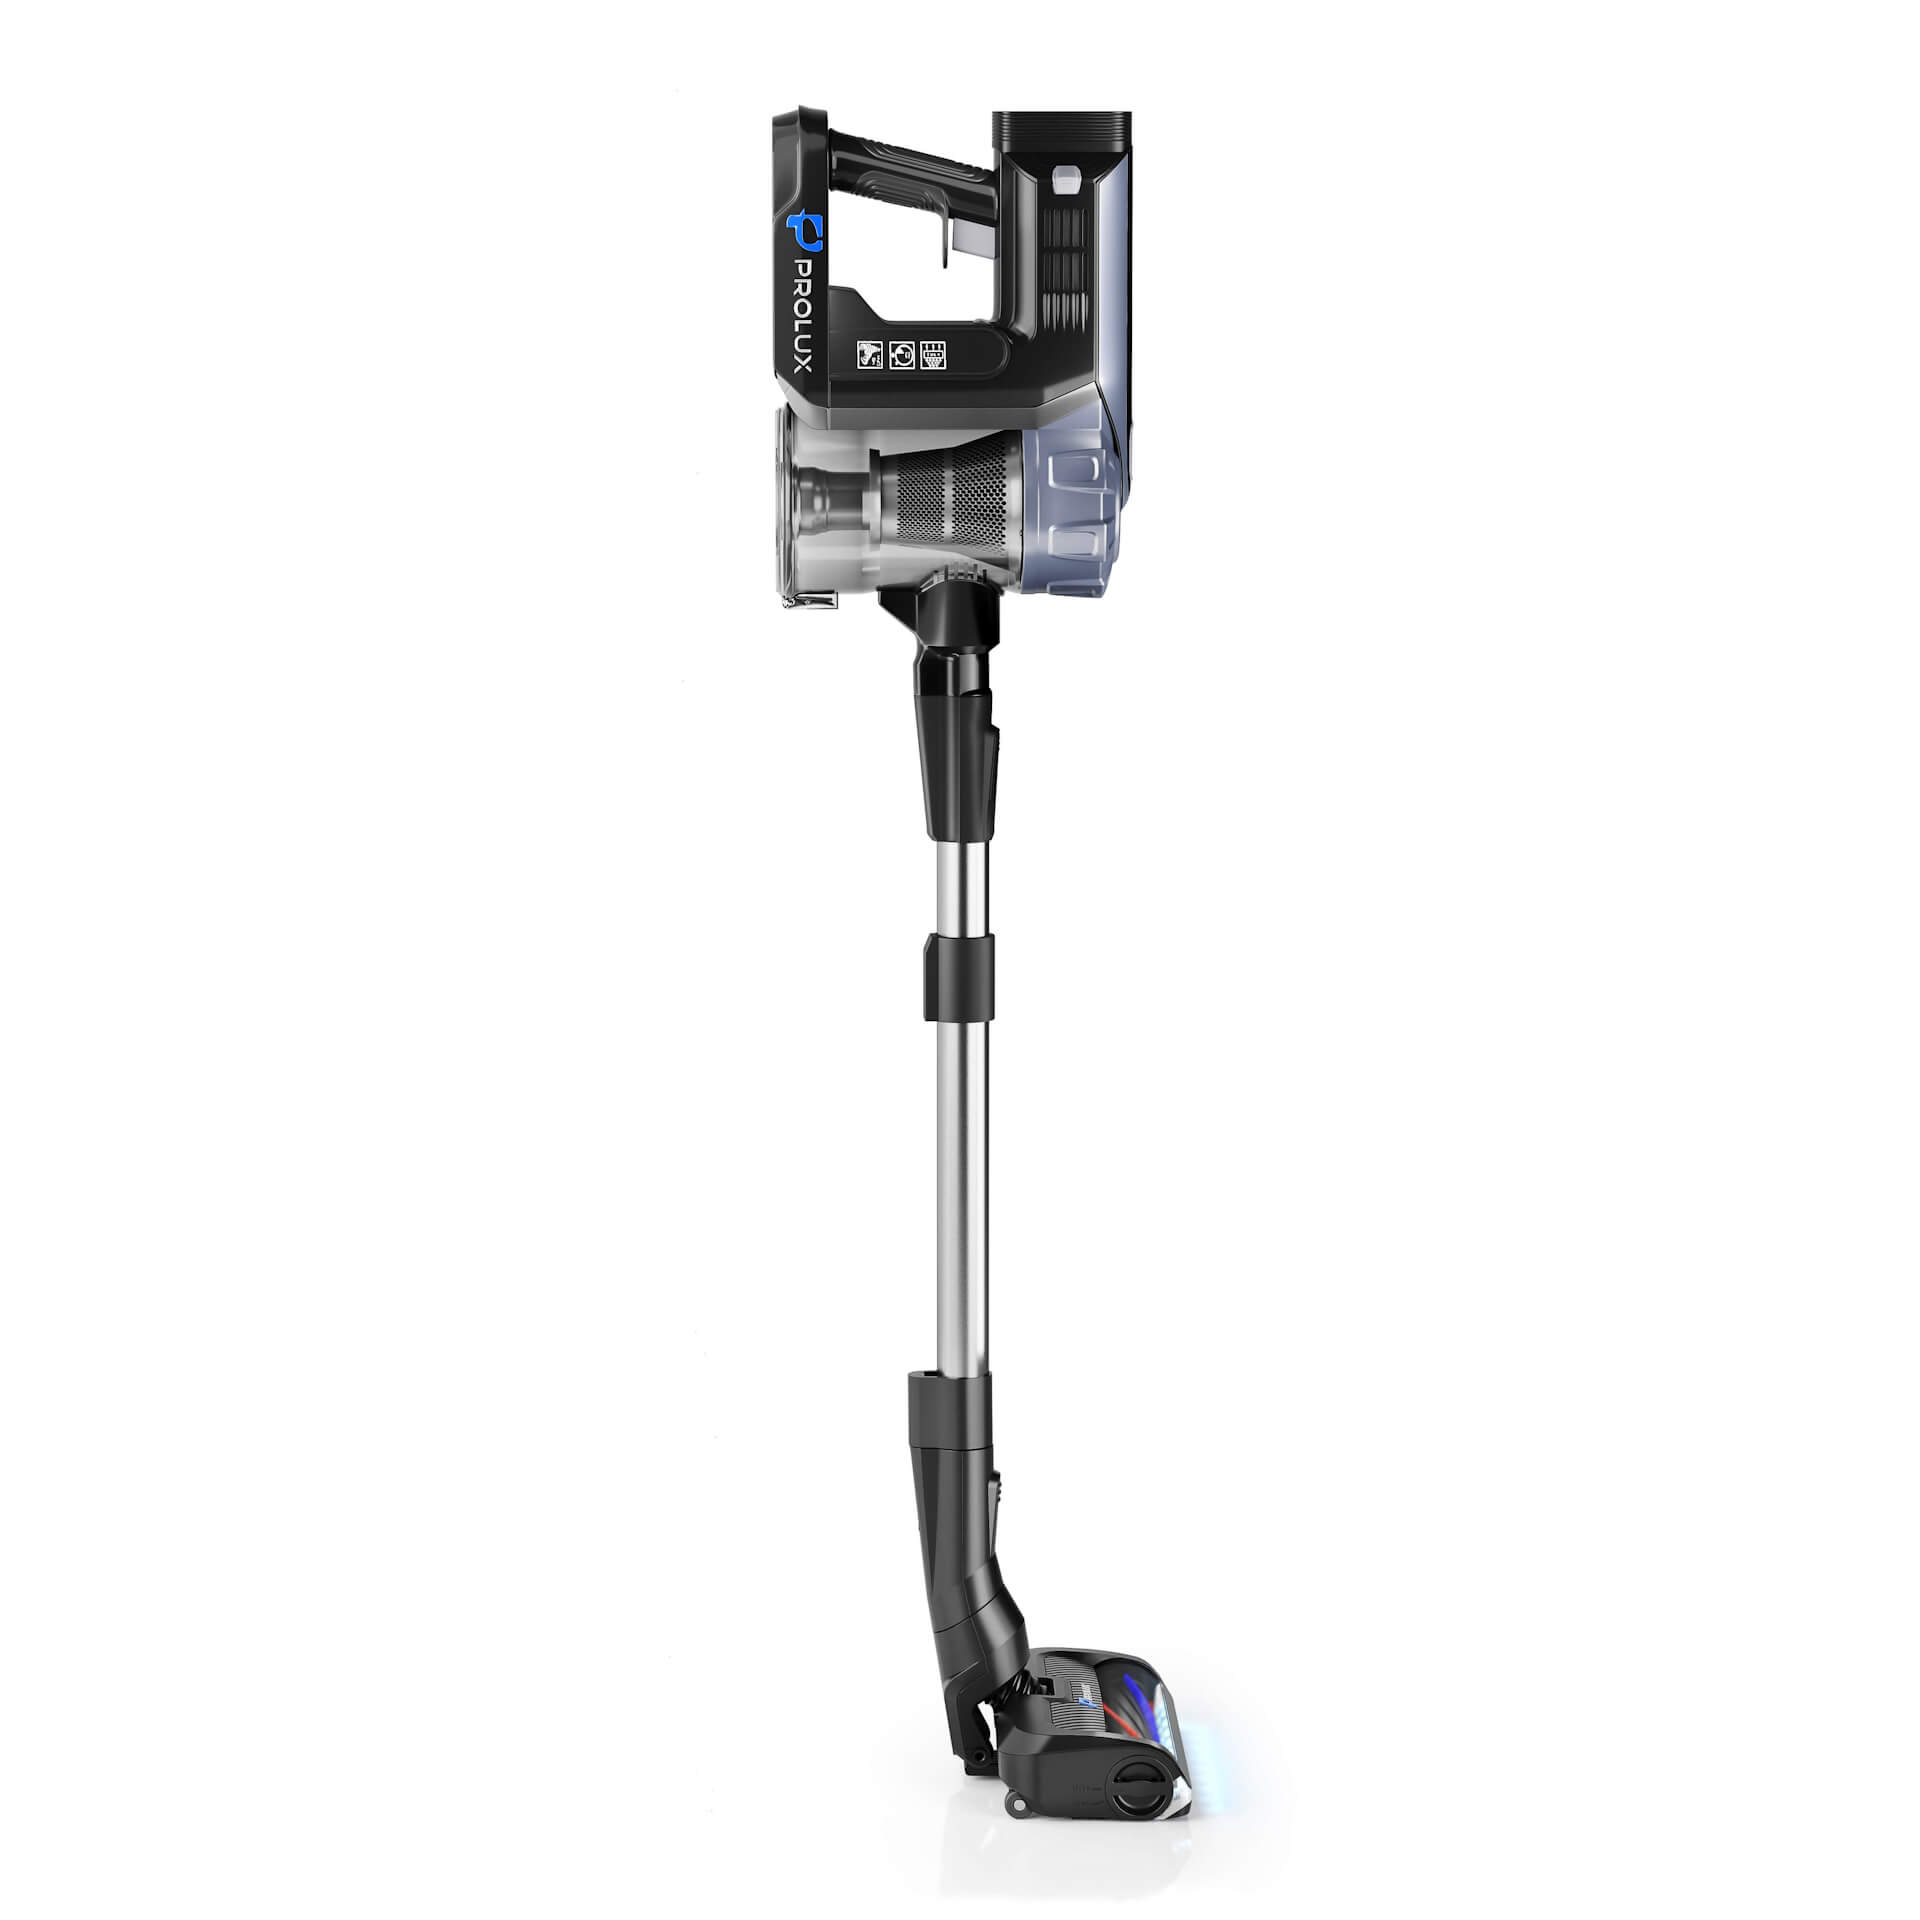
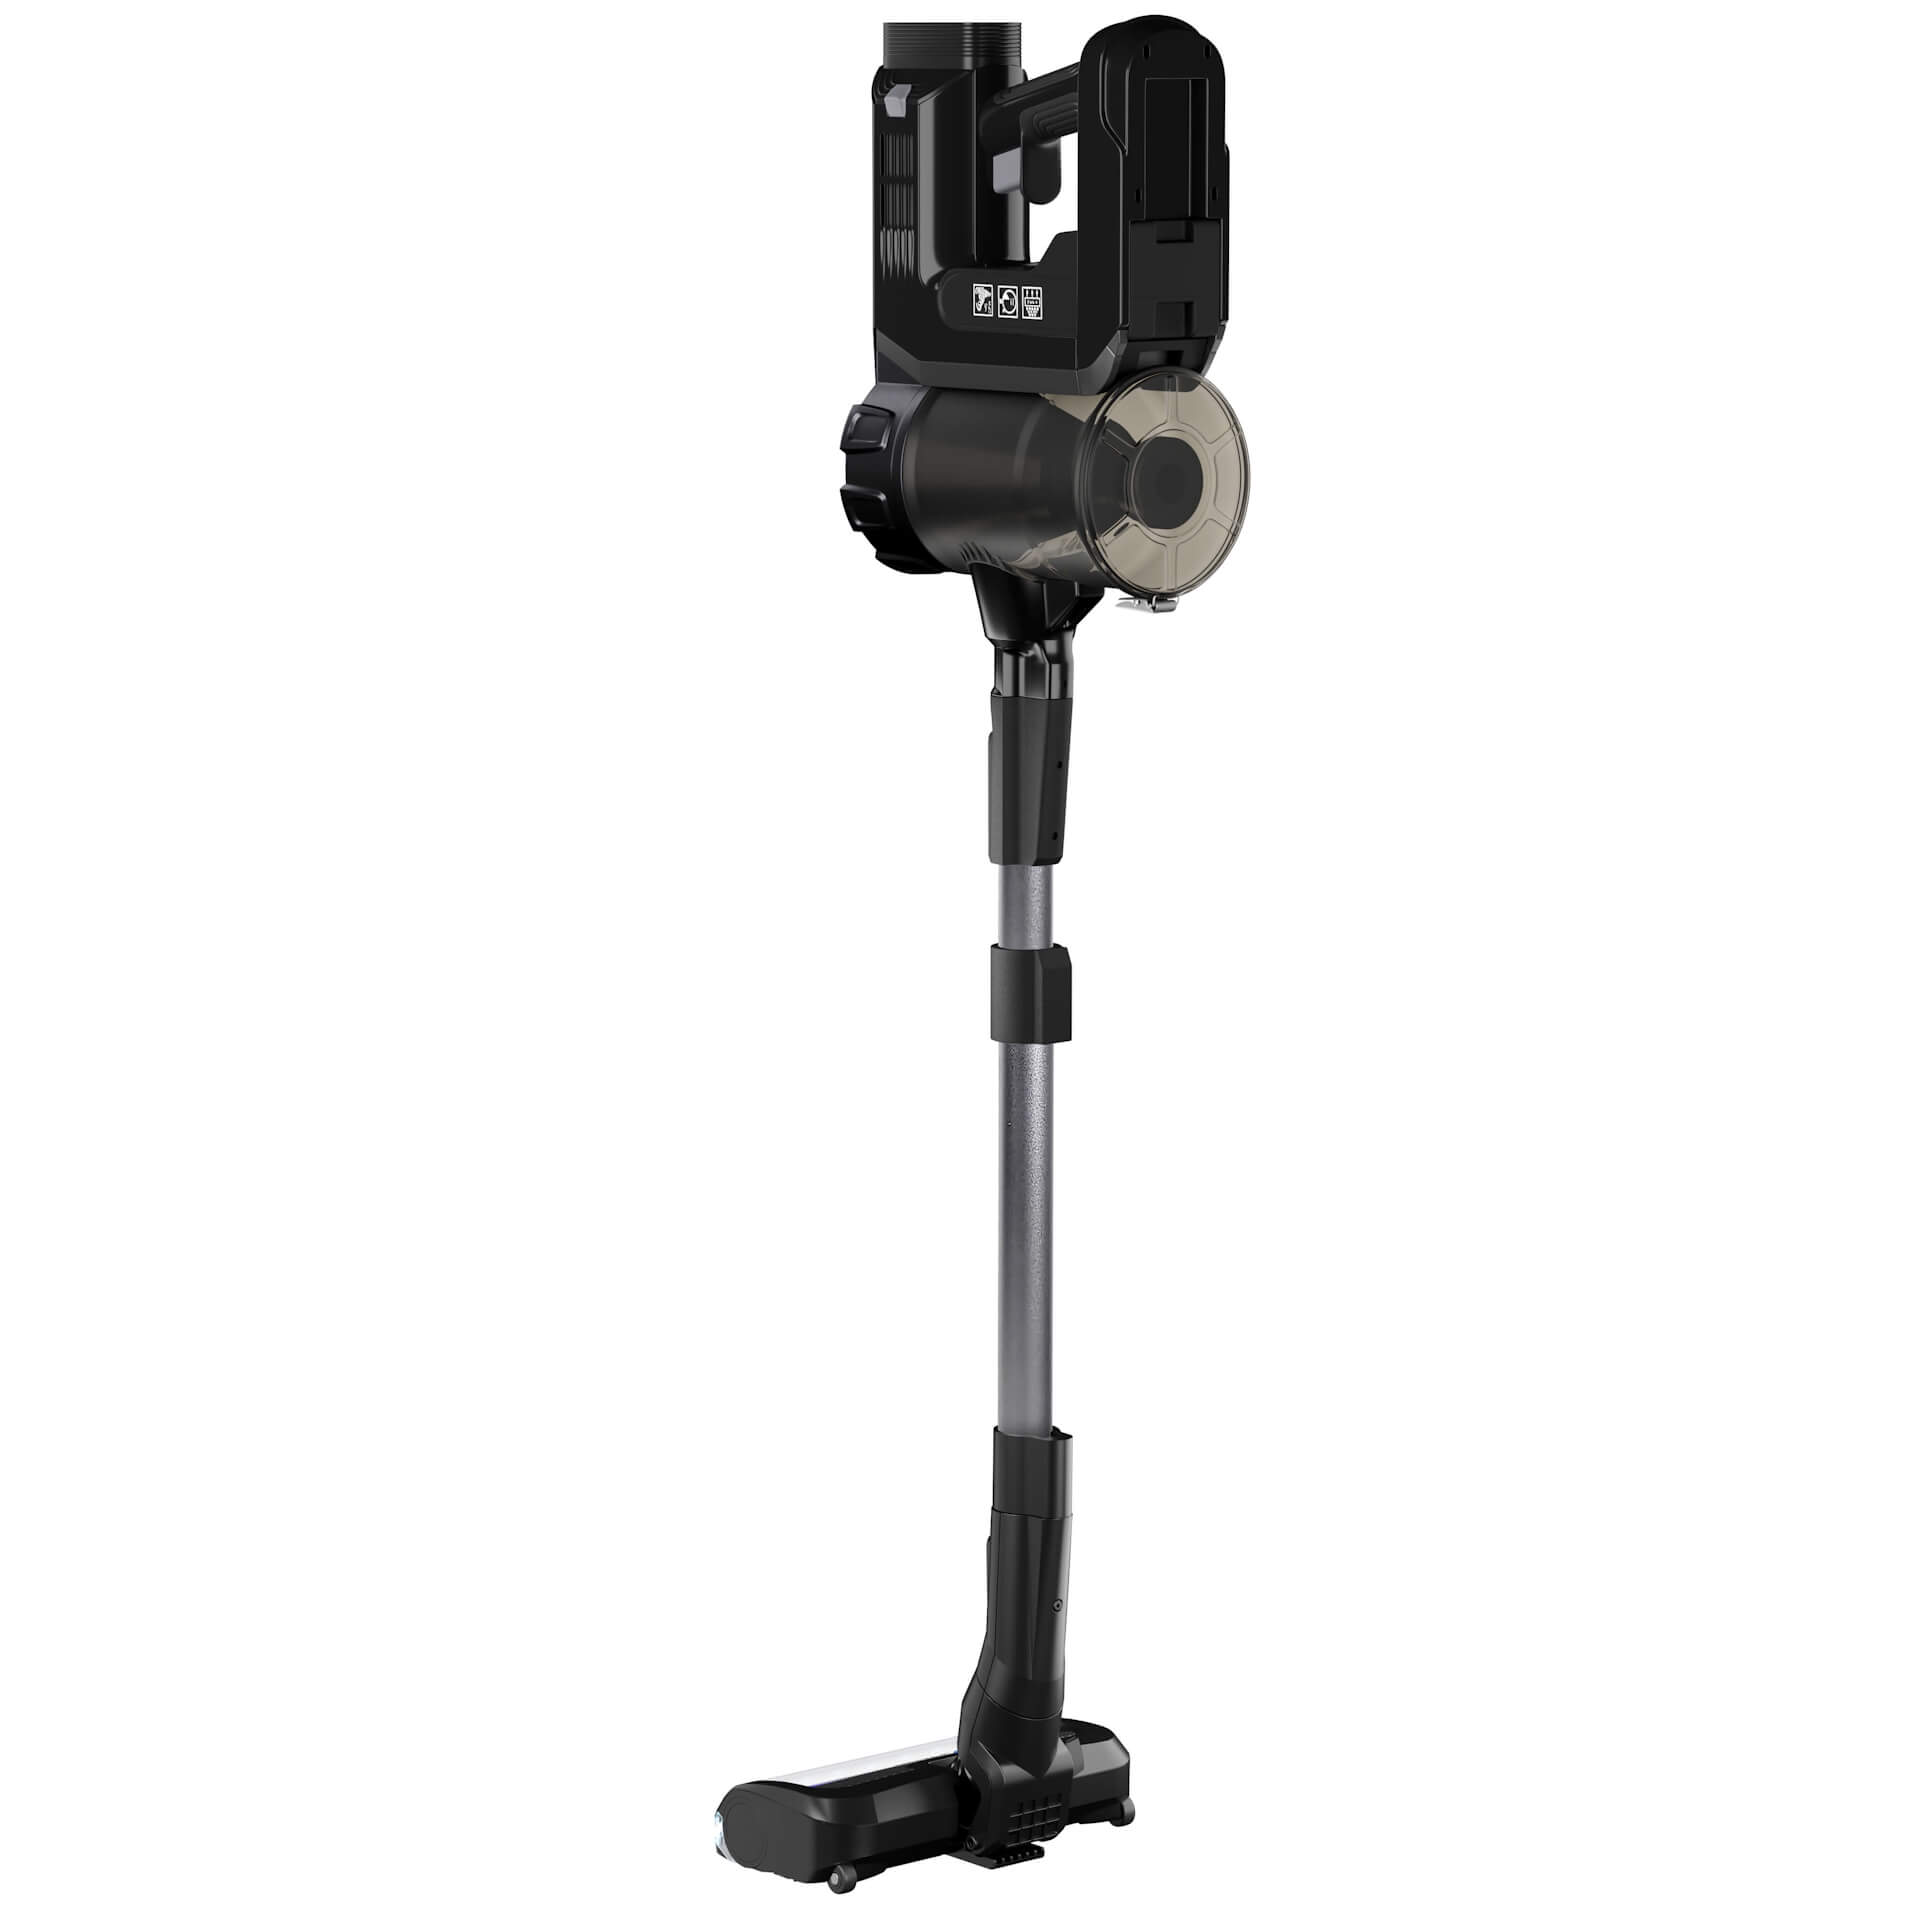
After the main 3D visuals were done, the client asked us to experiment with the coloring options of this digital prototype. Through a few design iterations, he settled on an alternative that best realized his vision. Take a look at those final images.
Our client loved the outcome, so we moved on to creating a lifestyle 3D visualization for Prolux RS7.
Lifestyle Renders
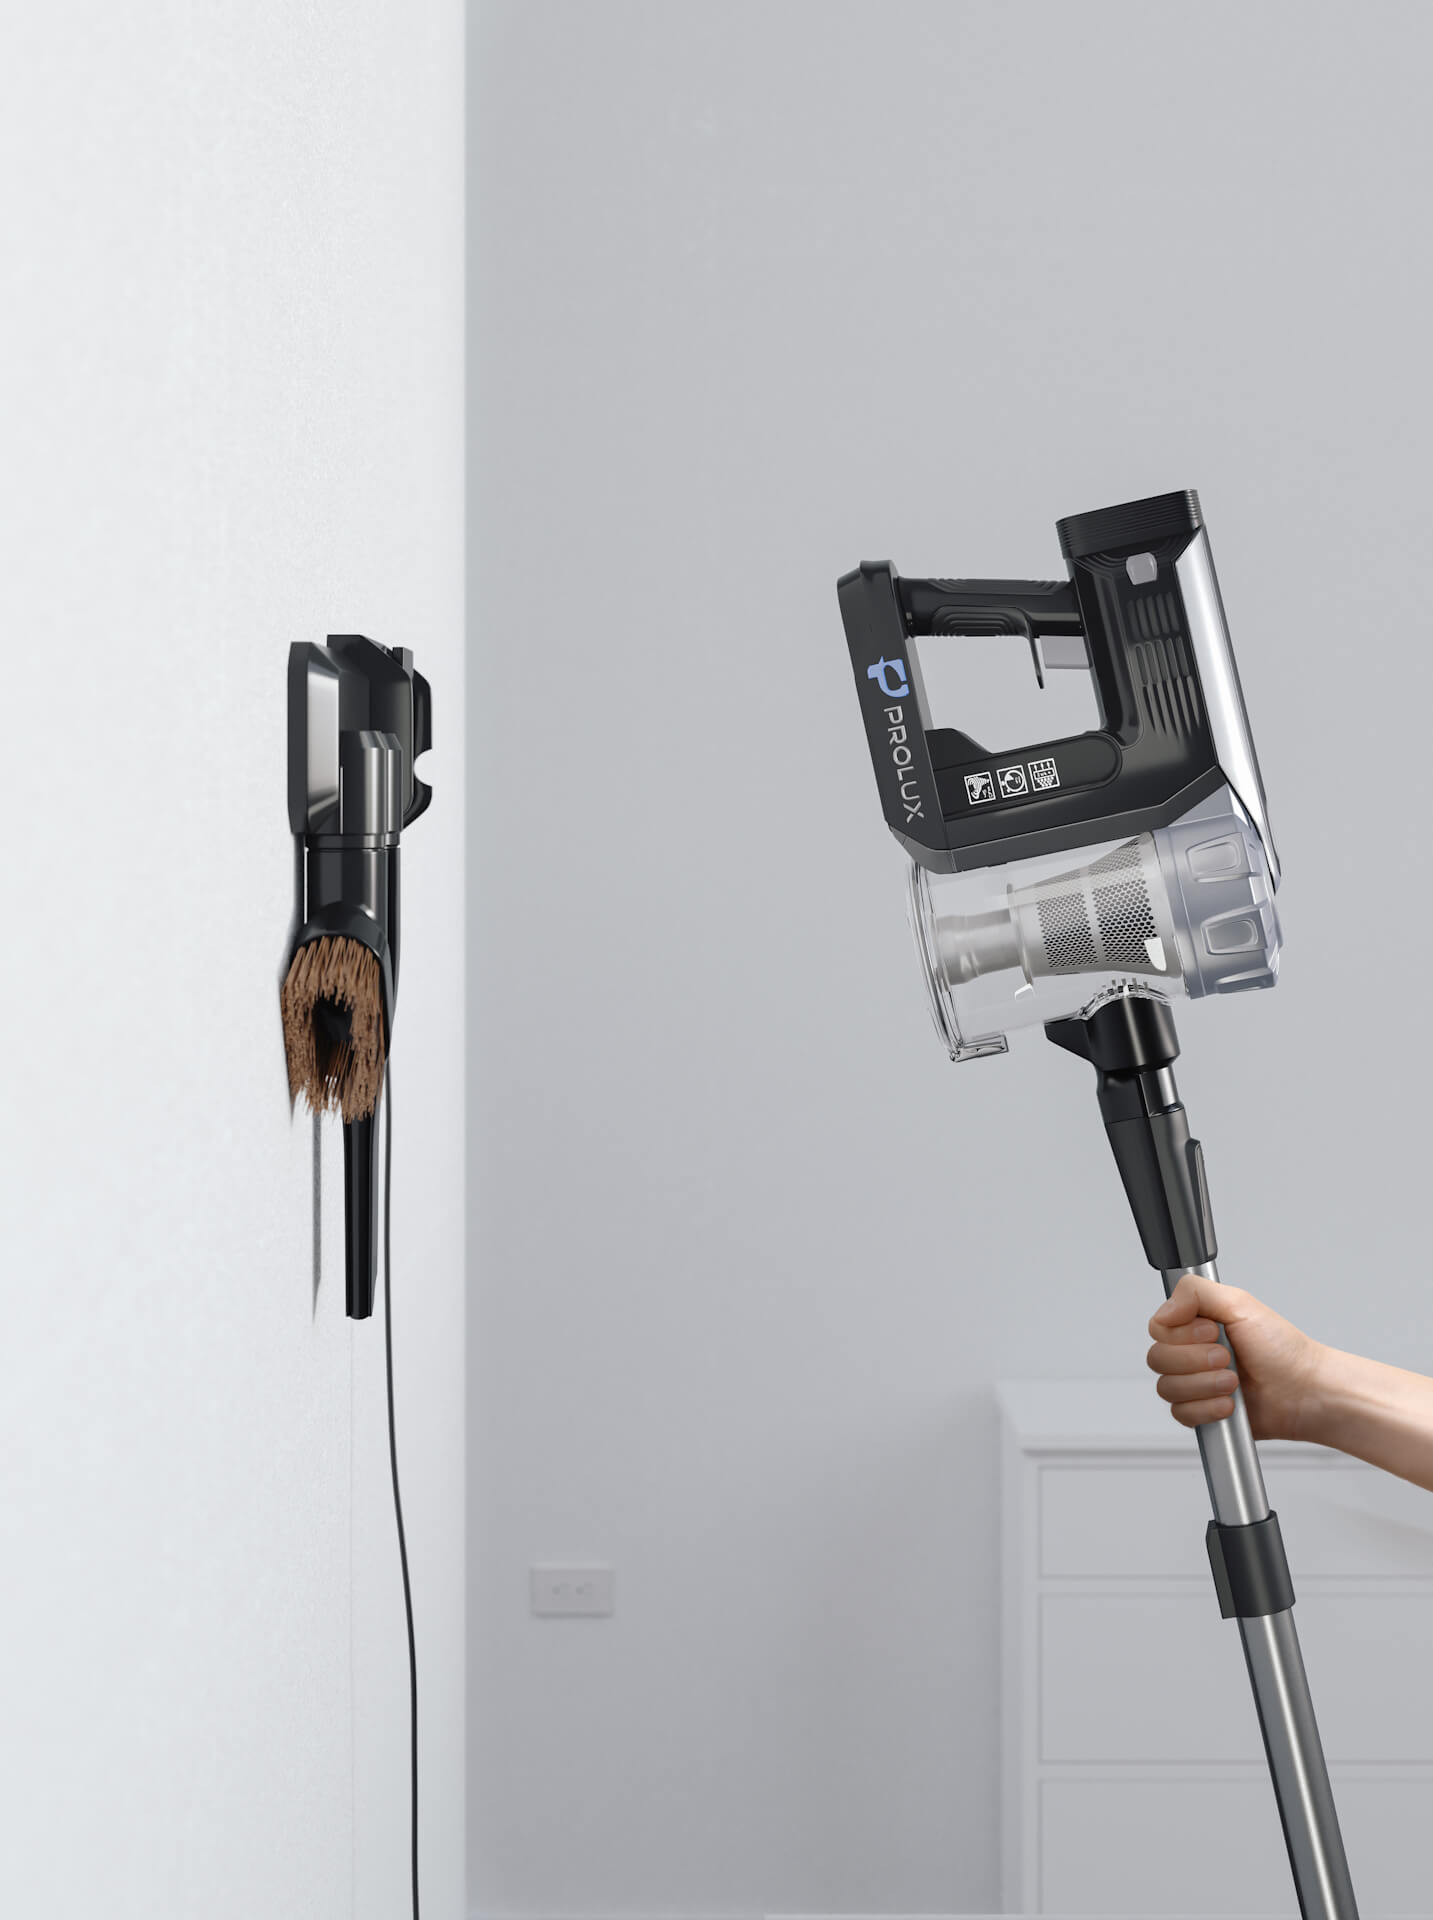
Here, Dustin provided us with a detailed explanation of his vision for the result. For the first image, he sent the exact photo to be duplicated in 3D, but with the addition of a stainless steel tube. Here’s the initial rendering our team showed to the client.
At the client’s request, our 3D artists made some changes to the background and the materials and added a duster tool attachment to the vacuum. Here is what the result looked like.
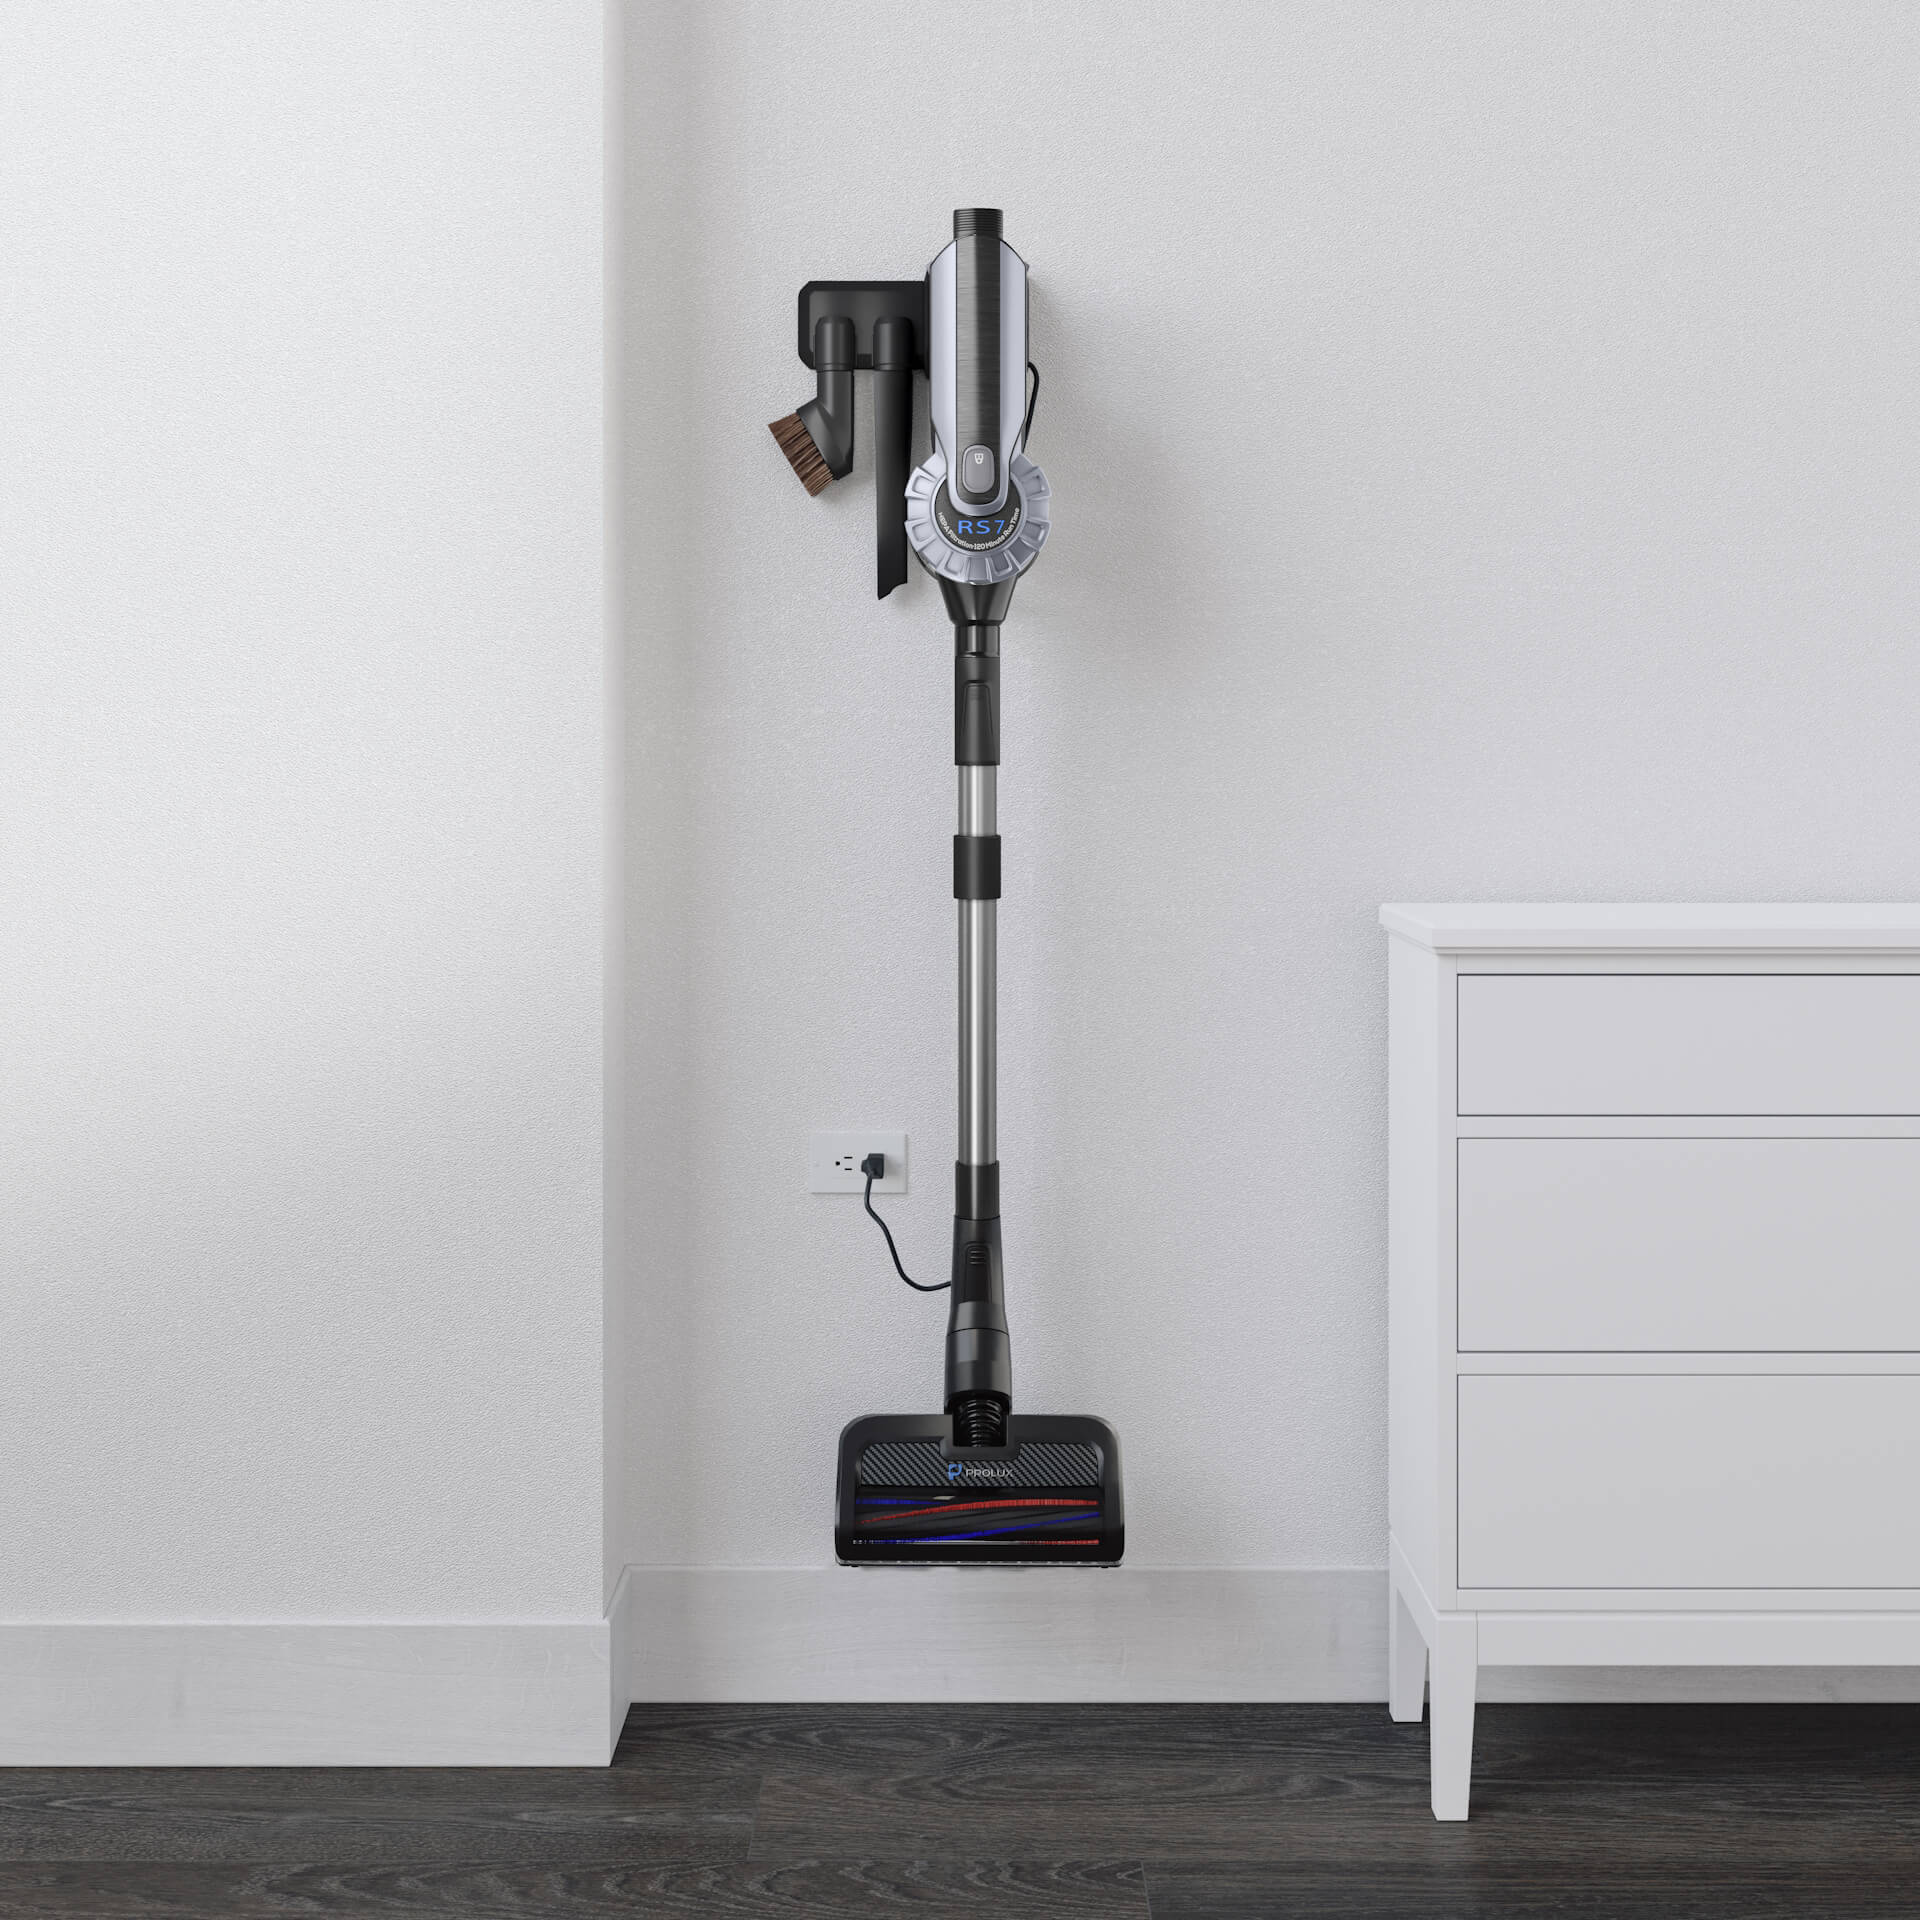
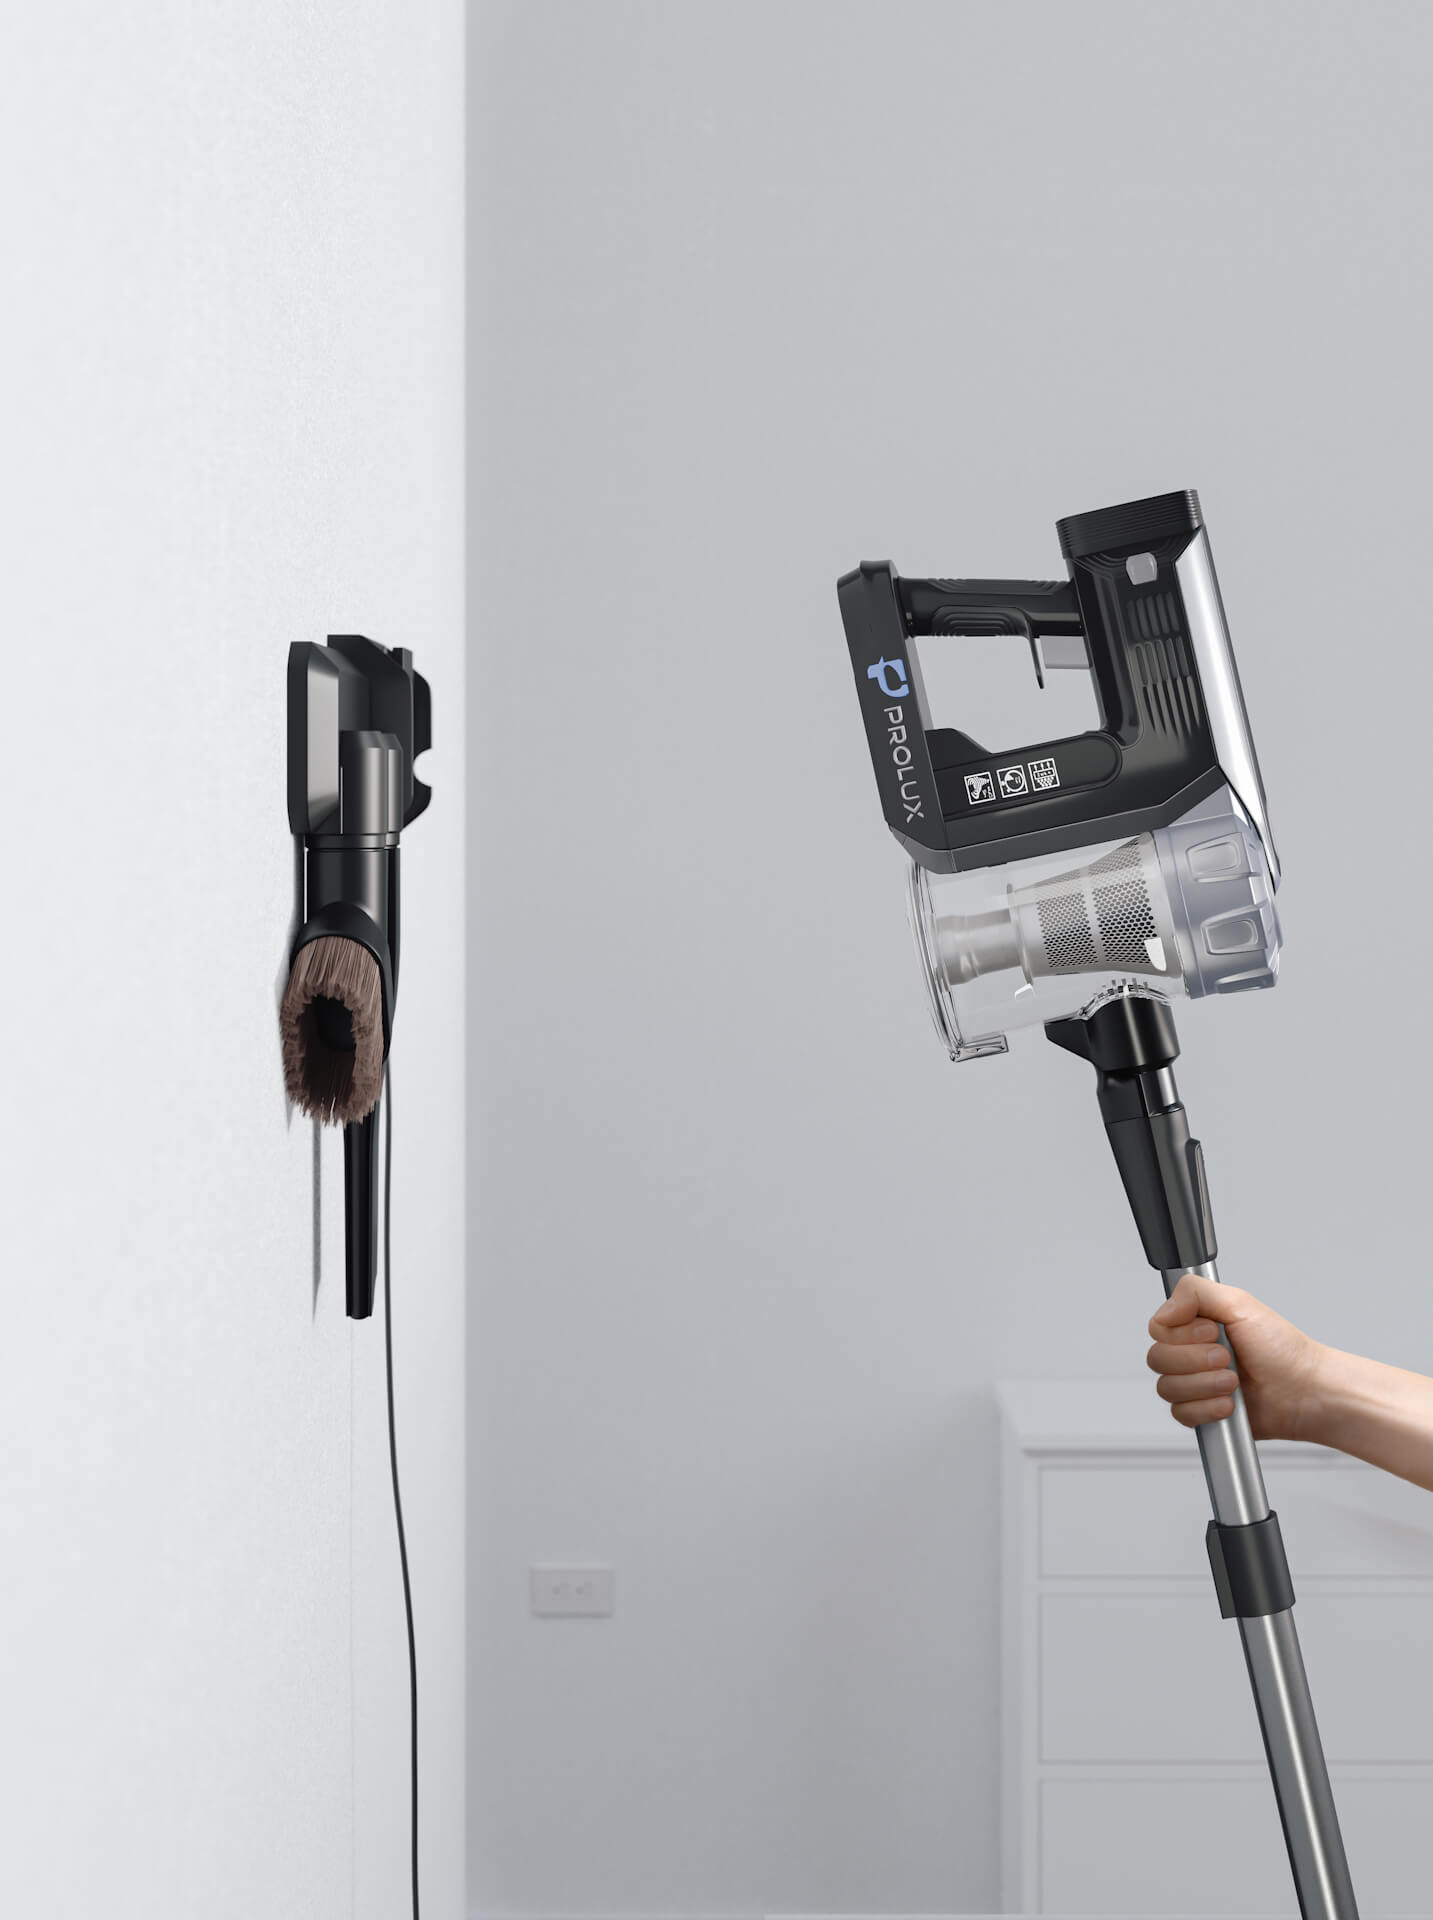
The other two lifestyle images had to show the vacuum cleaner in the interior scene. It had to be a high-end home with bright lighting. Also, to demonstrate the Prolux RS7 in context, the visuals needed to show it mounted on the wall with the tool caddy. Here’s the first iteration of the lifestyle vacuum cleaner 3D visualization
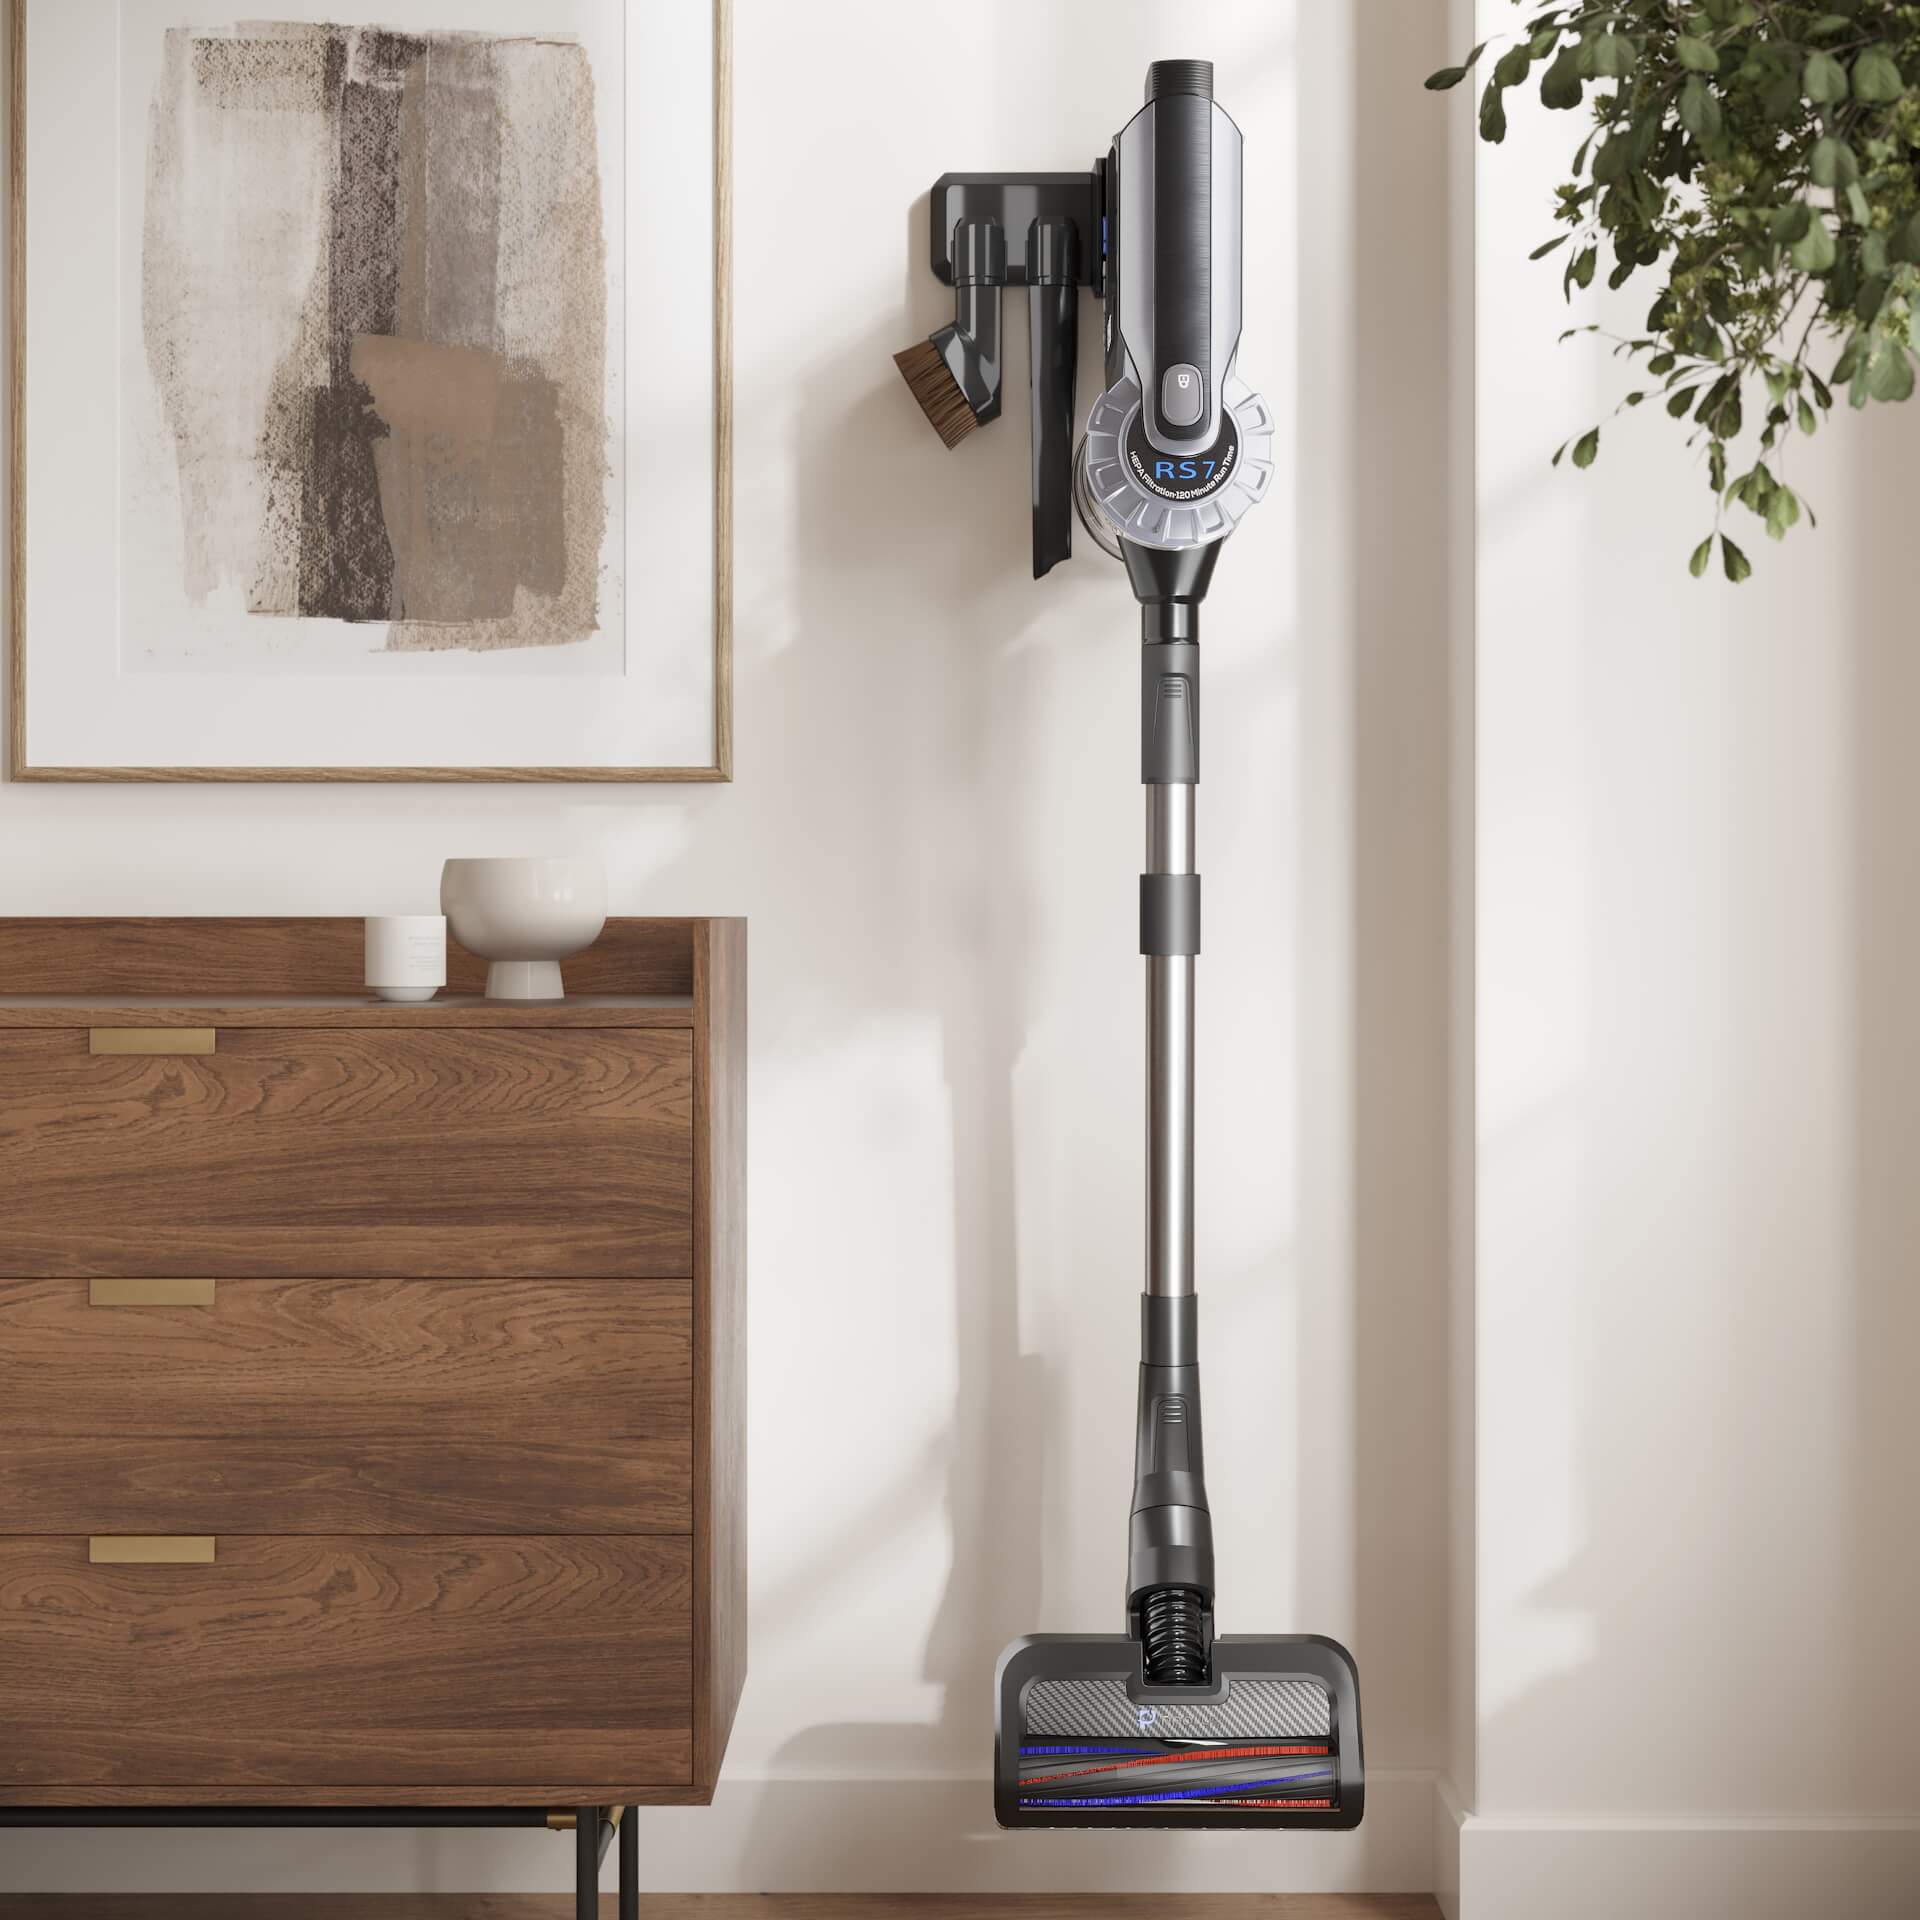
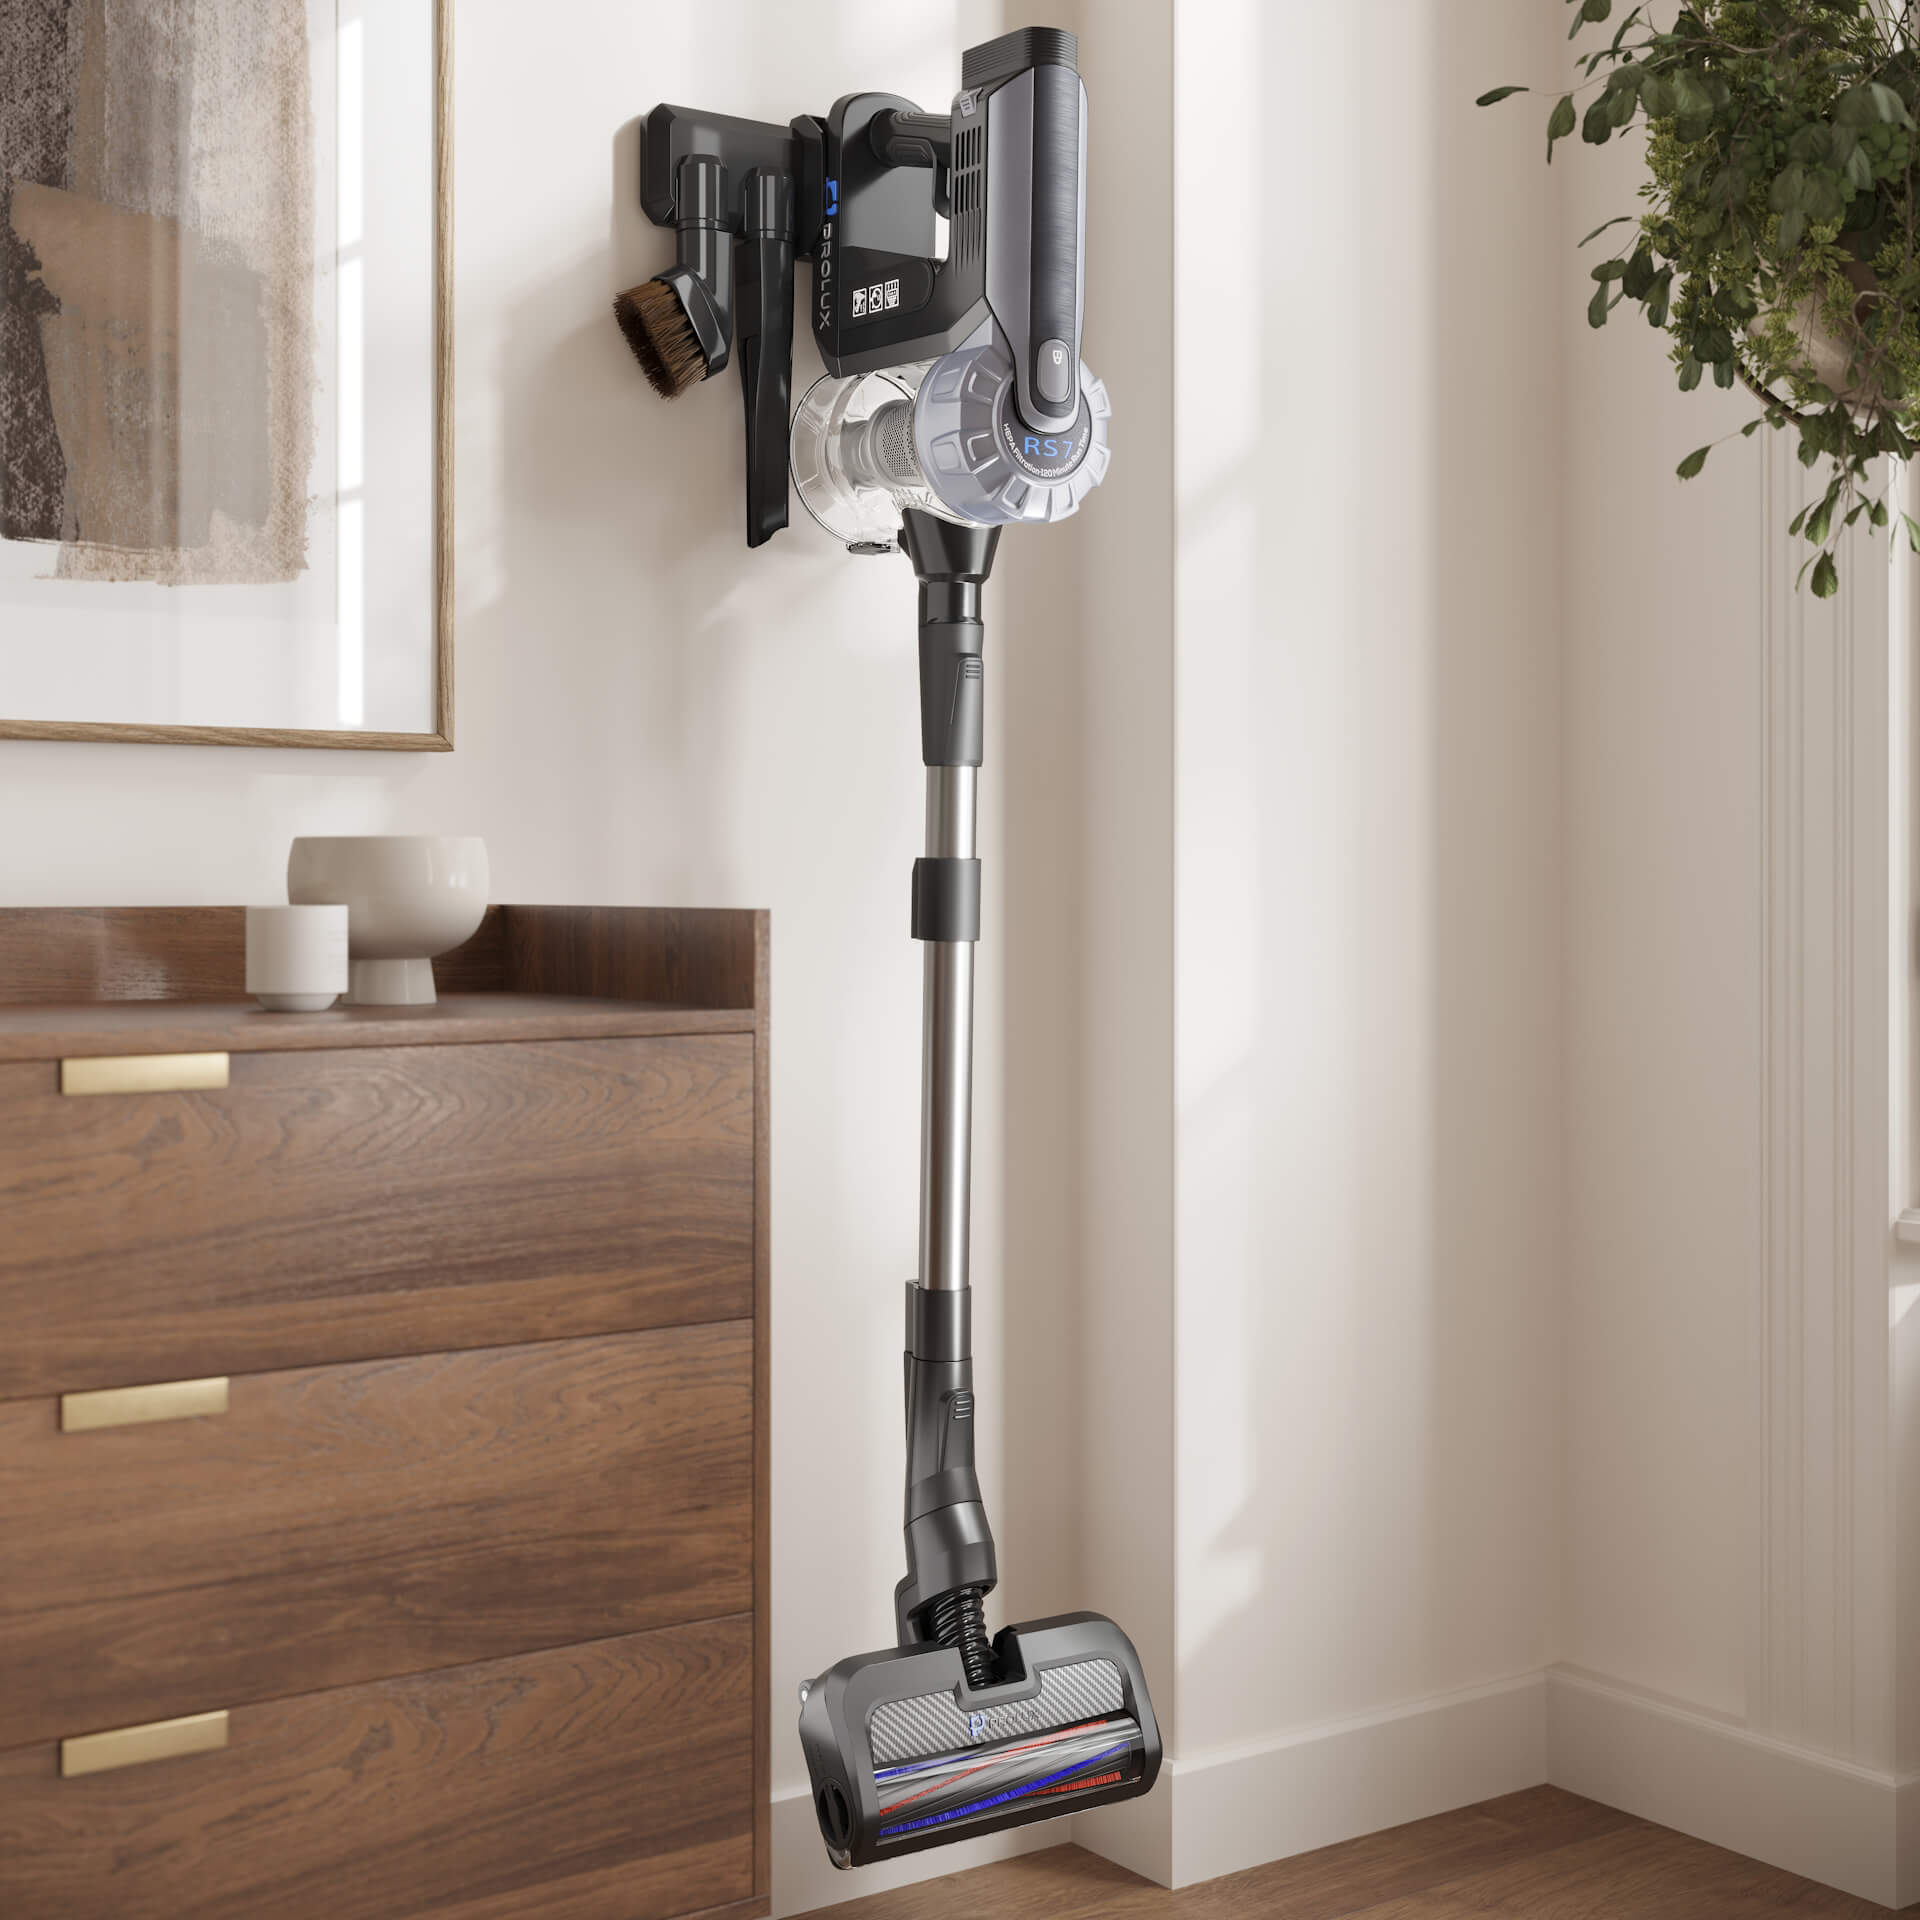
After reviewing the renderings, Dustin proposed to use another interior scene for the lifestyles. He and our team discussed the style direction further and decided what the images needed to look like — a minimalistic interior with clean white walls and black flooring. The tool caddy had to be plugged into a socket to demonstrate its functionality as a charging station. Below, you can see how these renders turned out.
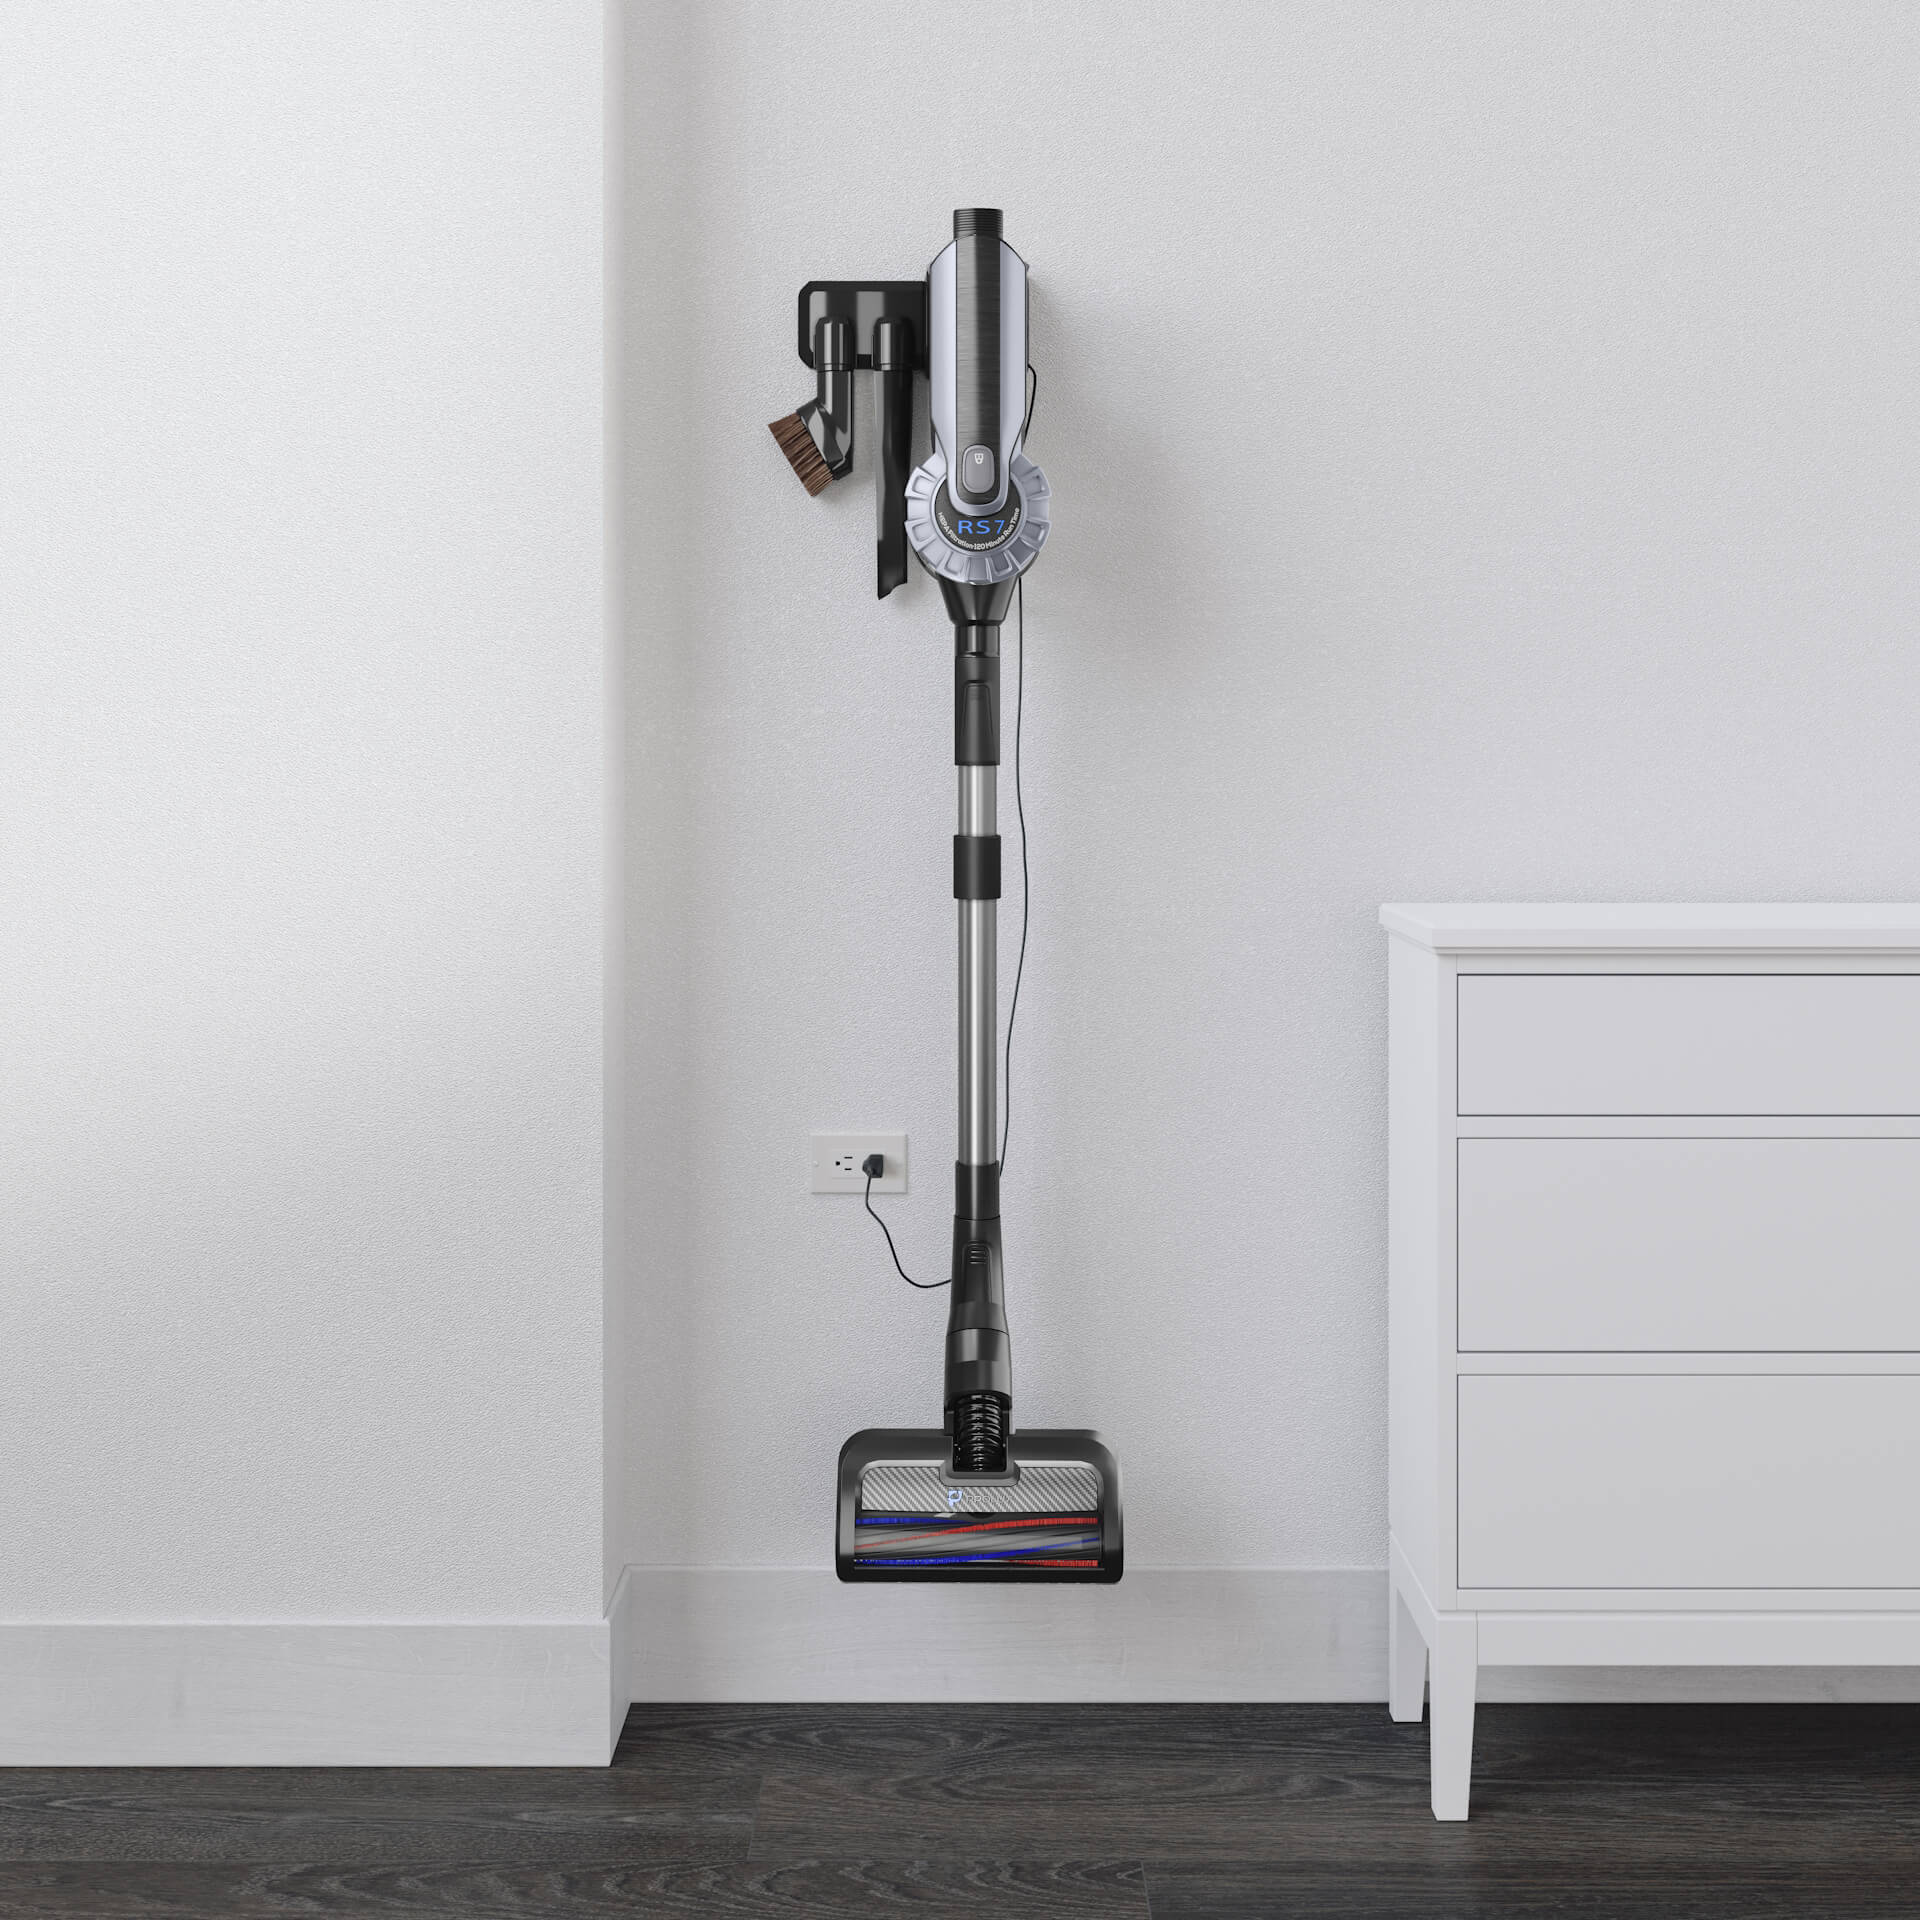
Our client liked this scene. So, after adjusting the coloring and materials, all three lifestyles were ready.
Now, let’s take a look at the 3D animation our team created for the Prolux RS7.
3D Animation
For this task, our client asked us to create a 12-second clip, showcasing the product’s functionality. It had to show the Prolux RS7 vacuuming up pet hair from the carpet, with 90% of hair being sucked up past the brush roll. After seeing the 3D animated video, Dustin approved it right away. You can see the results we achieved below.
Now, let’s check out how these 3D visuals are utilized in the marketing campaign for this vacuum cleaner.
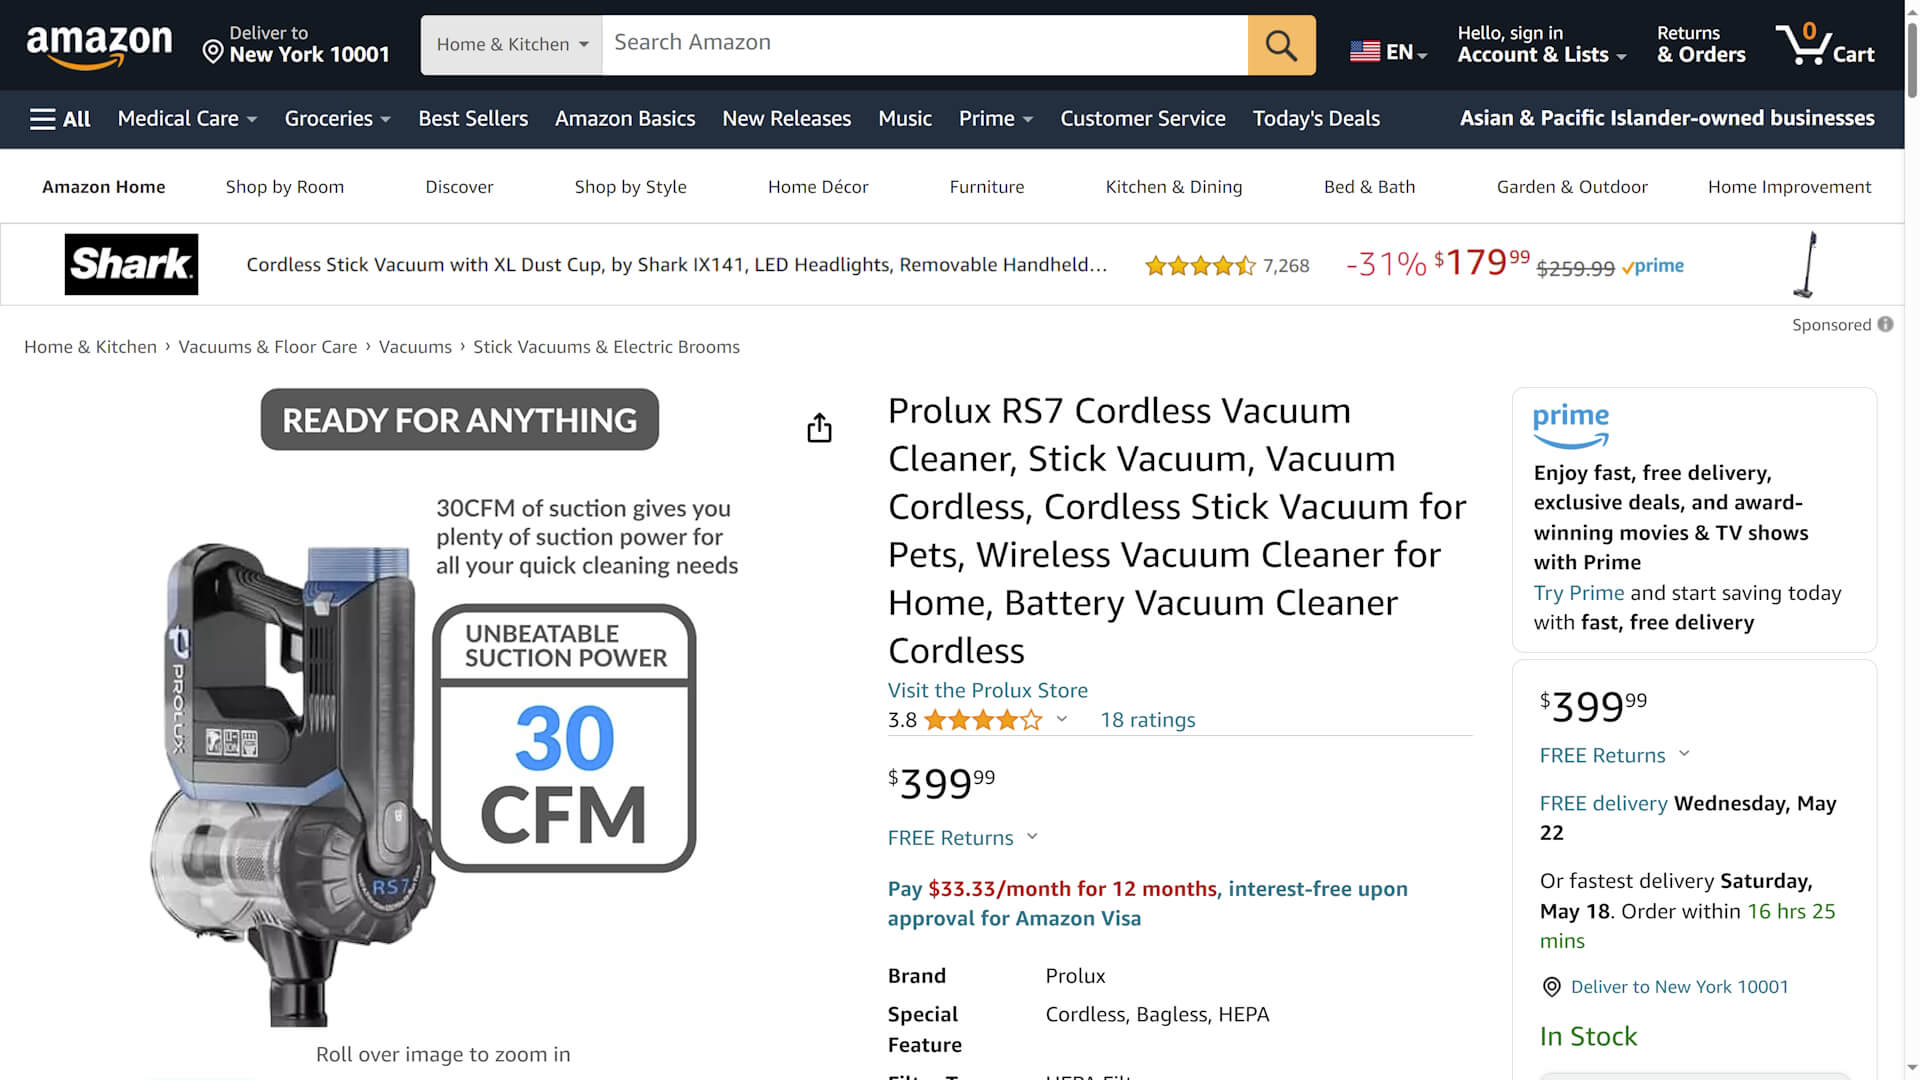
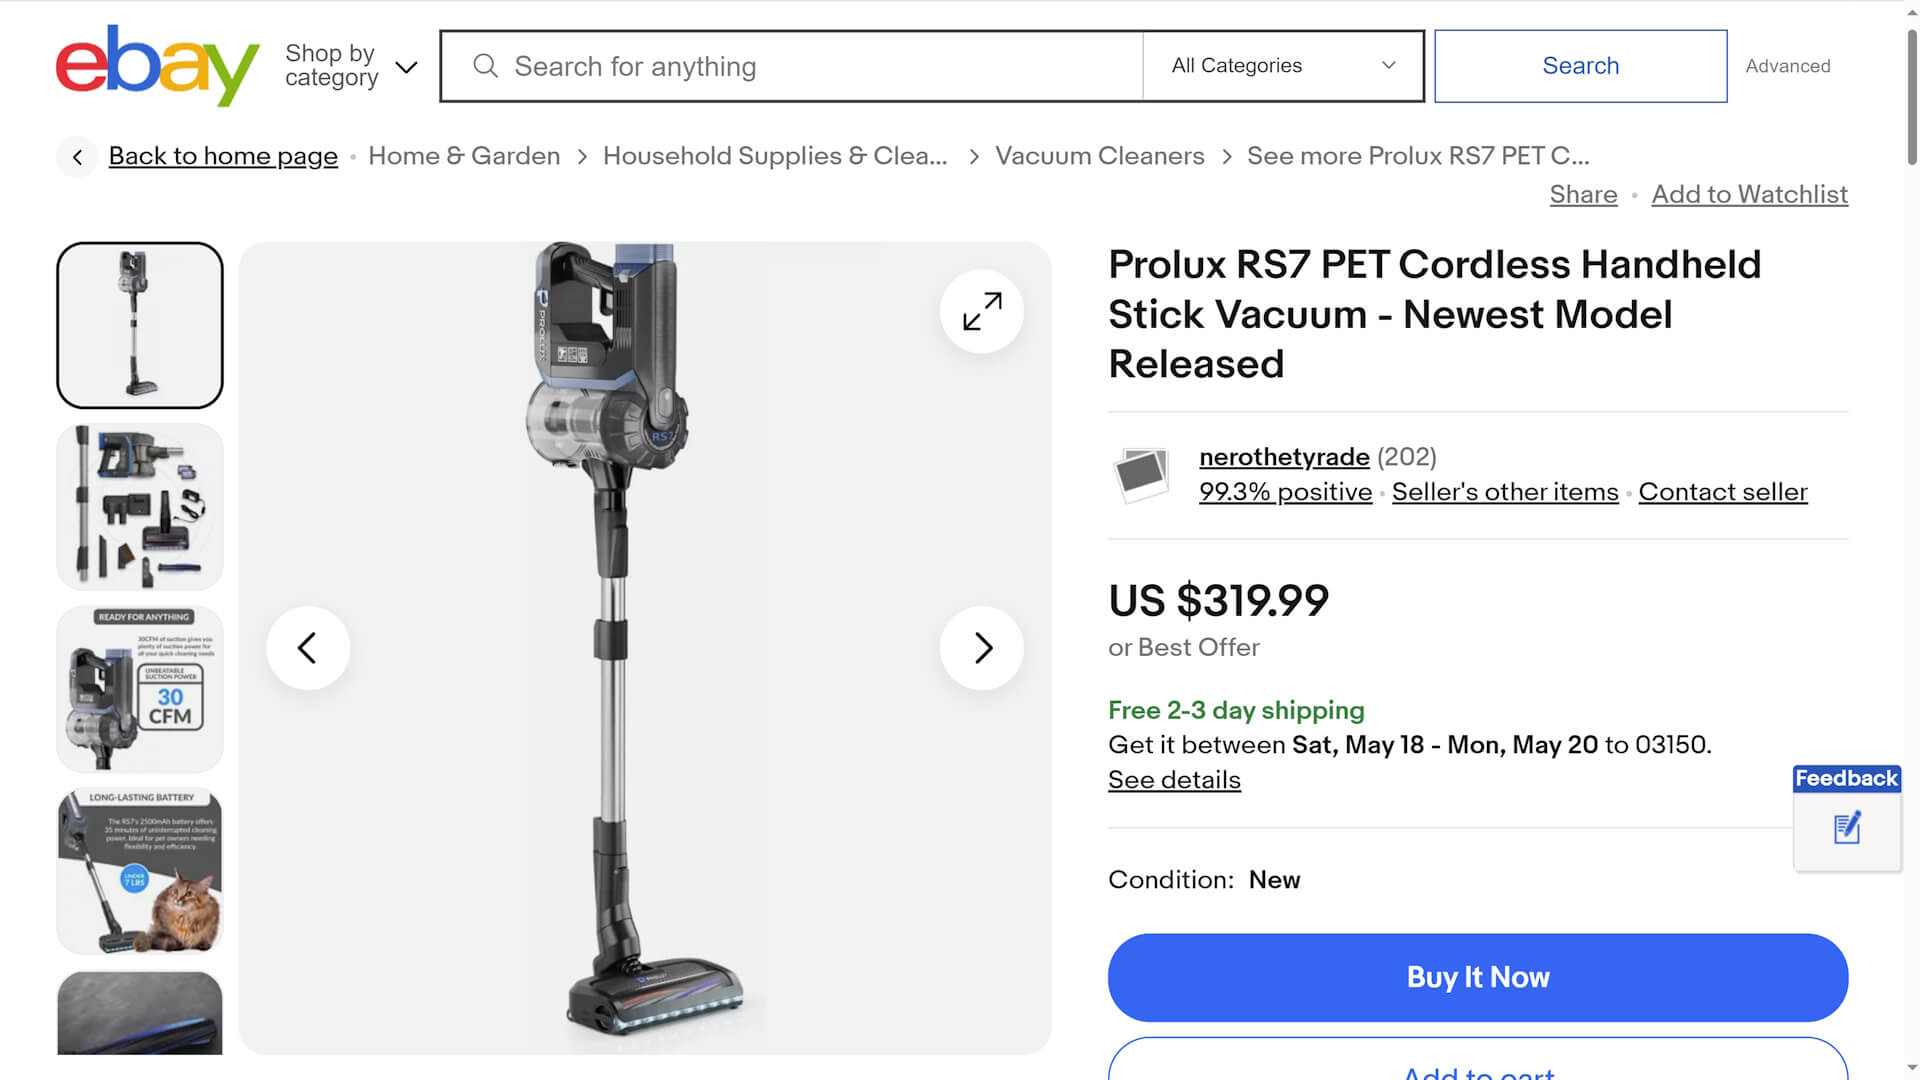
#4. Marketing Usage
Here, you can see the vacuum cleaner 3D renders in the listings on various marketplaces, such as Amazon and eBay.
Our team is grateful to Dustin Chaffin for the fruitful cooperation on this vacuum cleaner 3D visualization project. We’re looking forward to working on more of his product visuals.
So, that’s how the standard 3D visualization workflow looks like at our studio. Don’t hesitate to contact us to discuss creating visuals for your products. We will be happy to help you bring them to life with stunning CGI.
Need outstanding imagery to present your new line of products to the audience? Use our product 3D visualization services to get photorealistic renderings, animations, and other types of visuals for your merchandise!

Ian Diev
Content Writer, Editor
Ian loves writing about innovative 3D technologies and their impact on architecture and design. In his spare time, he makes indie music, watches obscure movies, and cooks culinary masterpieces for friends.
Let us know if you’ve got an interesting project and want to work together!