
How to Photograph Textures for 3D Visualization: Tips from CGI Pros
High-quality textures are crucial for achieving photorealism in product 3D visualization. To create them, 3D artists need photos of materials. But not every manufacturer knows how to photograph textures for 3D modeling and rendering to get the most life-like visuals. And that, in turn, can lead to delays in the process of making the CG visuals or even poor final results.
Luckily, taking photos of textures for high-quality 3D visualization is not difficult at all when you know what 3D artists look for in such pictures. And in this article, our studio’s CGI specialists have shared 3 tips to help you take perfect shots for photorealistic product rendering. Check them out!
#1. Capture a Front View
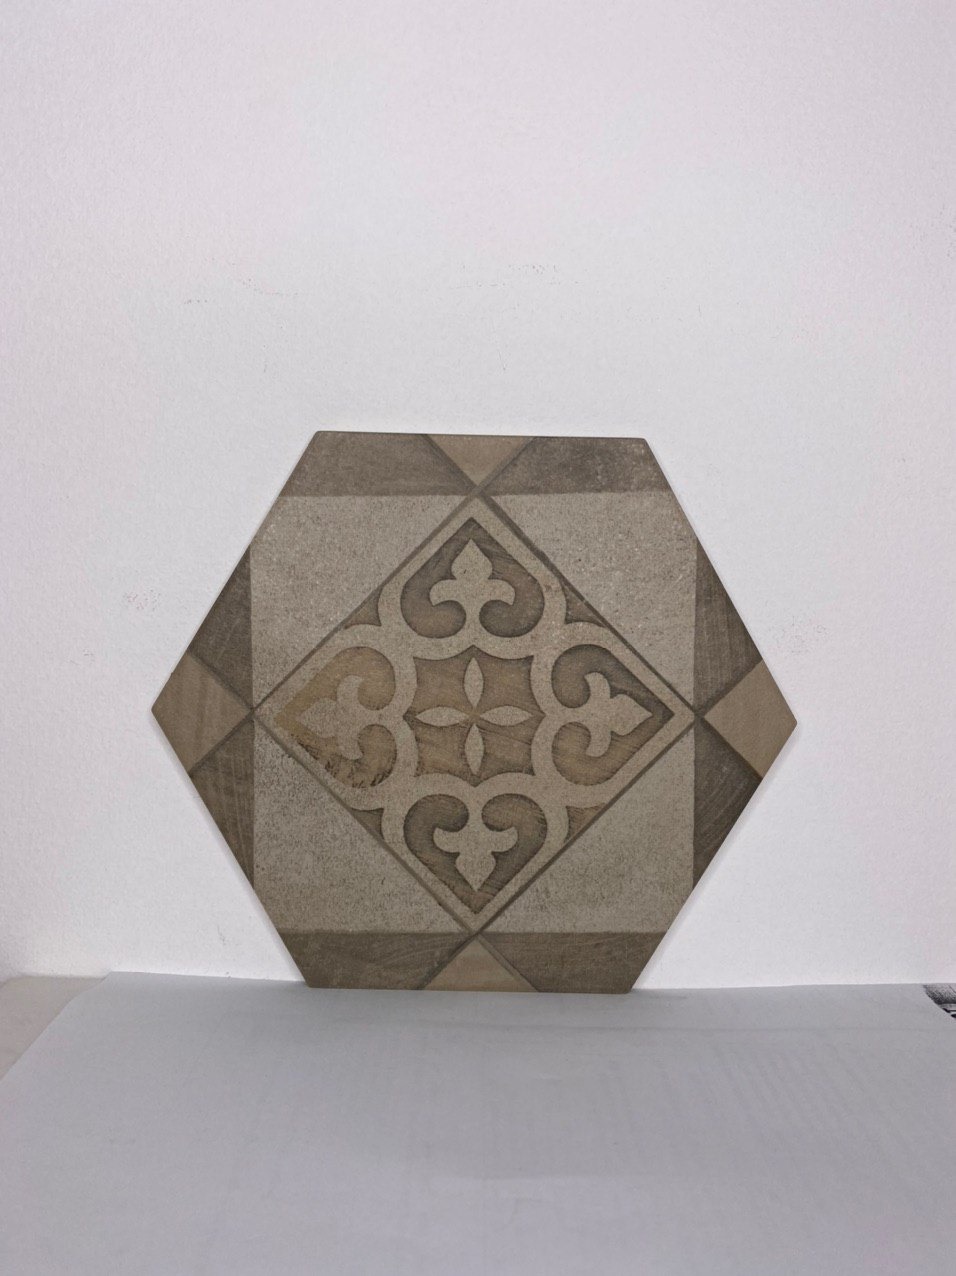
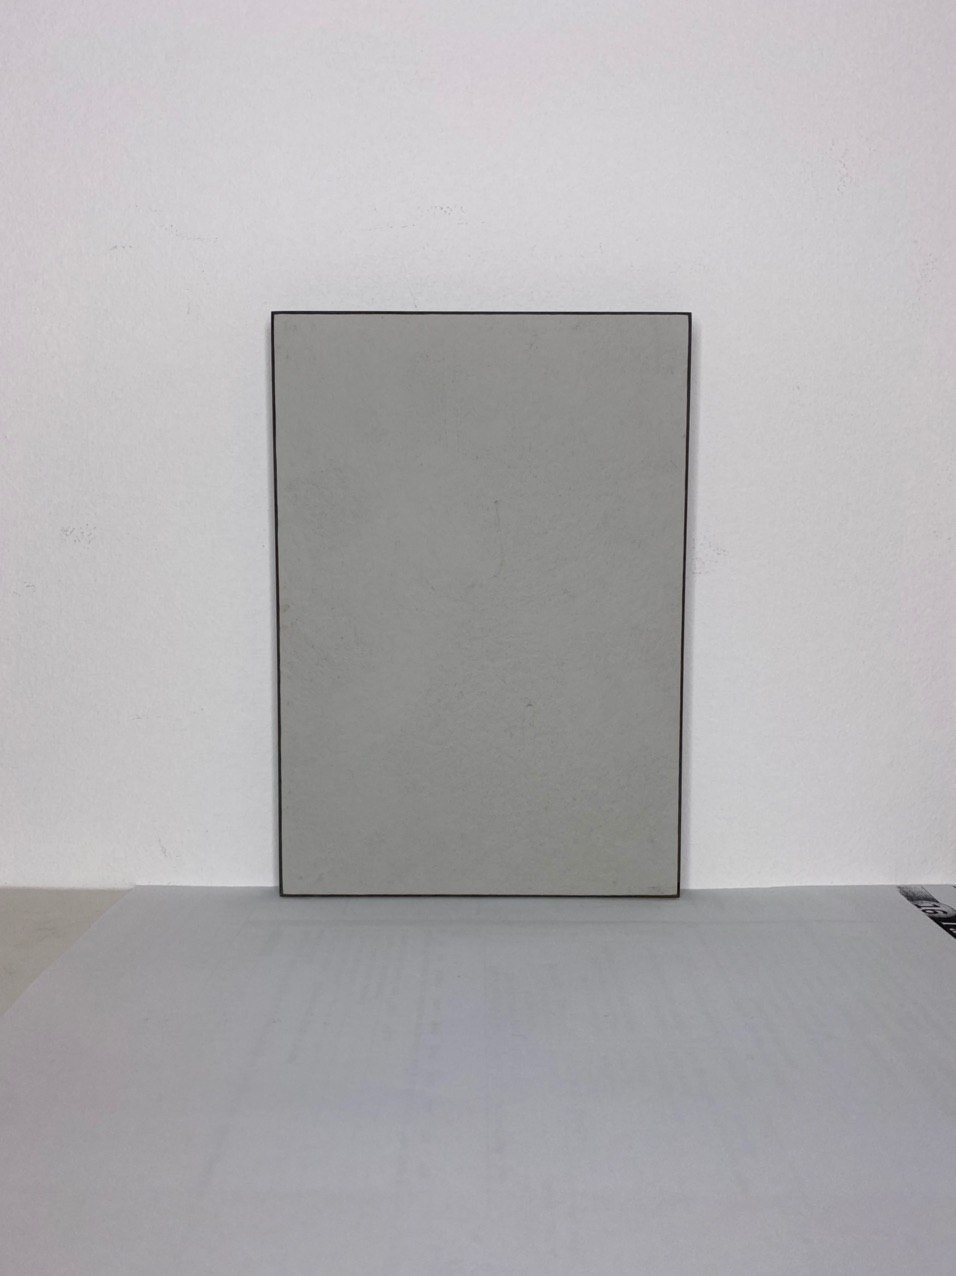
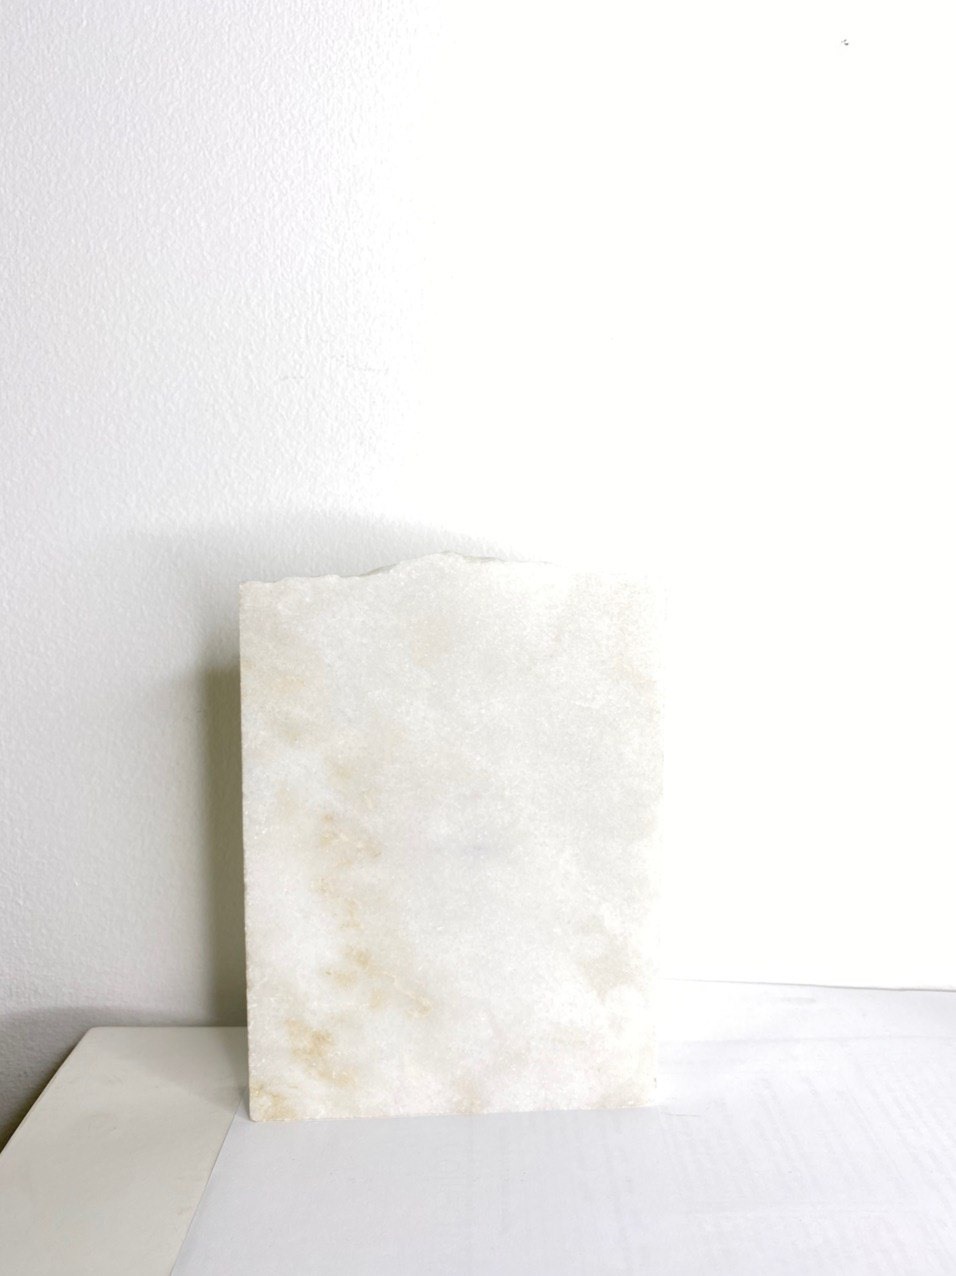
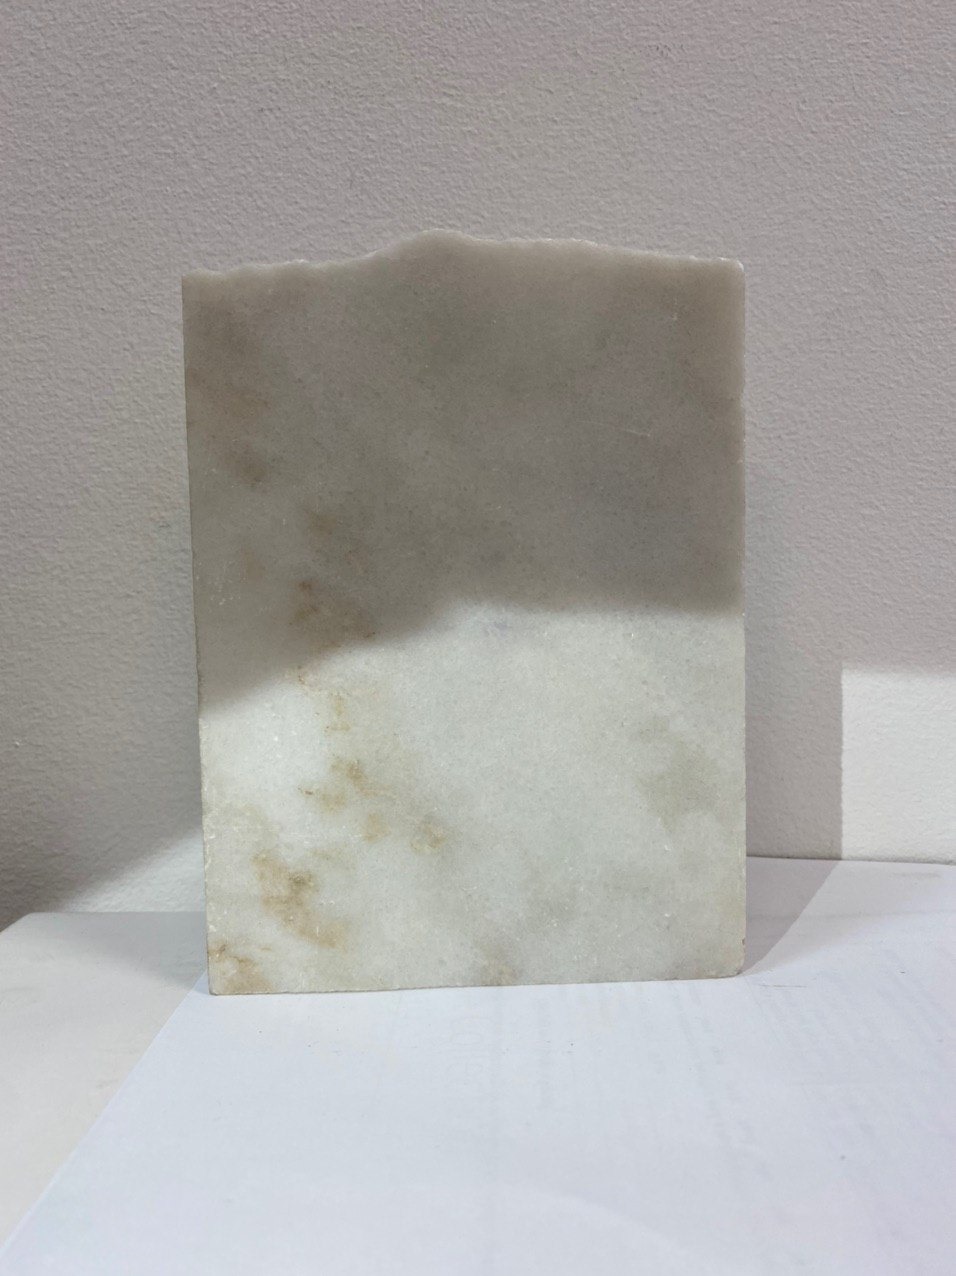
The front view images of textures have to be crisp and high-resolution, showing the true colors of materials. Also, there must be no distortion, especially when there are prints or patterns. That is because a front view photograph serves as a basis for the texture. First, CG experts prepare the image in Adobe Photoshop. They:
- cut out the section they’re going to use;
- remove any small imperfections like scratches and dust;
- make the picture seamless so it can be multiplied;
- slightly enhance the unevenness of the surface.
After that, the photograph is directly applied to the 3D model, ‘wrapping’ it up. This process is called texture mapping. It allows for conveying the colors and patterns with impeccable accuracy. So, the higher the quality of the photograph, the more life-like the item will look in 3D.
One sharp frontal photo carries further than most clients expect. Artists pull an entire PBR set out of it, base color, roughness, normal map, then tile it into a seamless texture. After that the material can cover a whole floor or a sofa without a single visible seam.
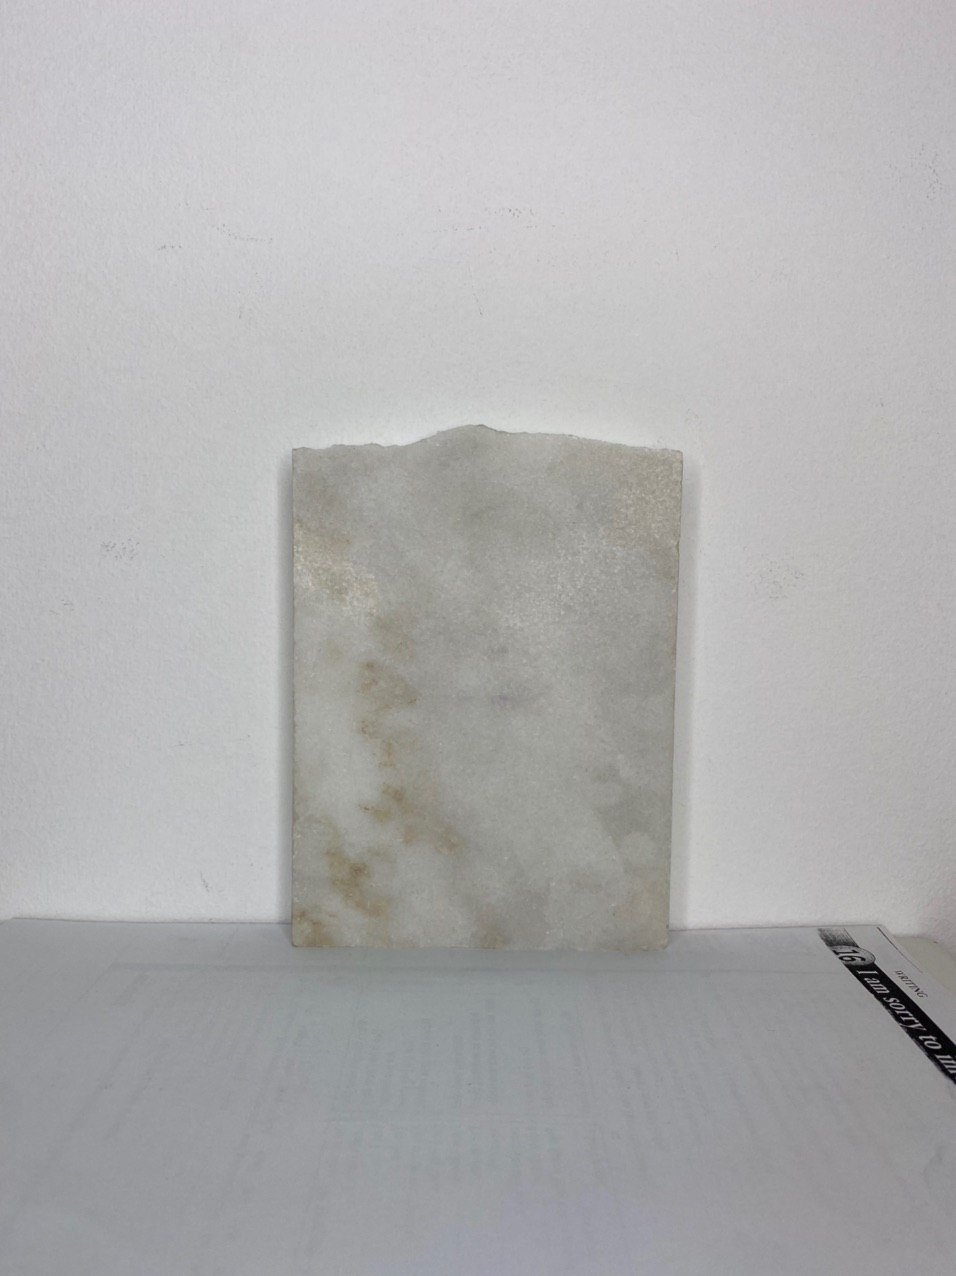
#2. Capture an Angled View
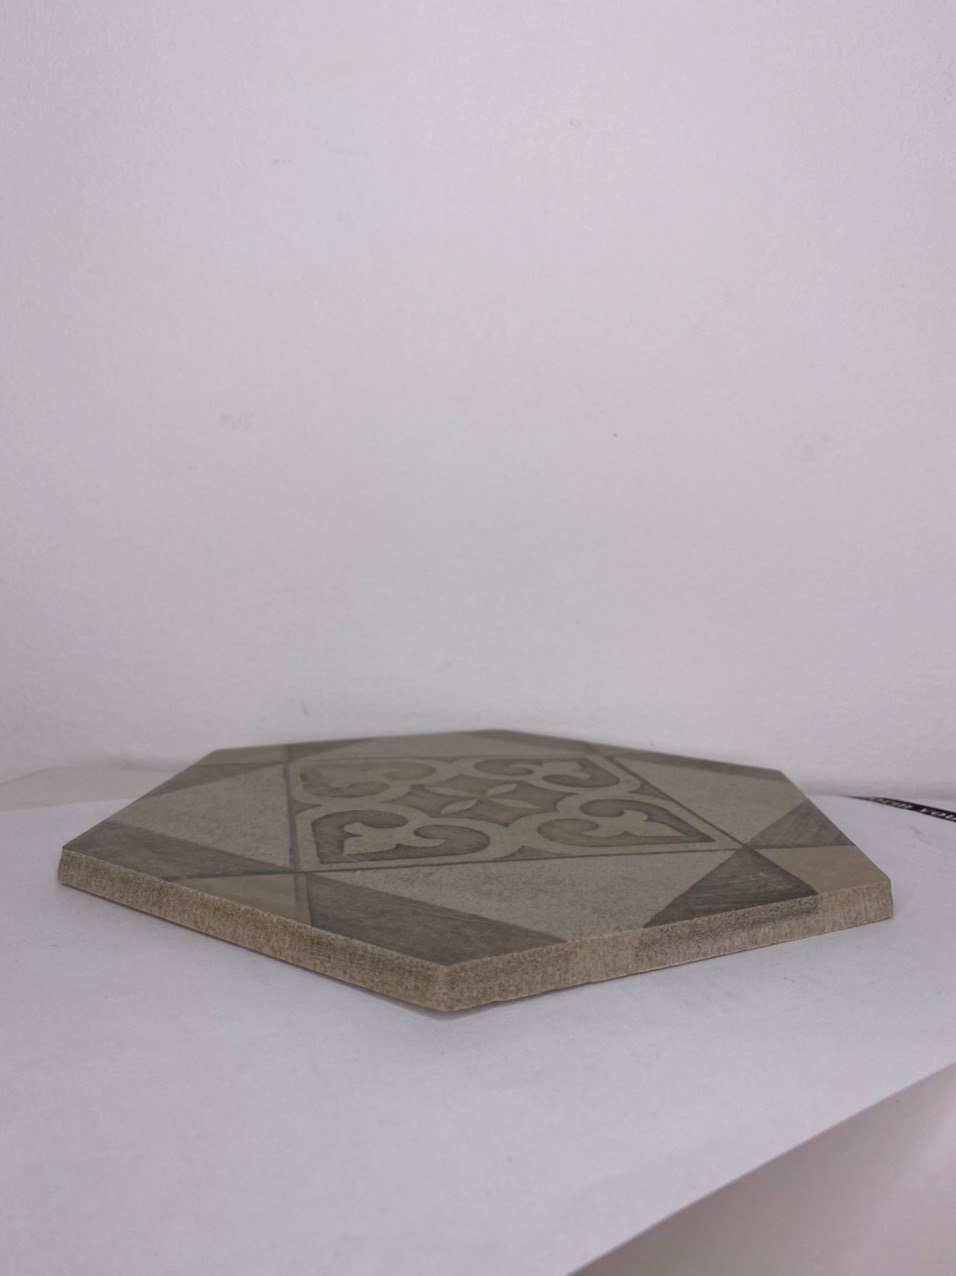
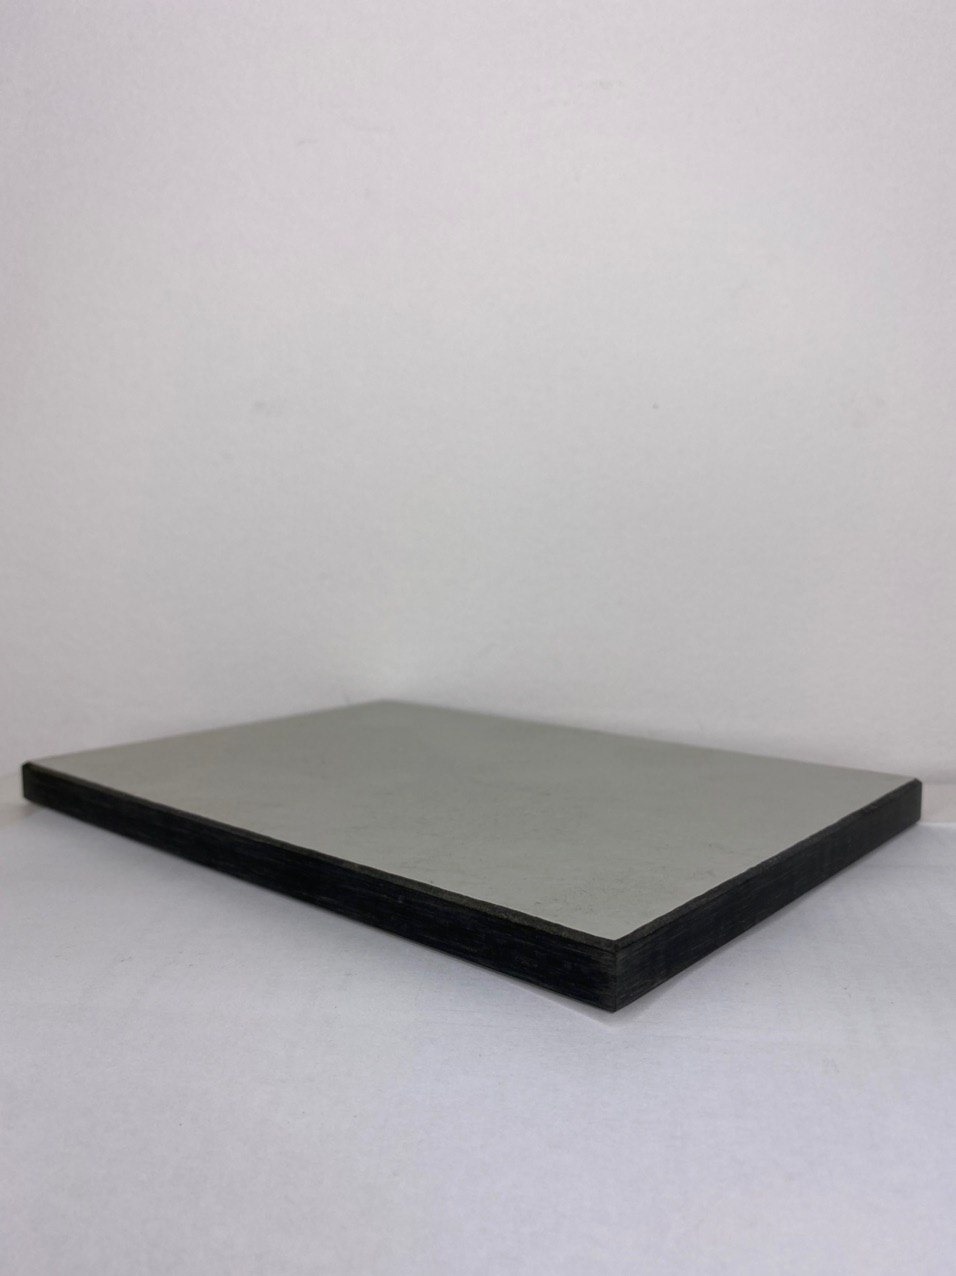

Our next tip on how to photograph textures for 3D rendering is to take a picture that shows the surface at an angle. CGI specialists need this kind of image to understand the materials' properties, such as relief, glossiness, reflectivity, transparency, and so on. This way, 3D artists can adjust the settings in the 3D modeling software accordingly to make the textures appear extremely photorealistic. The only thing to keep in mind here is that the lighting in the photograph must not be too bright or too dark, so the features of the texture are clearly visible.
#3. Avoid These Three Things

There are several factors that can spoil photographs of textures and make them unusable for 3D visualization:
- direct sunlight;
- shadows;
- odd objects in the frame.
Direct sunlight makes the lighting in a photograph uneven, produces glares, changes colors, and makes it difficult to distinguish the properties of materials. Shadows, in turn, cause dark spots on the surface, also making the photo useless. And odd objects covering the texture might make it impossible for 3D artists to find a perfect section to apply to the model.
On top of that, it’s important to make sure that glossy surfaces have no reflections on them.
Now you know how to photograph textures for 3D visualization like a pro. Hopefully, these tips will save you time and help you get ultra-realistic renders with minimal effort.
Looking for professional 3D modeling and rendering services? Contact us at UFO3D and get top-quality imagery for your product listings and marketing campaigns!
FAQ

Ana Wayne
Content Writer, Copywriter
Ana is a content writer for UFO3D. She has a passion for exploring tech innovations and product marketing trends – and for writing about them. Outside of work, she is a fan of sci-fi movies and a street food connoisseur.
Let us know if you’ve got an interesting project and want to work together!
One Comment on “HOW TO PHOTOGRAPH TEXTURES FOR 3D VISUALIZATION: TIPS FROM CGI PROS”
Nice blog! I really want to thank for writing these insights and sharing them with us!